Makeup Brush Set
A practical step-by-step guide to makeup brush set, including preparation, instructions, common issues, tips, and next steps.
Makeup Brush Set
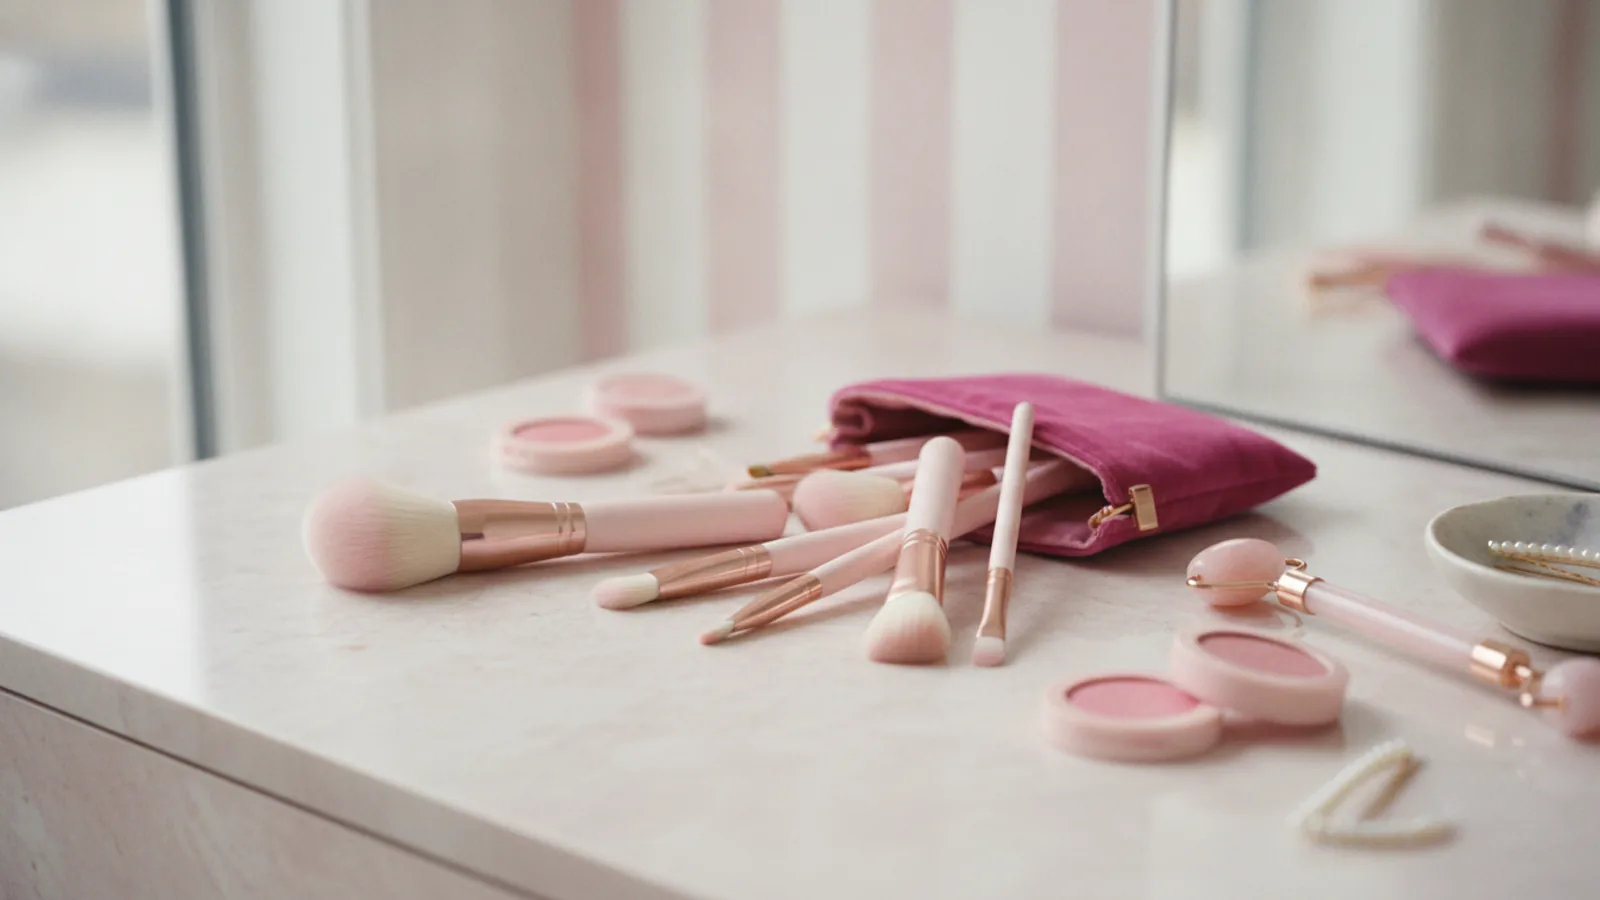
A makeup brush set is the secret to elevating your beauty routine from good to flawless. This guide demystifies the purpose of each brush, showing you exactly how to use your set for a polished, professional-looking finish every time. Whether you've just unwrapped your first collection or you're looking to perfect your technique, we'll walk you through every step, from creating a seamless base to blending the perfect smoky eye. Consider this your definitive manual for unlocking the full potential of your tools.
Fast Answer
- Brush Density: Use dense, firm brushes for liquid and cream products like foundation and concealer.
- Brush Texture: Use fluffy, soft brushes for powder products like setting powder, blush, and bronzer.
- Brush Cleaning: Clean your brushes regularly (at least weekly) to prevent product buildup, bacteria, and breakouts.
- Application Technique: Tap off excess product from your brush before applying to your face to avoid a heavy, cakey look.
Before You Start
Preparation is key to a seamless makeup application. Having the right tools and products organised and ready to go will make the entire process smoother and more enjoyable. It also ensures you're working with a clean canvas—both on your face and with your brushes—for the best possible results.
What You Need
- A Core Makeup Brush Set: At a minimum, your set should include a foundation brush, a concealer brush, a powder brush, a blush brush, and at least two eyeshadow brushes (one for application, one for blending).
- Your Makeup Products: Primer, foundation, concealer, setting powder, blush, bronzer, eyeshadows, and any other products for your desired look.
- Brush Cleanser or Gentle Soap: For ensuring your tools are clean before you begin. A daily spot-cleaner spray or a gentle baby shampoo for deep cleaning works well.
- A Clean Towel or Mat: To lay your brushes on after cleaning and during your routine.
- Good Lighting: Natural daylight is ideal for seeing the true colours and blend of your makeup.
Step-by-Step Instructions
Prepare Your Canvas
Before any makeup touches your face, ensure your skin is prepped. Start with your usual skincare routine: cleanse, tone, apply serum, and moisturise. Allow your moisturiser to fully absorb for a few minutes. This creates a smooth, hydrated base for your makeup to adhere to, preventing patchiness. Once your skin is prepped, apply a primer. A primer can help to smooth texture, control oil, and extend the wear of your makeup throughout the day.
Apply Foundation for an Even Base
Select your foundation brush. For liquid or cream foundation, a dense, flat-topped kabuki brush or a buffing brush works wonders for an airbrushed finish. Dispense a small amount of foundation onto the back of your hand. Dab the brush into the product and apply it to your face using small, circular motions, a technique known as buffing. Start from the centre of your face (around your nose and cheeks) and blend outwards towards your hairline and jaw. For more coverage in specific areas, use a stippling motion—gently pressing and tapping the brush onto the skin.
Conceal with Precision
Next, use a small, firm concealer brush. These are typically flat with a slightly tapered tip, perfect for precise application. Apply a small amount of concealer to areas that need extra coverage, such as under the eyes, around the nose, or on any blemishes. Gently pat and blend the product into the skin with the brush, being careful not to swipe or drag, which can remove the foundation underneath. The warmth of your fingertip can also be used to gently press and melt the concealer seamlessly into your skin after applying it with the brush.
Set Your Base with Powder
To set your liquid and cream products, use a large, fluffy powder brush. These brushes are designed to distribute a light, even layer of powder without disturbing the makeup underneath. Dip the brush into your translucent or tinted setting powder, and importantly, tap the handle firmly to shake off any excess. Gently sweep or press the brush over your T-zone, under your eyes, and any other areas where you tend to get shiny. This step locks your foundation and concealer in place, reduces shine, and creates a smooth canvas for powder products to follow.
Add Dimension with Bronzer and Blush
For bronzer, use a large, fluffy brush, similar to your powder brush but perhaps slightly more tapered. Sweep the bronzer along the high points of your face where the sun would naturally hit: your temples, cheekbones, and jawline, often in a "3" shape. For blush, switch to a smaller, angled, or dome-shaped blush brush. Smile to find the apples of your cheeks and apply the blush there, sweeping it gently upwards towards your temples. The key is to start with a small amount of product and build up the colour gradually to avoid harsh lines.
Define Your Eyes: Lids and Crease
For eyeshadow, you'll primarily need two brushes from your makeup brush set. First, use a flat, dense shader brush to pack colour onto your eyelid. Pat the shadow on rather than swiping it to achieve the best colour payoff. Next, take a clean, fluffy blending brush. Dip it into a neutral transition shade (a colour a few shades darker than your skin tone) and apply it to your crease using gentle back-and-forth, windscreen-wiper motions. This adds depth and ensures there are no harsh edges between colours.
Add Final Details
For finer details, your makeup brush set may include smaller, specialised brushes. An angled liner brush can be used with gel or powder to create a sharp winged liner. A pencil brush, which is small and tapered, is perfect for smudging liner along the lash line or applying a highlight to the inner corner of your eye. An angled brow brush can be used with brow powder or pomade to fill in and define your eyebrows with hair-like strokes. These finishing touches bring the whole look together.
Blend for a Seamless Finish
The final, crucial step is to take one last look at your entire face and blend away any harsh lines. You can use a large, clean powder brush to lightly buff over the edges of your blush and bronzer. Use your fluffy eyeshadow blending brush to ensure all eye colours transition smoothly into one another. The goal is a cohesive look where every product melts beautifully into the next, with no obvious starting or stopping points.
Common Problems When You Use a Makeup Brush Set
Streaky or Patchy Foundation
The Cause: This often happens from using a brush that isn't dense enough, applying too much product at once, or dragging the brush across dry skin. It can also be a sign that your brush needs a deep clean.
The Fix: Ensure your skin is well-moisturised before you start. Use a dense buffing brush and apply foundation in stippling and small circular motions. If you still see streaks, gently press over the area with a damp beauty sponge to seamlessly blend the product into the skin.
"Muddy" Eyeshadow or Blush
The Cause: This occurs when colours mix together poorly on the skin, often because the same brush was used for multiple, dark shades without cleaning it in between. Over-blending can also cause colours to become muddled.
The Fix: Always tap the excess powder off your brush before application. Use a separate, clean brush just for blending. When blending, use a light hand to diffuse the edges of colours rather than mixing them all together. A quick swipe on a microfibre towel can remove most pigment between shades if you're in a pinch.
Product Not Picking Up or Applying Well
The Cause: Over time, brushes can become coated with oils from your skin and product residue, creating a film on the bristles that prevents them from picking up powder effectively. This is especially common with natural hair brushes.
The Fix: This is a clear sign that your brushes are overdue for a deep clean. Wash them thoroughly with a proper brush soap or baby shampoo and lay them flat to dry completely. You'll notice a huge difference in their performance afterwards.
Advanced Tips for Your Makeup Brush Set
- Master Brush Density: Understand the core principle: density equals intensity. A densely packed brush will deposit more product for higher coverage (like a kabuki brush). A less dense, fluffy brush will diffuse product for a sheer wash of colour (like a powder brush).
- Use Setting Spray Strategically: Lightly mist an eyeshadow brush with setting spray before dipping it into a metallic or shimmer shadow. This will intensify the pigment and give it a beautiful foiled effect with enhanced staying power.
- Multi-Tasking Brushes: You don't always need a specific brush for every single task. A fluffy eyeshadow blending brush can double as a precise highlighter brush for your cheekbones and nose. An angled liner brush is also perfect for creating sharp, defined brows with pomade.
- Synthetic vs. Natural Bristles: Know your materials. Synthetic brushes are ideal for liquid and cream products as they don't absorb as much product. Natural hair brushes (made from animal hair) are porous and are excellent for picking up and blending powder products smoothly.
- Cleaning On The Go: Invest in a spot-cleaning spray for quick colour changes. Simply spray it onto your brush bristles and wipe them on a paper towel. The brush will be clean and dry enough to use with a new colour in seconds. This is a game-changer when creating complex eye looks.
Makeup Brush Set FAQ
How often should I clean my makeup brushes?
For best results and skin health, you should spot-clean brushes used for powder daily and deep-wash all brushes weekly. Brushes used for liquid or cream products, like foundation and concealer, should be washed more frequently, ideally after every 2-3 uses, as they are more prone to harbouring bacteria.
Do I really need a huge 20-piece makeup brush set?
Absolutely not. While large sets can be lovely, a beginner can achieve a full face of makeup with a core set of 5 to 7 essential brushes: foundation, concealer, powder, blush, a flat eyeshadow shader, and an eyeshadow blending brush. You can always add more specialised brushes later as you identify a specific need in your routine.
What is the best way to store my brushes?
Store your brushes upright in a cup or holder. This protects the bristles from getting bent or damaged and allows them to air out. When travelling, use a brush roll or a dedicated case to keep them clean and maintain their shape.
Is there a big difference between expensive and affordable makeup brushes?
Yes and no. While expensive brushes often use higher-quality materials, last longer, and may perform better, the affordable brush market has improved dramatically. The biggest differences are usually in bristle softness, how densely they are packed, and how much they shed. You can find excellent, budget-friendly synthetic brushes that perform beautifully for most daily needs.
Quick Reference
| Situation | Use this | Why |
|---|---|---|
| Applying liquid foundation | Dense, flat-top buffing brush | Provides even, high-coverage application without absorbing too much product. |
| Setting your entire face | Large, fluffy powder brush | Distributes a light, even veil of powder for a natural finish that doesn't look cakey. |
| Applying blush to cheeks | Angled or medium dome brush | Fits the contours of the cheek perfectly for precise, buildable colour application. |
| Blending eyeshadow in the crease | Tapered, fluffy blending brush | Diffuses harsh lines and seamlessly transitions colours for a professional, smoky effect. |
| Covering a small blemish | Small, firm, flat-tipped brush | Allows for precise, targeted application of concealer directly onto the spot for maximum coverage. |
| Applying highlighter | Small, fan or tapered fluffy brush | Picks up the right amount of shimmer and applies it precisely to the high points of the face. |
Final Checklist for Using Your Makeup Brush Set
- Start Clean: Did you begin with a clean face and, most importantly, clean and dry brushes?
- Match Product to Brush: Have you used dense brushes for creams/liquids and fluffy brushes for powders?
- Remove Excess: Did you remember to tap excess powder off your brush before applying it to your face?
- Blend, Blend, Blend: Have you checked for and blended out any harsh lines from your foundation, contour, blush, or eyeshadow?
- Correct Storage: After finishing, are your brushes stored upright in a holder to protect their shape?
- Schedule a Wash: Have you made a mental note to deep-clean your brushes at the end of the week?