Dior Cosmetics Makeup
A practical step-by-step guide to dior cosmetics makeup, including preparation, instructions, common issues, tips, and next steps.
Dior Cosmetics Makeup
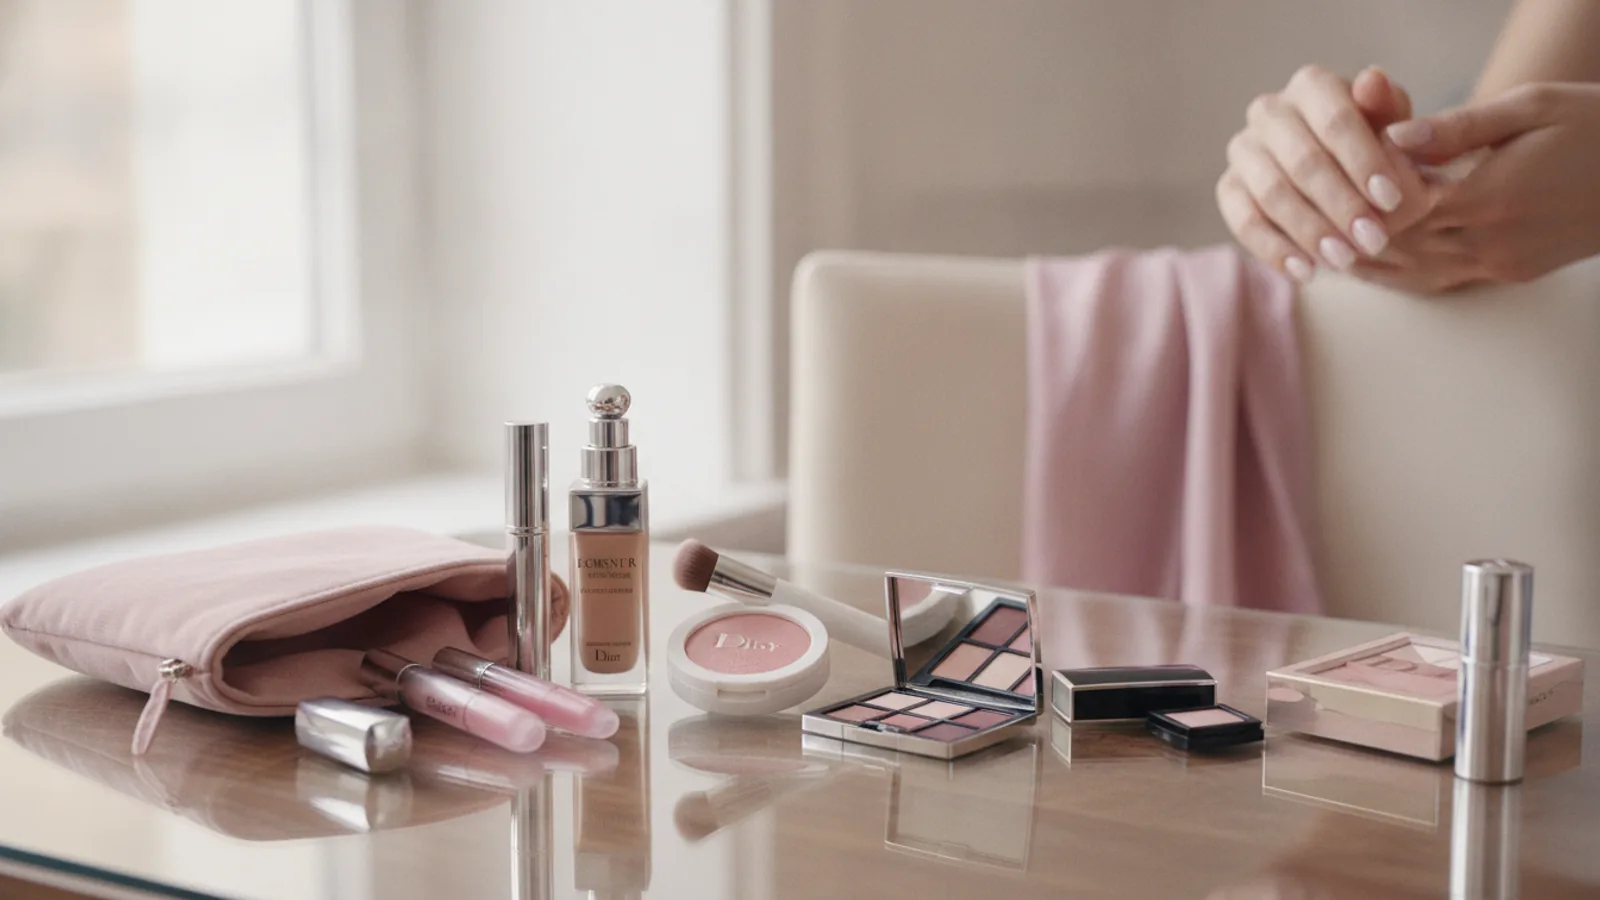
This guide walks you through creating the signature Dior makeup look: a timeless, elegant, and radiant style that enhances your natural features. Perfect for special occasions or elevating your daily routine, you'll learn the techniques to achieve that flawless, 'lit-from-within' glow synonymous with Dior beauty. We focus on the method and application, helping you master the art of polished sophistication from base to final touch.
Fast Answer
- The Dior Look Focus: Radiant skin, subtly defined eyes, and a classic statement lip.
- Core Technique: Building coverage by layering light, luminous textures.
- Essential Step: Meticulous skin preparation is non-negotiable for a flawless finish.
- Signature Finish: A healthy, sophisticated glow that looks like second skin.
Before You Start
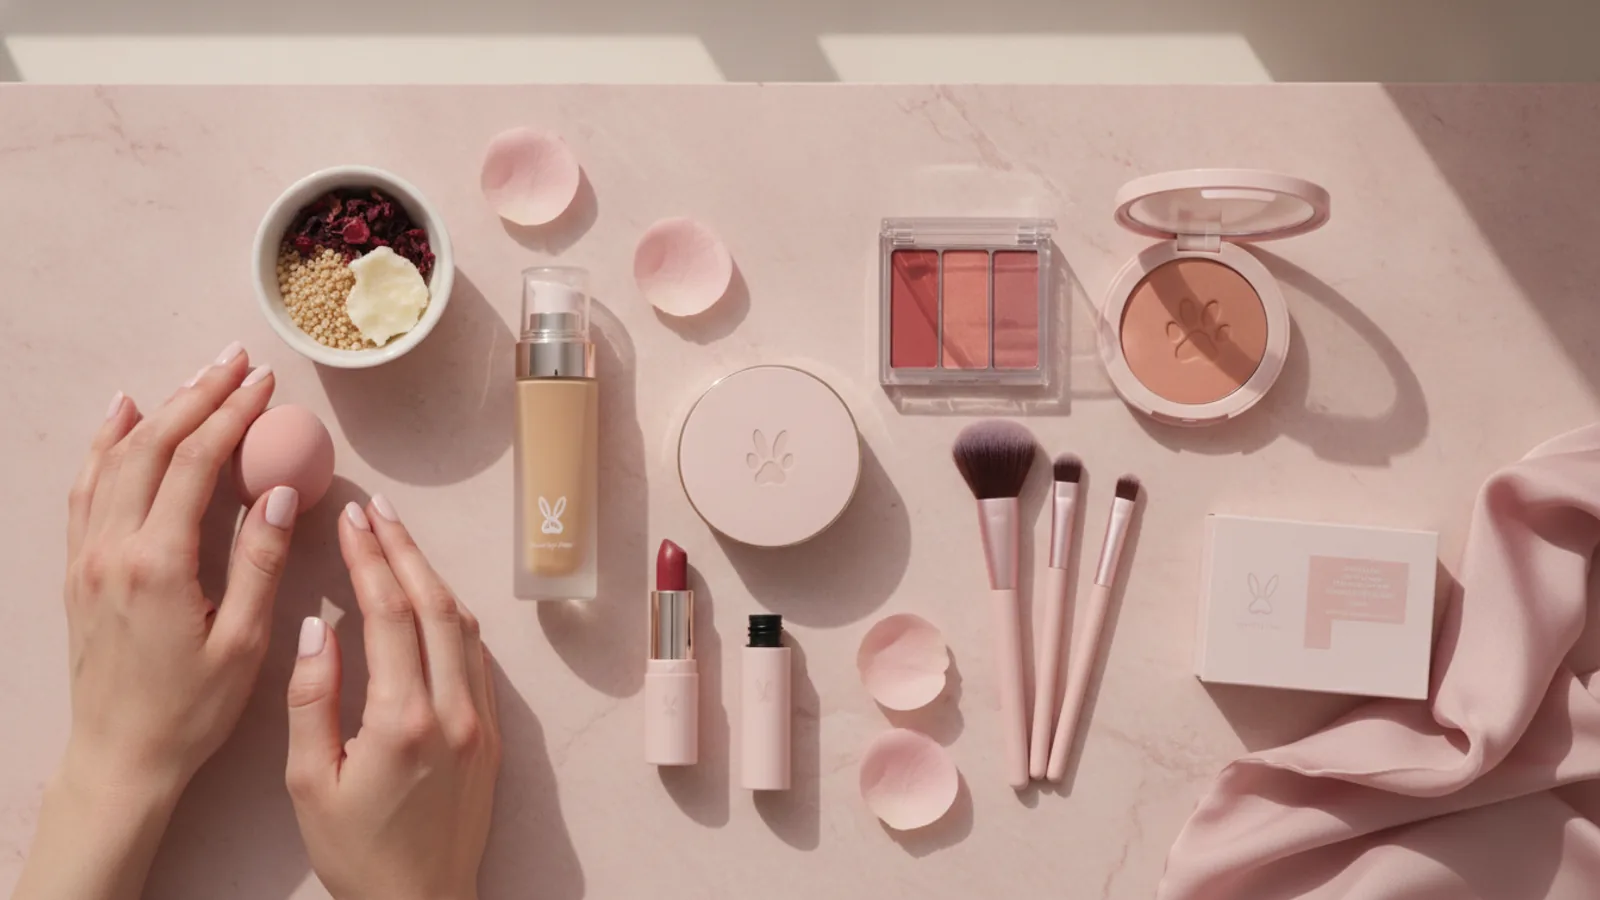
Achieving the Dior look is as much about preparation and tools as it is about the makeup itself. Gather these essentials to create a polished and professional result. A clean, well-lit space will make the application process much smoother.
What You Need
- Freshly cleansed and moisturised skin
- A smoothing or illuminating face primer
- Your preferred foundation with a radiant or satin finish
- A brightening concealer
- Fine, translucent setting powder
- A neutral eyeshadow palette (with matte and satin shades)
- Eyeliner pencil or liquid pen in black, brown, or grey
- Volumising and lengthening mascara
- Brow pencil, powder, or pomade
- A powder blush in a soft pink or peach shade
- A subtle powder or cream highlighter
- Lip liner and lipstick (a classic red or sophisticated nude)
- A complete set of clean makeup brushes and a damp makeup sponge
Step-by-Step Instructions
Prepare the Canvas: Skincare & Priming
The foundation of any beautiful makeup look is impeccable skincare. Begin with a clean, toned, and well-hydrated face. Allow your moisturiser and any serums to absorb fully for at least five minutes. This prevents your base makeup from pilling or sliding.
Next, apply a primer. Dispense a pea-sized amount onto your fingertips and gently smooth it over your face, focusing on the T-zone, cheeks, and any areas with visible pores or fine lines. A primer not only creates a silky-smooth canvas but also helps your dior cosmetics makeup last significantly longer.
Create a Flawless Base: Foundation
The Dior approach to foundation is about perfecting, not masking. The goal is a luminous, 'second-skin' finish that looks fresh and healthy. Start by dispensing one pump of foundation onto the back of your hand.
Using a dense foundation brush or a damp makeup sponge, pick up a small amount of product. Begin applying it to the centre of your face (around the nose and on the chin) and blend outwards towards your hairline and jaw. This technique ensures the most coverage is where you typically need it, while the edges remain sheer and natural. Build coverage only in specific areas, like on blemishes or redness, by stippling on a thin second layer.
Perfect & Brighten: Concealer Application
Concealer is a multi-tasking tool for both hiding imperfections and strategically adding light to the face. Choose a shade that matches your foundation for blemishes, and one that is one to two shades lighter for brightening the under-eye area.
To brighten, apply the lighter concealer in a triangular shape under each eye, with the point aiming down towards your cheek. This 'triangle of light' technique lifts the entire face. Gently tap the product into the skin with your ring finger or a small blending sponge until the edges are seamless. Apply the skin-toned concealer directly onto any blemishes and tap to blend the edges without wiping the coverage away.
Set the Look: Powder, Blush & Highlight
The key to maintaining radiance is strategic powdering. Using a large, fluffy brush, lightly dust a fine translucent powder over your T-zone—the forehead, nose, and chin—to control shine. Avoid powdering the high points of your face, like your cheekbones, to preserve the natural glow of your foundation.
Next, add colour and dimension. Swirl a blush brush into your chosen powder blush, tap off the excess, and apply it to the apples of your cheeks, sweeping the colour gently upwards along your cheekbones towards your temples. Follow with a highlighter, using a smaller brush to apply a subtle sheen to the tops of your cheekbones, the bridge of your nose, and your cupid's bow.
Define the Eyes: Classic Dior Eyeshadow
An elegant eye is central to the Dior aesthetic. Using a neutral eyeshadow palette, begin by applying a light, matte shade (like ivory or soft beige) all over your eyelid, from the lash line to the brow bone. This creates a smooth, even base.
Next, take a medium-toned matte shade (such as taupe or soft brown) on a fluffy blending brush and apply it into your crease, using gentle back-and-forth windshield-wiper motions. This adds depth and dimension. For a touch more definition, apply a slightly darker shade to the outer corner of your eye in a 'V' shape and blend it carefully into the crease colour. The key is to ensure there are no harsh lines.
Add Sophistication: Eyeliner & Mascara
Eyeliner should define the eyes without overpowering them. Using a liquid liner pen or a sharpened pencil, draw a thin line as close to your upper lash line as possible. Start from the inner corner and extend it to the outer corner. For a classic Dior look, you can add a very small, delicate wing that follows the upward curve of your lower lash line.
Before applying mascara, always curl your eyelashes for maximum lift. Then, hold the mascara wand at the base of your upper lashes and wiggle it back and forth as you pull it through to the tips. This technique builds volume at the root. Apply one to two coats, and don't forget a light coat on your bottom lashes to balance the look.
Frame the Face: Sculpted Eyebrows
Well-groomed eyebrows are essential for framing your face and completing any polished makeup look. The goal is to enhance your natural shape, not to create a heavily drawn-on brow. Start by brushing your brow hairs upwards and outwards with a spoolie brush.
Using a brow pencil or powder that matches your hair colour, fill in any sparse areas with light, feathery strokes that mimic the appearance of natural hairs. Focus on defining the arch and extending the tail if needed. Brush through with the spoolie one last time to blend the product for a soft, natural finish.
The Final Touch: The Signature Dior Lip
A perfectly applied lip is the ultimate finishing touch. Whether you choose a classic red or a sophisticated nude, precision is key. Begin by exfoliating your lips and applying a light layer of lip balm, blotting away any excess.
Outline your lips with a lip liner that matches your chosen lipstick. This defines your lip shape and creates a barrier to prevent the colour from feathering. Then, apply the lipstick directly from the bullet or with a lip brush for ultimate precision. For long-lasting wear, blot your lips with a single-ply tissue, and then apply a second layer of lipstick.
Quick Reference
| Situation | Use this | Why |
|---|---|---|
| My foundation looks heavy or cakey. | A damp makeup sponge and a hydrating face mist. | The sponge lifts excess product and the mist rehydrates the base, restoring a natural, skin-like finish. |
| My eyeliner wing is uneven. | A cotton bud dipped in micellar water. | It allows for precise cleanup to sharpen the line or correct mistakes without disturbing the rest of your eye makeup. |
| My lipstick bleeds or feathers. | A clear lip liner or a thin layer of concealer around the lip line. | This creates an invisible barrier that stops the lipstick from migrating outside your natural lip shape. |
| I want to take my look from day to night. | A darker eyeshadow and a bolder lipstick. | Smudging a dark shadow along the lash line and switching from a nude to a red lip quickly adds drama and intensity. |
Common Problems When You Apply Dior Cosmetics Makeup
Foundation Oxidising or Changing Colour
This happens when the pigments in your foundation react with the natural oils and pH of your skin, causing the colour to darken. To prevent this, always allow your moisturiser and primer to absorb fully before applying your base. Test foundation shades on your jawline and wait 10-15 minutes to see if the colour changes before making a purchase.
Concealer Creasing Under the Eyes
The delicate skin under the eyes is prone to creasing. This is often caused by over-application or dehydration. To minimise it, ensure the under-eye area is well-hydrated with an eye cream. Apply concealer sparingly, only where you need it, and blend it out. Immediately set it with a very small amount of finely milled, light-reflecting powder to lock it in place before it has a chance to settle into lines.
Patchy Blush or Bronzer
If your powder cheek products look patchy, it's likely because you've applied them over a foundation or concealer that hasn't fully set. To fix this, ensure your liquid or cream base is dry to the touch, or set it with a very light layer of translucent powder first. This creates a smooth surface for other powders to glide over and blend seamlessly. Always tap excess product off your brush before it touches your face.
Advanced Tips for Dior Cosmetics Makeup
Mastering the 'Glass Skin' Glow
Go beyond a simple powder highlighter. For a truly luminous, 'wet' look, layer your glowing products. Start by mixing a liquid illuminator with your foundation. After your base is complete, spritz your face with a hydrating mist. While the skin is still slightly damp, use your fingers to tap a clear, non-sticky balm (like a lip balm or skin salve) onto the very highest points of your cheekbones and brow bones. This creates a glossy sheen that catches the light beautifully.
Multi-Layering Lip Colour for Dimension
Create a fuller-looking lip by using multiple shades. Start by lining and filling in your lips with a neutral or slightly darker lip liner. Apply your main lipstick shade all over. Then, take a lipstick that is one or two shades lighter and apply it only to the very centre of your top and bottom lips. Gently press your lips together to blend. The lighter centre creates a 3D effect that makes lips appear plumper.
The 'Invisible' Eyeliner Technique (Tightlining)
For eye definition that looks incredibly natural, try tightlining. Instead of drawing a line on your eyelid, gently lift your upper lashes and apply a waterproof black or brown eyeliner pencil directly to your upper waterline. This fills in the gaps between your lashes at the root, making your lash line appear instantly thicker and fuller without a visible line of makeup. It's a subtle trick that makes a huge difference.
Dior Cosmetics Makeup FAQ
Do I need to use only Dior products to achieve the look?
While Dior products are designed to work harmoniously, the techniques in this guide are universal. You can achieve a similar elegant and radiant finish using high-quality products from other brands that have comparable textures, such as luminous foundations, finely milled powders, and satin-finish lipsticks. The key is the method of application, not just the brand.
How can I make my makeup last all day?
Longevity comes from proper preparation and setting. Always start with a primer suited to your skin type. Apply your makeup in thin, light layers, as this adheres better than one thick application. Set your cream and liquid products with a light dusting of translucent powder, especially in the T-zone. Finally, lock everything in place with a quality setting spray, holding it about 30cm from your face and misting lightly.
Is the Dior makeup look suitable for mature skin?
Absolutely. The Dior aesthetic, with its focus on radiant skin and blended, soft features, is exceptionally flattering for mature skin. The key is to prioritise hydration in your skincare prep and opt for cream-based products for blush and highlighter, as they are more forgiving than powders. Choose a hydrating, satin-finish foundation that won't settle into fine lines and focus on enhancing features rather than heavy coverage.
Final Checklist for Dior Cosmetics Makeup
- Skin is cleansed, hydrated, and expertly primed.
- Foundation is blended seamlessly for a radiant, believable finish.
- Concealer is used to brighten and perfect, not to mask.
- Powder is applied strategically to control shine while preserving glow.
- Eyes are softly defined with beautifully blended, neutral eyeshadows.
- Brows are groomed and filled in naturally to frame the face.
- A classic, precisely applied lip colour provides the perfect finishing touch.
- A final check in natural light confirms no harsh lines or unblended edges.