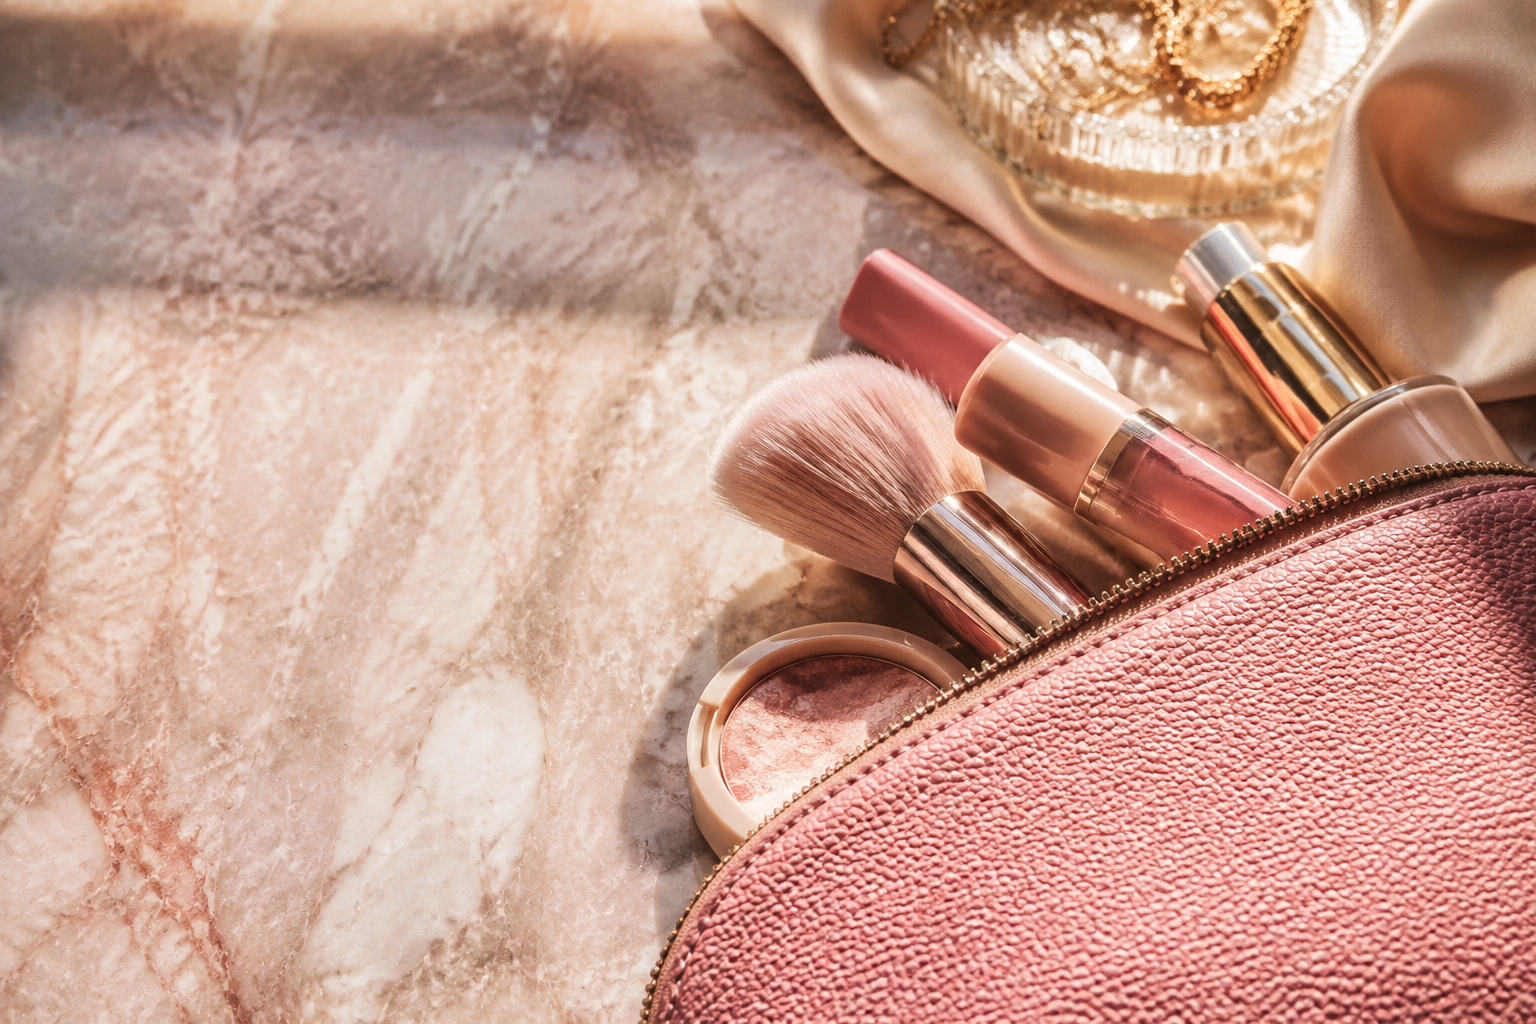
The perfect makeup bag is more than just a place to store your products; it's a curated kit that streamlines your daily routine. This guide walks you through the art of packing and organising your Saie makeup bag, transforming it from a cluttered catch-all into a functional, beautiful extension of your beauty ritual. Whether you're refreshing your daily carry or preparing for a weekend away, we'll show you how to thoughtfully select, categorise, and arrange your essentials for effortless access and a perfectly polished look, anytime.
Fast Answer
- Core Method: Curate, categorise, and layer.
- Key Principle: Pack only your true daily essentials.
- Best Practice: Clean your bag and brushes regularly.
- Main Goal: Find any item in under 10 seconds.
Before You Start
A well-organised makeup bag starts with a little preparation. Taking a few minutes to gather your tools and assess your products will make the entire process smoother and more effective. Think of this as a mini beauty audit that sets the stage for a perfectly organised routine.
What You Need
- Your Saie makeup bag (or bag of choice)
- All your makeup, skincare, and beauty tools
- A clean, flat surface like a towel or mat
- Gentle soap or makeup remover wipes for cleaning the bag
- Brush cleaner and a cloth for your tools
- Cotton pads or buds for tidying up products
Safety, Timing, or Context Checks
Before you begin placing products inside, a few simple checks can prevent future messes and ensure your makeup is safe to use.
- Check Expiry Dates: Quickly scan your products for expiration symbols (an open jar icon with a number like "12M"). Discard anything that is past its prime, smells off, or has changed in texture. This is crucial for eye and cream products.
- Inspect for Damage: Look for cracked compacts or loose lids. A broken powder or a leaky foundation can ruin the contents of your bag and the bag itself.
- Wipe Down Products: Give the outside of each tube, pot, and palette a quick wipe to remove old makeup residue and fingerprints.
Step-by-Step Instructions
Follow these steps to create a thoughtfully organised Saie makeup bag that makes your daily routine a breeze.
Empty and Clean Your Bag
The first step to true organisation is starting with a clean slate. Empty your Saie makeup bag completely, shaking it upside down over a bin to remove any loose powder, dust, or debris. Use a damp cloth with a small amount of gentle soap or a makeup wipe to clean the interior lining. Pay special attention to corners and seams where old makeup can build up. Wipe the exterior and leave the bag open to air dry completely before you start refilling it.
Gather and Audit Your Collection
Lay out all your makeup and tools on your clean, flat surface. This visual overview is incredibly helpful. Seeing everything at once allows you to spot duplicates, identify products you no longer use, and rediscover old favourites. This is your moment to be honest about what you truly need on a daily basis. Separate everything into three piles: Everyday Essentials, Special Occasions, and Discard/Store. Your makeup bag should only contain items from the "Everyday Essentials" pile.
Curate Your Everyday Essentials
Now, focus on that "Everyday Essentials" pile. This is the core of your portable routine. The goal is efficiency and versatility. A perfect everyday kit typically includes one product from each key category: a base (like a skin tint or concealer), a cheek colour (blush or bronzer), a brow product, mascara, and a lip product. Saie's ethos leans towards multi-use products, so think about what can do double duty. A cream blush can often be used on the lips, and a bronzer can double as a simple eyeshadow.
Your curated kit should reflect the look you wear most often. If you only wear eyeliner on weekends, it doesn't need to take up precious space in your daily bag.
Categorise for Smart Packing
Before you start putting things in the bag, group your selected essentials into small categories on your work surface. This mental organisation makes packing much more logical. Common categories include:
- Face/Base: Foundation, concealer, skin tint, setting powder.
- Colour: Blush, bronzer, highlighter.
- Eyes: Mascara, eyeliner, brow gel, a small neutral eyeshadow palette.
- Lips: Lip balm, lipstick, lip gloss.
- Tools: Brushes, sponge, eyelash curler, tweezers.
This grouping strategy prevents you from just throwing everything in randomly and is the secret to finding what you need without rummaging.
Pack in Logical Layers
Begin packing with your least-used or largest items first to create a stable base. This usually includes your base products like a skin tint or a powder compact. Lay them flat at the bottom of the bag. This approach, often called "structural packing," prevents smaller items from getting lost underneath. Think of it like packing a grocery bag-cans on the bottom, bread on top.
Add Your Colour and Eye Products
Next, layer in your cheek and eye products. Place items like blush, bronzer, and small palettes on top of the base items. Slot longer, thinner items like mascara, brow gel, and eyeliner vertically along the sides of the bag. This uses the space efficiently and keeps them upright, which can help prevent leaks. By placing them along the perimeter, you also make them easy to see and grab.
Secure Your Brushes and Tools
Makeup brushes should be protected to keep them clean and maintain their shape. If your Saie bag doesn't have dedicated brush slots, consider using a small brush guard or slipping them into a narrow fabric pouch before placing them in the bag. Place your tools, like an eyelash curler or tweezers, on top or in a side pocket if available. This protects the bristles from being bent and keeps bacteria from your tools off your makeup products.
Create a "Quick-Grab" Zone
The items you reach for most frequently for touch-ups should be the easiest to access. This is usually your lip product, a small powder, or a concealer. Place these right on top, just before you zip the bag closed. This way, when you need a quick touch-up during the day, you can open the bag and find what you need immediately without disturbing the careful organisation underneath. It's a small detail that makes a huge difference in daily use.
Perform the Final Edit and Zip Test
Take one last look at your packed bag. Does anything seem unnecessary? Could a single multi-tasking product replace two others? Remove any "just in case" items that you haven't used in the past week. Finally, close the bag. It should zip up easily without any strain or force. If you have to push down on the contents to get it closed, it's overpacked. An overstuffed bag puts stress on the zipper and can increase the risk of products breaking inside.
Quick Reference
| Situation | Use this | Why |
|---|---|---|
| Daily Touch-Ups | Lip balm, concealer, pressed powder | These are the most common items needed for a quick refresh throughout the day. |
| Minimising Space | Multi-use cream sticks (for lips/cheeks) | One product can replace two or three, saving significant space and weight. |
| Preventing Spills | Solid formulas (e.g., solid perfume, cleanser stick) | Solid products eliminate the risk of leaks entirely, especially during travel. |
| Protecting Powders | A flat cotton pad inside the compact | The cotton pad acts as a cushion, absorbing shock and preventing pressed powders from shattering. |
Common Problems When You saie makeup bag
Even with the best intentions, you might run into a few common issues. Here’s how to solve them.
Problem: My bag is always a cluttered mess within a few days.
Solution: The key to long-term organisation is habit. Make it a rule to put products back in their designated "zone" after each use. Take 30 seconds at the end of your routine to place your mascara back along the side and your blush back in the middle layer. It's a small daily reset that prevents chaos from building up.
Problem: My powder blush or eyeshadow shattered.
Solution: This is often caused by the bag being dropped or items shifting around too much. To prevent this, place a flat, round cotton pad inside the lid of any pressed powder compact before closing it. This small cushion absorbs impact and holds the powder in place. If it's too late, you can repress a broken powder by crushing it completely, adding a few drops of rubbing alcohol, and pressing it firm with a flat object covered in a paper towel.
Problem: I can't fit everything I need for travel.
Solution: A daily makeup bag is different from a travel bag. For travel, focus on decanting. Instead of taking a full bottle of foundation, use a small sample pot that holds enough for your trip. Look for miniature versions of your favourite products (mascara, setting spray) and solid alternatives to liquids (solid perfume, cleansing balm). This dramatically reduces both space and weight.
Advanced Tips for saie makeup bag
Once you've mastered the basics, these pro tips can elevate your makeup bag game.
Create a Modular System
Instead of one bag, consider a system. Use your main Saie bag for your absolute essentials. Then, have smaller pouches for specific needs. For example, a tiny "evening pouch" with a bold lipstick and liquid eyeliner that you can add to your main bag when you have plans after work. This modular approach keeps your daily carry light while giving you flexible options.
Build a "Desk to Dinner" Kit
Identify the 3-4 items that transform your daytime look into something more glamorous. This might be a kohl eyeliner, a shimmering eyeshadow stick, a bolder lipstick, and a mini tube of highlighter. Keep these items bundled together within your bag so you can quickly amp up your look without having to carry a completely separate collection.
Implement a Seasonal Rotation
Your skincare and makeup needs change with the seasons. Schedule a quarterly clean-out of your makeup bag. In summer, you might swap your medium-coverage foundation for a lightweight skin tint with SPF and add a cream blush for a dewy look. In winter, you might add a richer lip balm and a more hydrating concealer. This ensures your bag is always filled with what’s most appropriate for your skin and the climate.
Saie Makeup Bag FAQ
How often should I clean my Saie makeup bag?
A good rule of thumb is to give it a thorough cleaning once a month. If you notice a spill or significant product build-up, spot-clean it immediately. Regular cleaning prevents bacteria from growing and transferring to your products and skin.
Can I put my Saie makeup bag in the washing machine?
It's generally not recommended. Most makeup bags, especially those with structure or specific finishes, can be damaged by a machine wash. The safest method is always hand-washing or spot-cleaning with a gentle cleanser and letting it air dry completely.
What are the best multi-use products for saving space?
Look for cream-based colour products. A high-quality cream blush can often be used for a wash of colour on the lips and even as a soft eyeshadow. A liquid highlighter can be mixed with your skin tint for an all-over glow. A neutral brown eyebrow pencil can also double as a soft eyeliner in a pinch.
How do I keep everything smelling fresh?
After cleaning and ensuring it's fully dry, you can place a single cotton ball with a drop of a gentle essential oil (like lavender or citrus) in a corner of the bag. Alternatively, a small sachet of dried lavender works well. Replace it every few weeks.
Final Checklist for saie makeup bag
Before you zip up, run through this final mental checklist to ensure your bag is perfectly prepared.
- The bag's interior and exterior are clean and dry.
- All products are within their expiration date.
- Every cap and lid is tightly secured.
- Liquids and creams form the bottom layer.
- Brushes are clean and their bristles are protected.
- Touch-up items are on top for easy access.
- The bag zips closed easily, without force.