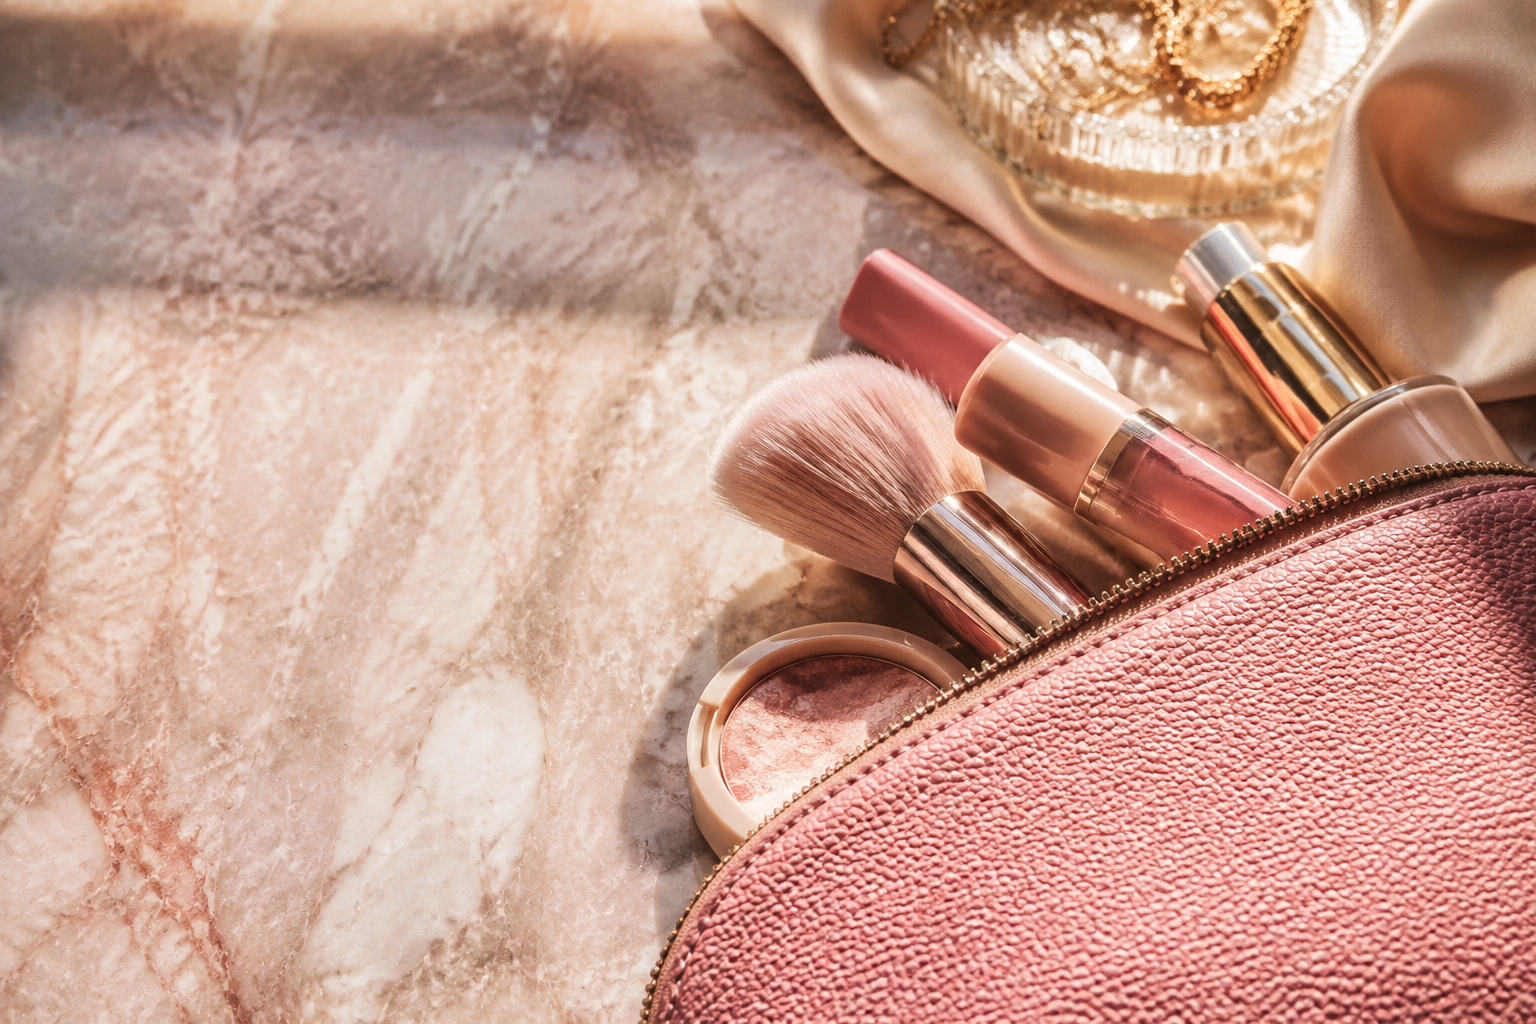

A well-organised makeup bag is more than just a tidy space; it’s the foundation of a smooth, hygienic, and joyful beauty routine. This guide will walk you through everything you need to know about organising, cleaning, and packing your makeup and makeup bags. Whether you're decluttering your main collection or creating the perfect on-the-go kit, these steps will help you protect your products, find what you need instantly, and keep your skin happy.
Fast Answer
- Key Action: Empty your bag completely, sort your products, and deep clean the bag and tools regularly.
- Main Goal: To create a hygienic, organised system that saves you time and protects your makeup investment.
- Best Practice: Separate your brushes from your makeup to keep bristles clean and prevent powder transfer.
Before You Start
Gathering your supplies before you begin makes the entire process feel less like a chore and more like a satisfying ritual. You'll be creating a clean slate for your beauty routine.
What You Need
- All your makeup products and your current makeup bag(s).
- A clean, flat surface, like a desk or floor space covered with a towel.
- Gentle soap (baby shampoo is excellent for brushes) or a dedicated makeup brush cleanser.
- A small bowl of lukewarm water.
- Isopropyl alcohol (at least 70%) in a small spray bottle for sanitising.
- Cotton pads, reusable bamboo rounds, or a soft microfibre cloth.
- A bin or bag for any products you'll be discarding.
- Optional: Clear pouches, travel-sized pots, and brush guards for ultimate organisation.
How to Organise and Maintain Your Makeup Bag
Follow these steps to transform your makeup bag from a cluttered collection into a curated, functional kit.
Empty and Sort Everything
The first step to true organisation is knowing exactly what you have. Tip the entire contents of your makeup bag onto your clean, towel-covered surface. This 'makeup inventory' moment can be revealing! Shake the bag to get any last bits of dust or debris out.
Now, create three distinct piles: Keep, Maybe, and Discard.
- Keep: These are your holy grails-the products you love and use regularly.
- Maybe: This pile is for items you're unsure about. Perhaps it's a bold lipstick you save for special occasions or a product you bought but haven't used much. We'll revisit this pile later.
- Discard: This is for any product that has expired, changed in smell, colour, or texture, is broken beyond repair, or you simply know you will never use again. Be ruthless here; holding onto old makeup is bad for your skin and creates clutter.
Deep Clean Your Makeup Bag
Your makeup bag is a breeding ground for bacteria from old product residue and daily handling. A clean bag is essential for a hygienic routine. The cleaning method depends on the material of your bag.
- For fabric bags (like cotton or canvas): Check the care label first. Most can be hand-washed with a gentle soap or detergent in lukewarm water. Gently scrub any stains, rinse thoroughly, and reshape it while damp. Allow it to air dry completely before putting anything back inside to prevent mildew.
- For plastic or vinyl-lined bags: These are the easiest to clean. Create a simple cleaning solution with gentle soap and water. Use a cloth to wipe the interior and exterior of the bag. For an extra sanitising step, lightly spritz the inside with your isopropyl alcohol spray and wipe it down, or use an antibacterial wipe. Make sure it's 100% dry before you use it again.
Clean Your Products and Tools
Putting clean makeup into a clean bag is the goal. This step ensures no bacteria is transferred back and forth. Split this task into cleaning your tools and sanitising your product packaging.
For Brushes and Sponges: Wet the bristles or sponge with lukewarm water. Apply a small amount of gentle soap or brush cleanser. Gently massage the bristles on your palm or a brush cleaning mat until the water runs clear. For sponges, squeeze repeatedly under running water. Squeeze out excess water, reshape the brush heads, and lay them flat on a clean towel to dry. Hanging them with the bristles down is even better. Never dry them standing up, as water can seep into the handle and loosen the glue.
For Product Packaging: Take your 'Keep' pile and wipe down the outside of every compact, tube, and bottle. A cotton pad dampened with a little rubbing alcohol works perfectly to remove fingerprints and sanitise the surfaces.
Categorise and Curate Your Collection
With your clean products ready, it's time to organise. Group the items from your 'Keep' pile into logical categories on your towel. Common categories include:
- Face/Base: Primer, foundation, concealer, powder.
- Cheeks: Blush, bronzer, highlighter.
- Eyes: Eyeshadow palettes, single shadows, eyeliner, mascara, brow products.
- Lips: Lipstick, lip gloss, lip liner, lip balm.
- Tools: Brushes, sponges, tweezers, eyelash curlers.
Now, look at your 'Maybe' pile. For each item, decide if it deserves a spot in your curated collection. If you haven't used it in six months, it's unlikely you will. Consider passing it to a friend (if it's a powder product that can be sanitised) or finally letting it go.
Strategically Pack Your Everyday Bag
This is where your new, organised system comes to life. Your everyday makeup bag shouldn't be a storage unit for your entire collection; it should be a curated kit of your essentials. Select the core products you use for your go-to daily look.
When packing, think like a pro. Place flatter, sturdier items like powder compacts or small palettes at the bottom to create a stable base. Slot taller items like mascara and lip gloss in around the sides. If your bag has compartments, use them! Dedicate one section to lips, another to face products. Most importantly, keep your brushes separate. Use a dedicated brush slot, a small brush roll, or even a slim pencil case to keep them clean and prevent powder from dusting over everything in your bag.
Create Modular and Specialised Kits
For ultimate efficiency, consider a modular approach. Instead of one overstuffed bag, create several small, purpose-built kits. This saves you from packing and unpacking every single day.
- The Daily Touch-Up Pouch: A very small pouch for your handbag containing only the essentials for a midday refresh: a concealer, a pressed powder, your chosen lipstick for the day, and perhaps a mini mascara.
- The Travel Kit: A dedicated, travel-ready bag with mini or decanted versions of your skincare and makeup favourites. This is always ready to go, saving you last-minute packing stress.
- The Evening Glam Kit: A pouch with your bolder options-a red lipstick, a glitter eyeshadow, false lashes-that you can grab for a night out without disturbing your daily setup.
Quick Reference: Your Cleaning Schedule
Staying on top of hygiene is simple with a routine. Use this table as a guide for when to clean your items.
| Situation | Recommended Action | Why It Matters |
|---|---|---|
| Daily Use Sponges | Quick rinse with soap after each use. | Prevents foundation from building up and stops bacteria growth. |
| Weekly Maintenance | Deep clean all brushes and wipe down the inside of your bag. | Maintains a hygienic baseline for your skin and products. |
| Monthly/Quarterly Edit | Full empty, sort, and sanitise session (as detailed in this guide). | Catches expired products and keeps your collection curated. |
| Post-Illness | Sanitise all products and tools, especially lip and eye products. | Helps to prevent reinfecting yourself. |
Common Problems When You Organise Makeup And Makeup Bags
Even with the best intentions, you might run into a few common issues. Here’s how to troubleshoot them.
Problem: Leaks and Spills
There's nothing worse than opening your bag to find foundation all over everything.
Solution: Always ensure lids on liquid products are screwed on tightly. For extra security, place any liquids like foundation, primers, or setting sprays into a small, separate waterproof or zip-lock pouch inside your main bag. Decanting products into designated travel-safe containers with secure lids is also a game-changer.
Problem: Broken Powder Products
A dropped compact can feel like a mini tragedy, but a shattered powder doesn't have to be the end.
Solution: You can often fix it! Gather the broken pieces back into the pan. Crush the remaining chunks into a fine powder. Add a few drops of rubbing alcohol and mix to create a paste. Smooth the surface with the back of a spoon and leave it to dry for several hours. To prevent this, pack your bag snugly so items don't rattle around, and cushion fragile compacts with a cotton pad inside.
Problem: Your Bag Feels Like a "Black Hole"
You know you packed that specific lip liner, but you can't find it without emptying the entire bag.
Solution: Choose your bag wisely. A makeup bag with a wide opening and a light-coloured interior makes it much easier to see the contents. Utilising internal compartments or using smaller, colour-coded or clear pouches within the main bag will keep everything visible and in its place.
Advanced Tips for Makeup And Makeup Bags
Ready to take your organisation to the next level? These pro tips will streamline your routine even further.
- Adopt the "One In, One Out" Rule: To prevent your collection from growing out of control, make a pact with yourself. Every time you buy a new makeup item (e.g., a new mascara), you must discard the one it's replacing. This keeps your inventory minimal and current.
- Create a Seasonal Edit: Just as you switch your wardrobe between summer and winter, do the same with your makeup. In the spring, store your deep, vampy lipsticks and bring out the bright corals and pinks. This keeps your look fresh, helps you rediscover old favourites, and ensures no product sits unused for too long.
- Decant for Daily Use: Decanting isn't just for travel. If you have a large, heavy glass bottle of foundation, decant a week's worth into a tiny, lightweight pot for your daily makeup bag. This reduces weight and protects the main bottle from being knocked about.
- Magnetise Your Palettes: For the truly dedicated organiser, depotting your single eyeshadows, blushes, and bronzers into an empty magnetic palette (like a Z Palette) is the ultimate space-saver. It allows you to create a custom, all-in-one palette with just your favourite shades.
Makeup And Makeup Bags FAQ
How often should I replace my makeup bag?
What's the most hygienic type of makeup bag?
Can I store skincare in my makeup bag?
How do I manage my "makeup maybe" pile without feeling wasteful?
Final Checklist for Your Makeup Bag Routine
Your makeup bag is now a clean, curated, and efficient part of your beauty ritual. Run through this final checklist to ensure everything is perfect.
- Products Sorted: You have checked all expiry dates and decluttered any old or unused makeup.
- Bag Is Clean: The interior and exterior of your makeup bag are completely clean and dry.
- Tools Are Sanitised: All your brushes, sponges, and tools have been washed and are ready for use.
- Packaging Is Wiped: The containers of your keeper products have been wiped clean.
- Packed With Purpose: Your bag is packed logically, with brushes protected and liquids secured.
- Edit Is Curated: The bag contains only what you need for its specific purpose, making your routine faster and more enjoyable.