Foundation Cosmetics Makeup
A practical step-by-step guide to foundation cosmetics makeup, including preparation, instructions, common issues, tips, and next steps.
Foundation Cosmetics Makeup
Mastering the art of foundation is the cornerstone of any polished makeup look. This comprehensive guide walks you through every step of applying foundation cosmetics makeup, from essential skin preparation to flawless blending techniques. Whether you're a complete beginner aiming for a natural daily look or looking to perfect your full-coverage application for special occasions, these instructions will help you achieve a smooth, long-lasting, and undetectable base that looks and feels like your own skin, only better.
Fast Answer
- Key Action: Prep skin thoroughly with moisturiser and primer.
- Application: Apply in thin layers, starting from the centre of the face.
- Blending: Use a damp sponge, brush, or fingers to blend outwards.
- Critical Check: Ensure the blend is seamless at the hairline and jawline.
Before You Start
A flawless foundation finish begins long before you open the bottle. Proper preparation ensures the product glides on smoothly, blends seamlessly, and lasts all day without separating or settling into fine lines. Gather your tools and products in a well-lit space—natural daylight is always best for an accurate colour check.
What You Need
- Skincare: A gentle cleanser and a moisturiser suited to your skin type.
- Primer: Choose one based on your skin's needs (e.g., hydrating, mattifying, or illuminating).
- Foundation: Your chosen formula (liquid, cream, or powder) in a shade that matches your skin tone.
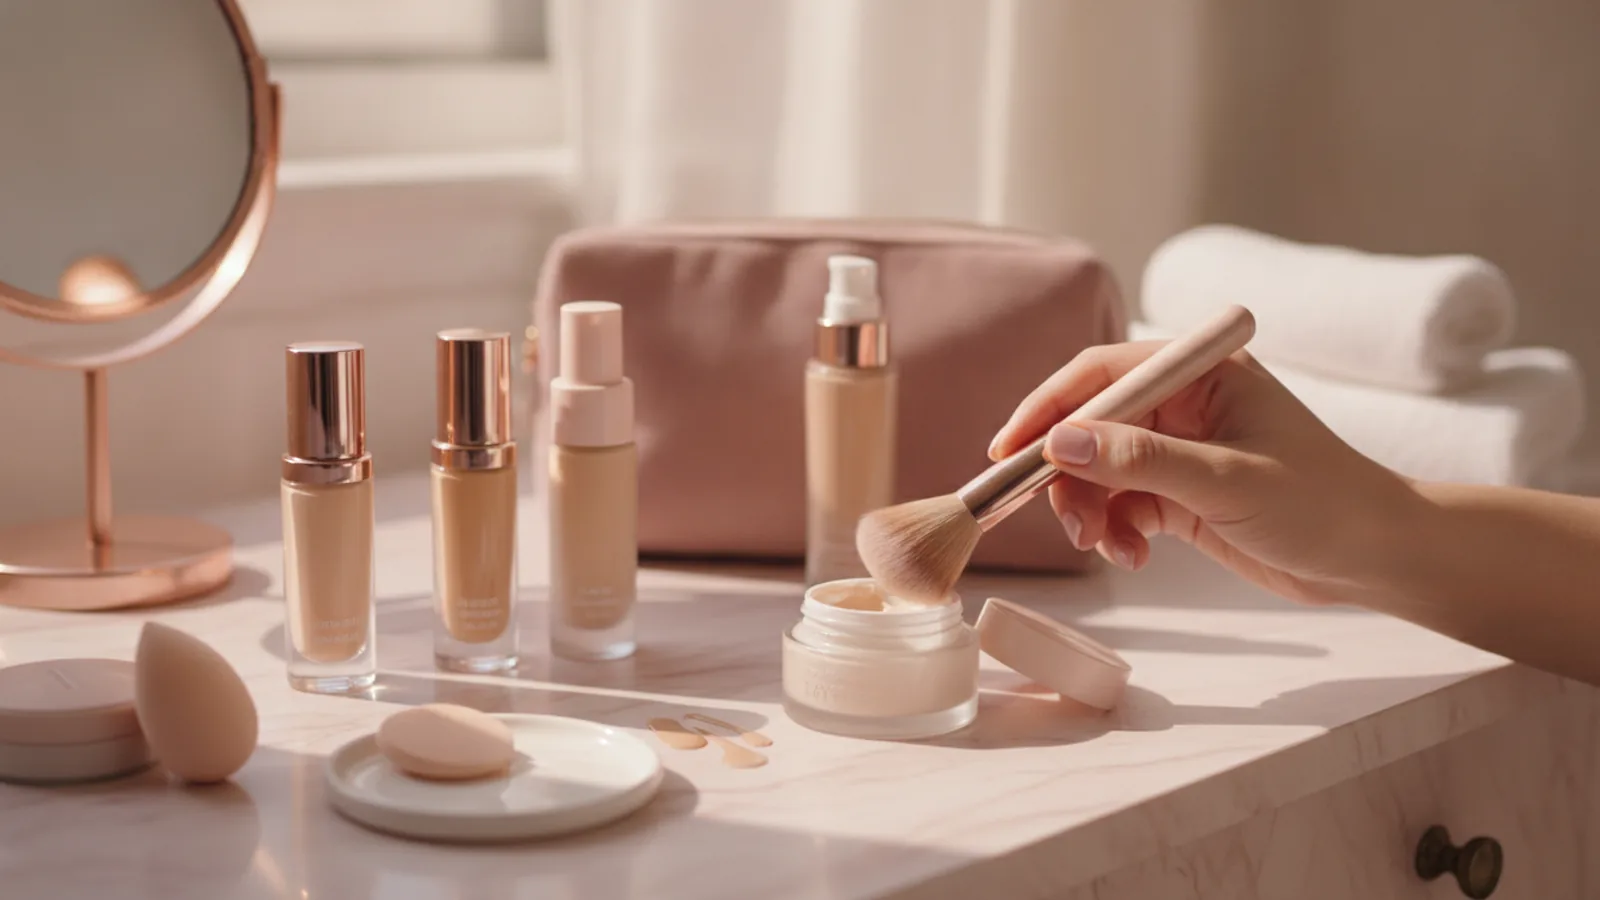
- Application Tools: A foundation brush, a damp makeup sponge (like a Beautyblender), or simply your clean fingertips.
- Concealer (Optional): For targeted coverage on blemishes or under-eye circles.
- Setting Product (Optional): Translucent setting powder or a setting spray to lock everything in place.
- Mirror and Good Lighting: Natural light from a window is the gold standard for makeup application.
Safety, Timing, or Context Checks
- Patch Test: If you are using a new foundation, always test a small amount on your jawline or neck to check for any skin reactions.
- Tool Cleanliness: Ensure your brushes or sponge are clean to prevent bacteria transfer and ensure a smooth, streak-free application.
- Skincare Absorption: Allow your moisturiser and primer to fully absorb for at least a minute before applying foundation to prevent pilling.
How to Apply Foundation Cosmetics Makeup
Follow these steps in order to build a beautiful, even, and natural-looking base. Remember that with foundation, it's always easier to add more product than to take it away, so start with a small amount.
Step 1: Create a Clean, Hydrated Canvas
Your foundation will only look as good as the skin underneath it. Start by washing your face with a gentle cleanser to remove any dirt, oil, or old makeup. Pat your skin dry with a soft towel. Next, apply a moisturiser that works for your skin type—this is a non-negotiable step, even for oily skin. Hydrated skin provides a smooth surface for makeup, preventing it from clinging to dry patches. Give your moisturiser a full minute or two to sink in completely.
Step 2: Apply a Primer
Primer is the bridge between your skincare and your makeup. It creates a barrier that can smooth out skin texture, fill in fine lines and pores, and give your foundation something to grip onto, significantly increasing its wear time. Squeeze a pea-sized amount onto your fingertips and gently massage it all over your face, focusing on areas where makeup tends to fade, like the T-zone (forehead, nose, and chin). Like your moisturiser, allow the primer to set for about 60 seconds before moving on.
Step 3: Dispense and Dot the Foundation
Start with a small amount of foundation. For liquid or cream formulas, pump or pour about a ten-pence-sized amount onto the back of your hand. Your hand acts as a palette, warming the product slightly and giving you full control over how much you pick up. Using your finger, dot the foundation onto the key areas of your face: a few dots on your forehead, down your nose, on each cheek, and one on your chin. This method ensures even distribution and prevents you from applying too much product at once.
Step 4: Blend from the Centre Outwards
This is the most critical step for a natural finish. The goal is to have the most coverage in the centre of your face, where redness and discolouration are most common, and sheer it out towards the perimeter.
- Using a Brush: Use a dense, buffing-style brush. Start on a cheek and use small, circular motions (buffing) or quick, light tapping motions (stippling) to blend the foundation into your skin.
- Using a Sponge: Make sure your sponge is damp, not soaking wet. Squeeze it out thoroughly. Use a bouncing or patting motion to press the foundation into the skin. This technique provides a seamless, skin-like finish.
- Using Fingers: The warmth from your fingers helps to melt the product into your skin. Use a gentle patting and pressing motion to blend.
Whichever tool you use, continue blending outwards towards your hairline and jawline. Make sure there are no visible lines or edges.
Step 5: Assess and Build Coverage as Needed
Once you've blended the first layer, step back and take a look. In most cases, a single, well-blended layer is enough for a natural look. If you have areas that need more coverage, like blemishes or patches of redness, you can now add a second, very thin layer. Apply it only where necessary, using the same dot-and-blend technique. This targeted approach prevents your overall base from looking heavy or cakey.
Step 6: Apply Concealer (If Using)
Now that your base is even, you can use concealer for extra precision. Apply a small amount under your eyes to brighten, around your nostrils to cancel out redness, and directly onto any blemishes you want to cover. Use the tip of your finger or a small brush to gently tap and blend the edges of the concealer into your foundation until it's seamless. Applying concealer *after* foundation means you'll use far less product.
Step 7: Set Your Foundation for Longevity
To ensure your hard work lasts all day, it's wise to set your foundation. Your choice of setting product will depend on your skin type and desired finish.
- For a Matte Finish or Oily Skin: Use a fluffy brush to lightly dust a translucent setting powder over your T-zone and any other areas where you tend to get shiny.
- For a Natural or Dewy Finish: A setting spray is your best friend. Hold the bottle about 20-30 cm from your face, close your eyes, and mist it lightly. This will melt all the layers of makeup together and lock them in place without dulling your glow.
Common Problems When You Apply Foundation
Even with the best technique, issues can arise. Here’s how to troubleshoot the most common foundation frustrations.
- Problem: It looks cakey or heavy.
This is usually caused by using too much product. Start with less next time. To fix it now, spritz your face with a setting spray and gently press over the cakey areas with a clean, damp makeup sponge to absorb excess product and re-blend. - Problem: It's settling into fine lines or wrinkles.
This can happen if skin isn't properly hydrated or if the foundation layer is too thick. Ensure you're using a good primer. Apply foundation sparingly in areas with lines and set with a very light dusting of finely-milled powder. - Problem: My foundation colour changes and looks orange.
This is called oxidation. It happens when the foundation formula reacts with the oils on your skin and the air. To prevent this, try an oil-free primer and foundation. Always test a sample on your jaw for at least an hour to see if the colour changes before you buy it. - Problem: The application looks streaky.
Streaks are often a sign of a dirty brush or improper blending. Make sure your tools are clean. If using a brush, finish by lightly bouncing a damp sponge over your face to eliminate any brush marks. - Problem: My makeup is pilling or flaking off.
This is almost always a compatibility issue between your skincare and makeup. It often happens when a water-based product is layered over an oil-based or silicone-based one too quickly. Let each skincare layer fully dry before applying the next, and try to use products with similar bases (e.g., silicone primer with silicone foundation).
Advanced Tips for Foundation Cosmetics Makeup
Ready to take your foundation skills to the next level? These professional techniques can add dimension and customisation to your base.
- Customise Your Finish: Create a bespoke finish by mixing other products into your foundation. Add a drop of liquid illuminator for an all-over glow, or a touch of facial oil to a matte foundation for a more forgiving, satin finish on dry skin days.
- Try "Underpainting": This technique involves applying your cream contour, blush, and highlight *before* your foundation. You then apply a very sheer layer of foundation over the top. The result is a beautifully subtle, 'lit-from-within' look where the colours appear to be part of your skin.
- Use Two Shades for Dimension: For a subtly sculpted look, use a foundation that is your perfect match on the perimeters of your face, and one that is half a shade lighter in the very centre (under the eyes, middle of the forehead, centre of the chin). This mimics how light naturally hits the face and adds dimension without obvious contouring.
- Create a Tinted Moisturiser: On days when you want very light coverage, mix your foundation with an equal part of your daily moisturiser on the back of your hand. This creates a custom sheer tint that evens out your skin tone beautifully.
Quick Reference: Choosing Your Tool
The tool you choose has a huge impact on the final finish. Use this cheat sheet to pick the right one for your desired look.
| Situation | Use This | Why |
|---|---|---|
| You want a full-coverage, airbrushed finish | A dense, flat-top Kabuki brush | The tightly packed bristles buff the product into the skin, providing maximum coverage without streaks. |
| You want a natural, dewy, skin-like look | A damp makeup sponge | The sponge absorbs a small amount of product, sheering it out, while the bouncing motion presses it in for a seamless melt. |
| You are using a very liquid, serum-style foundation | Clean fingertips | The warmth of your hands helps the thin formula blend effortlessly, providing a very natural and fast application. |
| You need to build coverage in a specific area | A small, flat concealer brush | This allows for precise, targeted application of foundation over a blemish without disturbing the makeup around it. |
Foundation Cosmetics Makeup FAQ
How do I find my perfect foundation shade?
What's the difference between foundation, BB cream, and CC cream?
How often should I clean my makeup brushes and sponges?
Can I wear foundation every day without harming my skin?
Final Checklist for Foundation Cosmetics Makeup
Before you head out, run through this final checklist to ensure your base is perfect. A quick scan in good lighting can catch any small mistakes before anyone else does.
- Skin is Prepped: Your face was cleansed, moisturised, and primed before application.
- Shade Match is Correct: The foundation colour is a seamless match to your neck and chest.
- Edges are Blended: There are no harsh lines at your hairline, jaw, or around your ears.
- Coverage is Even: The finish is smooth and uniform, not patchy or streaky.
- Texture is Smooth: The foundation isn't clinging to dry patches or looking heavy.
- Finish is Set: You've used a light powder or setting spray to lock in your look for the day.