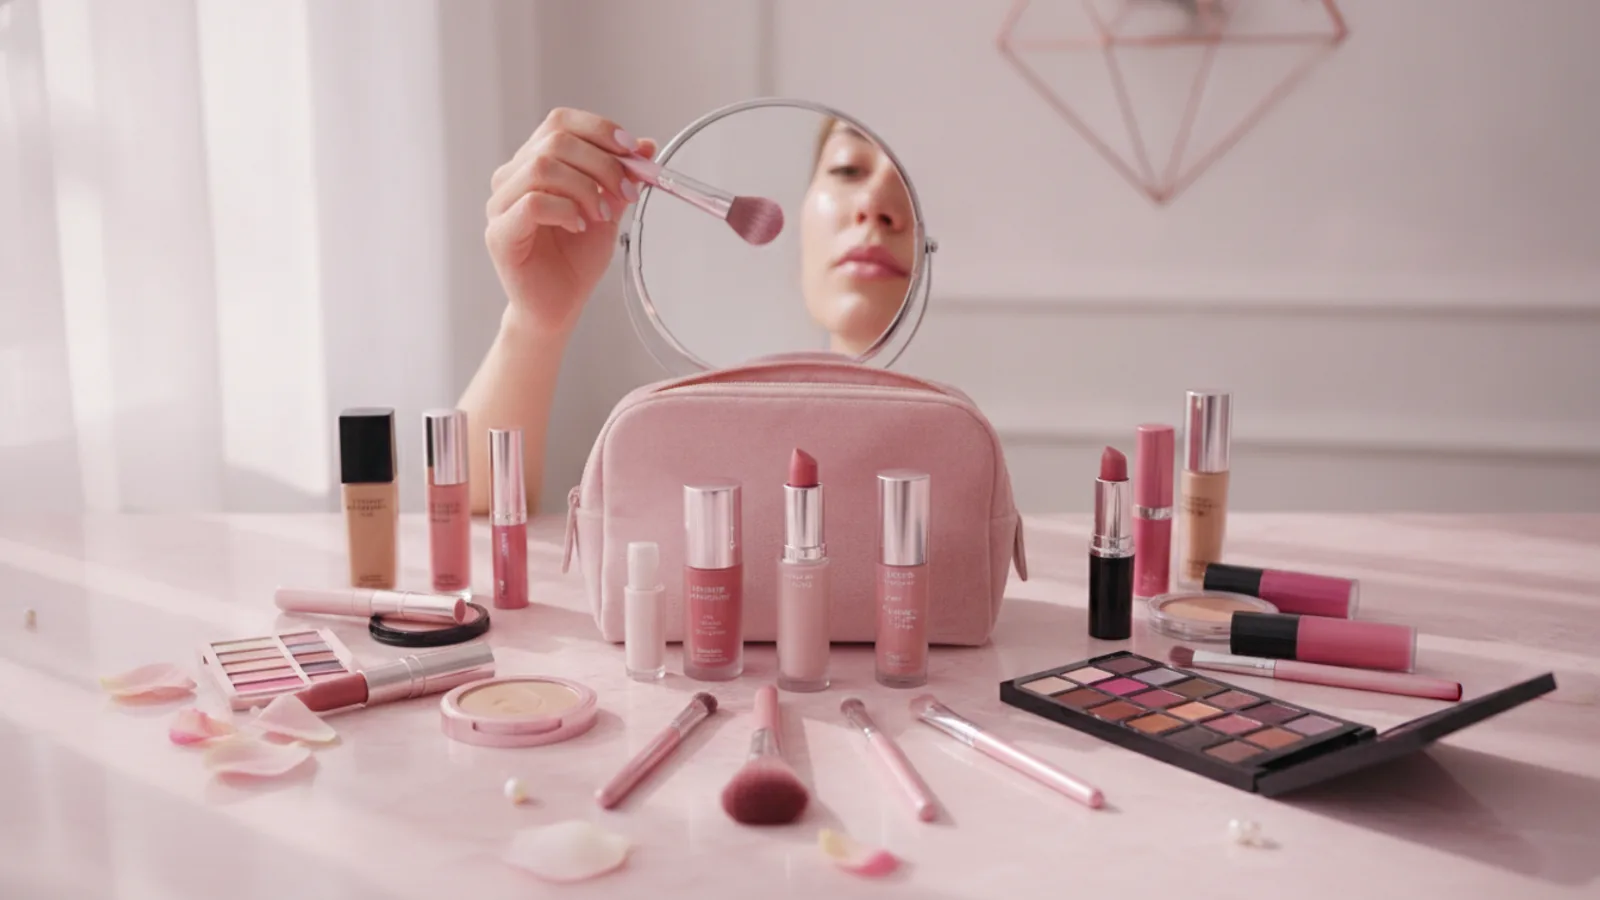
Makeup Brushes Brush Set
A practical step-by-step guide to makeup brushes brush set, including preparation, instructions, common issues, tips, and next steps.

Makeup Brushes Brush Set
Unlocking a flawless makeup look starts with the right tools. This guide will help you understand, choose, and master a makeup brush set, transforming your daily routine from guesswork to gorgeous. We'll walk through the purpose of different brushes, how to use them effectively for various makeup applications, and essential care tips to keep them in pristine condition. Whether you're a beginner or looking to refine your technique, this step-by-step guide will ensure you get the most out of your brushes for a beautifully polished finish every time.
Fast Answer
- Essential Set Components: Foundation, Powder, Blusher, Eyeshadow, Blending, Liner brushes
Before You Start
- A complete makeup brush set (containing a variety of brush types).
- Your preferred collection of makeup products: foundation, concealer, powder, blush, bronzer, eyeshadows, and eyeliner.
- A clean, well-lit space with a good mirror for clear application.
- A gentle brush cleanser or mild soap and lukewarm water for cleaning.
- A clean, soft towel or a brush drying rack.
- A clear understanding of your own skin type and tone to help choose appropriate makeup products.
Step-by-Step Instructions
1. Understand Your Essential Brush Types
Before diving into application, it's helpful to know what each key brush in your set is designed for. A typical beginner set will include brushes for face, eyes, and sometimes lips. Knowing their purpose helps you choose the right tool for the job.
- Foundation Brush: Often flat, dense, or dome-shaped, these are perfect for applying liquid or cream foundations evenly for a smooth base.
- Powder Brush: Large, fluffy, and soft, ideal for dusting loose or pressed powder over your face to set makeup or reduce shine.
- Blusher/Bronzer Brush: Usually medium-sized with a rounded or angled head, designed to apply colour to the cheeks or contour the face.
- Eyeshadow Shader Brush: A flat, dense brush used to pack eyeshadow colour onto the eyelids.
- Eyeshadow Blending Brush: Fluffy with a tapered or rounded head, crucial for diffusing eyeshadows and blending colours seamlessly in the crease.
- Eyeliner Brush: Can be very fine-tipped or angled, used for precise application of gel, cream, or powder eyeliners.
- Concealer Brush: Smaller and flatter than a foundation brush, designed for precise application of concealer to small areas.
- Brow Brush/Spoolie: An angled brush for applying brow powders or pomades, often paired with a spoolie (mascara-like wand) for grooming brows.
2. Prepare Your Skin and Brushes
A successful makeup application begins with a well-prepared canvas. Start by cleansing and moisturising your face. This creates a smooth base for your makeup to adhere to, helping it last longer and look more even. Once your skin is prepped, ensure your chosen brushes are clean and dry, ready for use.
Apply a thin layer of primer if you use one. Primer helps to smooth out your skin's texture, minimise pores, and create a base that helps your makeup stay put throughout the day. Give it a minute or two to settle before moving on to foundation.
3. Apply Foundation for an Even Base
Using a dedicated foundation brush is a game-changer for achieving a smooth, streak-free complexion. For liquid or cream foundation, squeeze a small amount onto the back of your hand or a palette.
Dip your foundation brush (such as a flat-top kabuki or a dense buffing brush) into the product. Starting in the centre of your face, apply the foundation in short, gentle buffing or sweeping motions outwards towards your hairline and jawline. Blend carefully to avoid harsh lines, especially around the edges of your face and down your neck. Build up coverage in thin layers rather than applying too much at once.
4. Conceal and Correct with Precision
Once your foundation is applied, use a smaller, more precise concealer brush to target specific areas that need extra coverage. This might include under-eye circles, blemishes, or areas of redness. Dot a small amount of concealer onto the back of your hand.
Pick up the product with your concealer brush (a flat, synthetic brush works best). Gently dab and tap the concealer onto the target areas. Blend the edges seamlessly into your foundation without rubbing, which can remove the product. The dabbing motion helps to press the product into the skin for better coverage and longevity.
5. Set Your Base with Powder
Setting your liquid or cream makeup with powder helps it last longer, prevents creasing, and controls shine. Grab your large, fluffy powder brush. Gently swirl it into your loose or pressed powder, tapping off any excess product.
Lightly dust the powder over your entire face, focusing on your T-zone (forehead, nose, and chin), where oil tends to build up. For targeted setting, especially under the eyes to prevent concealer creasing, you can use a smaller, softer brush or a beauty sponge to lightly press powder into the skin. Remember, a little goes a long way to avoid a cakey finish.
6. Add Colour with Blusher and Bronzer
To bring warmth and dimension to your face, use your blusher and bronzer brushes. For bronzer, select a medium-sized, fluffy brush. Swirl it into your bronzer and tap off the excess. Apply it to the areas where the sun would naturally hit your face: your forehead, cheekbones, jawline, and a touch on your nose, using light, sweeping motions.
For blush, choose a rounded or angled blush brush. Smile gently to locate the apples of your cheeks. Apply blush to the apples of your cheeks and blend it upwards towards your temples using soft, circular motions. Start with a small amount of product and build up the intensity as desired. Blend well to avoid harsh lines.
7. Master Eyeshadow Application
Eyeshadow brushes are essential for creating captivating eye looks. Start with an eyeshadow shader brush (flat and dense) to pack your chosen base colour onto your eyelid. Gently press and sweep the colour from your lash line up to your crease.
Next, use a fluffy blending brush with a tapered or rounded head. Pick up a slightly darker shade and apply it to your crease using gentle, circular, or windshield-wiper motions. This diffuses the colour, creating depth and a seamless transition between shades. Use a smaller, pencil-style brush for precise application in the outer corner or along the lower lash line if desired.
8. Define Eyes with Eyeliner and Brows
For eyeliner, choose a fine-tipped or angled eyeliner brush. If using gel or cream liner, dip your brush into the product and remove excess. For powder liner, dampen the brush slightly and pick up eyeshadow. Carefully draw a line along your upper lash line, starting from the inner corner and working outwards. You can create a subtle line or a more dramatic wing.
For brows, use an angled brow brush with brow powder, pomade, or even a dark eyeshadow. Outline the bottom edge of your brow, then lightly fill in sparse areas with short, hair-like strokes. Use the spoolie end of the brush to comb through your brows, blending out any harsh lines and setting the hairs in place. This gives a natural, groomed finish.
9. Blend and Finish Your Look
Once all your makeup is applied, take a moment to assess your overall look. Often, a final blending step can make a huge difference. Using a clean, large, fluffy brush (like your powder brush or a dedicated blending brush), gently sweep it over your entire face. This helps to marry all the products together, softening any potential harsh lines and creating a more cohesive, airbrushed finish.
Check for any areas that might look patchy or uneven and lightly buff them out. If you use a setting spray, apply it now to lock everything in place and give your skin a beautiful, seamless appearance.
10. Clean and Store Your Brushes Properly
Proper cleaning and storage are vital for the longevity of your makeup brushes and the health of your skin. After each use, it's good practice to spot clean your brushes, especially eyeshadow brushes, to remove immediate product residue. For a deeper clean, which should be done at least once a week for face brushes and every 2-3 uses for eye brushes:
- Wet the bristles with lukewarm water (avoid soaking the base where glue holds bristles).
- Apply a small amount of brush cleanser or mild soap to the bristles.
- Gently swirl the brush on a cleaning mat or in the palm of your hand until lather forms and the product washes away.
- Rinse thoroughly under lukewarm running water until the water runs clear.
- Gently squeeze out excess water with a clean towel.
- Reshape the bristles and lay brushes flat or hang them upside down to dry completely. Avoid drying them upright, as water can seep into the ferrule and loosen the glue.
Store your dry brushes upright in a brush holder or lying flat in a drawer to protect them from dust and damage.
Quick Reference
| Situation (Makeup Product) | Use This (Brush Type) | Why (Benefit) |
|---|---|---|
| Liquid/Cream Foundation | Flat-top Kabuki or Dense Buffing Brush | Smooth, even coverage without streaks or patchiness. |
| Loose/Pressed Setting Powder | Large, Fluffy Powder Brush | Light, diffused application for setting makeup and controlling shine. |
| Blusher or Bronzer | Angled or Dome-shaped Blush/Contour Brush | Precise placement and soft blending for a natural flush or sculpted look. |
| Eyeshadow (Base/Lid Colour) | Flat Shader Eyeshadow Brush | Packs colour onto the eyelid effectively with good pigment payoff. |
| Eyeshadow (Crease/Blending) | Fluffy Blending Brush (Tapered or Rounded) | Diffuses harsh lines, creates depth, and blends shades seamlessly. |
| Eyeliner (Gel, Cream, or Powder) | Fine-tipped or Angled Eyeliner Brush | Creates sharp, precise lines along the lash line or for winged looks. |
| Brows (Powder or Pomade) | Angled Brow Brush with Spoolie | Defines brow shape, fills sparse areas, and grooms hairs for a polished look. |
| Concealer (Targeted Areas) | Small, Flat Concealer Brush | Precise application and blending for spot correction or under-eye brightening. |
Common Problems When You Use Makeup Brushes
Streaky Foundation Application
If your foundation looks streaky, it's often due to applying too much product at once, using a brush that's too damp, or not blending thoroughly enough. It can also happen if your brush is dirty or the bristles are clumping together.
Fix: Start with less product and build up coverage. Ensure your foundation brush is clean and dry. Use gentle, circular buffing motions and take your time to blend outwards from the centre of your face. If using a beauty sponge, ensure it's damp but not dripping wet.
Patchy or Overly Intense Blush/Bronzer
Applying too much blush or bronzer in one spot can lead to a patchy appearance or make the colour look too harsh. This often happens if you don't tap off excess product from your brush.
Fix: Always tap your brush gently after picking up powder product to remove excess. Apply in light layers, building up the colour gradually. Use soft, circular motions to blend the edges seamlessly into your skin and other makeup. A clean, fluffy brush can be used to soften any harsh lines.
Muddy or Unblended Eyeshadow
Eyeshadow can look muddy if too many colours are used without proper blending, or if colours are applied directly on top of each other without diffusing the edges. Not having a dedicated blending brush can also contribute to this problem.
Fix: Invest in a good fluffy blending brush. Apply one eyeshadow colour at a time, ensuring you blend each shade thoroughly into the next. Use lighter shades as transitions. Use small, circular, or windshield-wiper motions with your blending brush to soften any harsh lines between colours.
Brushes Shedding Excessively
It's normal for new brushes to shed a few bristles during the first few uses or washes. However, excessive shedding might indicate a lower quality brush or improper cleaning and drying techniques.
Fix: When washing, avoid soaking the brush handle where the bristles meet the ferrule (the metal part), as this can weaken the glue. Gently squeeze out water from the bristles only. Always lay brushes flat or hang them upside down to dry. If a brush continues to shed significantly, it might be time to replace it.
Skin Breakouts or Irritation
Using dirty makeup brushes is a common cause of skin issues like breakouts, redness, or irritation. Brushes can harbour bacteria, old makeup, and dead skin cells, which are then transferred back onto your skin.
Fix: Establish a regular brush cleaning routine. Spot clean brushes after each use, and deep clean face brushes at least once a week, and eye brushes every 2-3 uses. Ensure brushes are completely dry before storing them to prevent mould or bacterial growth. Never share makeup brushes.
Advanced Tips for Makeup Brushes Brush Set
Mastering Multi-Purpose Brushes
While specialist brushes are wonderful, many brushes can pull double duty. A fluffy eyeshadow blending brush can also be used for precise highlight application or setting concealer under the eyes. A smaller foundation brush might work for cream contour. Experiment with your brushes to discover their versatility. Just remember to clean them thoroughly between different product types to avoid colour transfer.
Understanding Bristle Types: Synthetic vs. Natural
Most modern brushes are synthetic, made from man-made fibres. These are excellent for liquid and cream products as they don't absorb product and are easy to clean. They're also hypoallergenic and often cruelty-free. Natural hair brushes (made from animal hair) are typically better for powder products. They pick up and disperse powder more effectively, creating a softer, more diffused finish. Many high-quality brush sets now feature a mix of both, or advanced synthetic fibres that mimic natural hair.
Building Intensity with Layers
Instead of applying a lot of product all at once, which can look heavy, try building up coverage or colour in thin layers. For foundation, apply a light layer, blend, and then add a second thin layer only where needed. For eyeshadow, start with a light wash of colour, then gradually add more pigment to deepen the shade. This technique gives you more control and results in a more natural, seamless finish.
Spot Cleaning for Daily Hygiene
While a deep clean is essential, spot cleaning your brushes daily or after each use (especially for eyeshadows) can significantly extend the time between deep washes and prevent colour cross-contamination. Use a quick-drying brush cleaning spray. Spray it onto a tissue or directly onto the brush, then gently swirl the brush on the tissue until the product is removed. This is a quick way to keep your brushes hygienic for daily use.
Investing in Quality Over Quantity
Rather than having dozens of brushes you rarely use, consider investing in a smaller, high-quality makeup brush set that covers your core needs. Good quality brushes are often made with softer, more durable bristles, better construction, and will last much longer with proper care. They also apply makeup more effectively, making your routine easier and your results better.
Makeup Brushes Brush Set FAQ
How often should I clean my makeup brushes?
Face brushes (for foundation, powder, blush) should ideally be deep cleaned once a week. Eye brushes (for eyeshadow, eyeliner) should be cleaned every 2-3 uses, or at least twice a week, to prevent eye infections and colour mixing. Spot cleaning after each use is a good practice for all brushes.
What's the difference between synthetic and natural bristles?
Synthetic bristles are man-made, durable, easy to clean, and excellent for liquid and cream products as they don't absorb much product. They're also hypoallergenic. Natural bristles are made from animal hair and are generally better for powder products, as they pick up and distribute powder more smoothly and evenly, creating a diffused finish.
How many brushes do I really need in my set?
For a basic, functional makeup routine, you typically need 5-7 essential brushes: a foundation brush, a powder brush, a blush brush, a flat eyeshadow brush, an eyeshadow blending brush, and an eyeliner/brow brush. As you become more advanced, you might add more specialised brushes.
Can I use my fingers to apply makeup instead of brushes?
Yes, for certain products like liquid foundation, cream blush, or concealer, using your fingers can work well, especially for a very natural finish. The warmth from your fingertips can help melt the product into the skin. However, brushes generally offer more precision, better blending, and a more hygienic application, especially for sensitive areas like the eyes.
How should I store my makeup brushes?
Always store your clean, dry brushes in a way that protects their bristles from dust and getting squashed. Upright in a brush holder is ideal for daily access. For travel or long-term storage, a brush roll or a drawer organiser keeps them protected and clean. Avoid storing them in a damp environment like a steamy bathroom cabinet.
Final Checklist for Makeup Brushes Brush Set
Before you consider your makeup brush journey complete, run through this final checklist to ensure you're getting the most out of your tools and achieving beautiful results every time:
- You understand the purpose of each key brush in your set.
- Your skin is prepped and primed before makeup application.
- You apply foundation and concealer using gentle, blending motions.
- You set your base with powder to ensure longevity.
- You apply blusher and bronzer gradually, blending carefully.
- You use separate brushes for packing and blending eyeshadow colours.
- You define your eyes and brows with precision tools.
- You perform a final blend to soften any harsh lines.
- You regularly clean and properly store your makeup brushes.
- You address common problems like streaking or patchiness with appropriate fixes.
With these steps, your makeup brush set will be a cherished part of your beauty routine, helping you achieve a polished and beautiful look with ease. Happy blending!