Makeup Forever Mufe
A practical step-by-step guide to makeup forever mufe, including preparation, instructions, common issues, tips, and next steps.
Makeup Forever Mufe
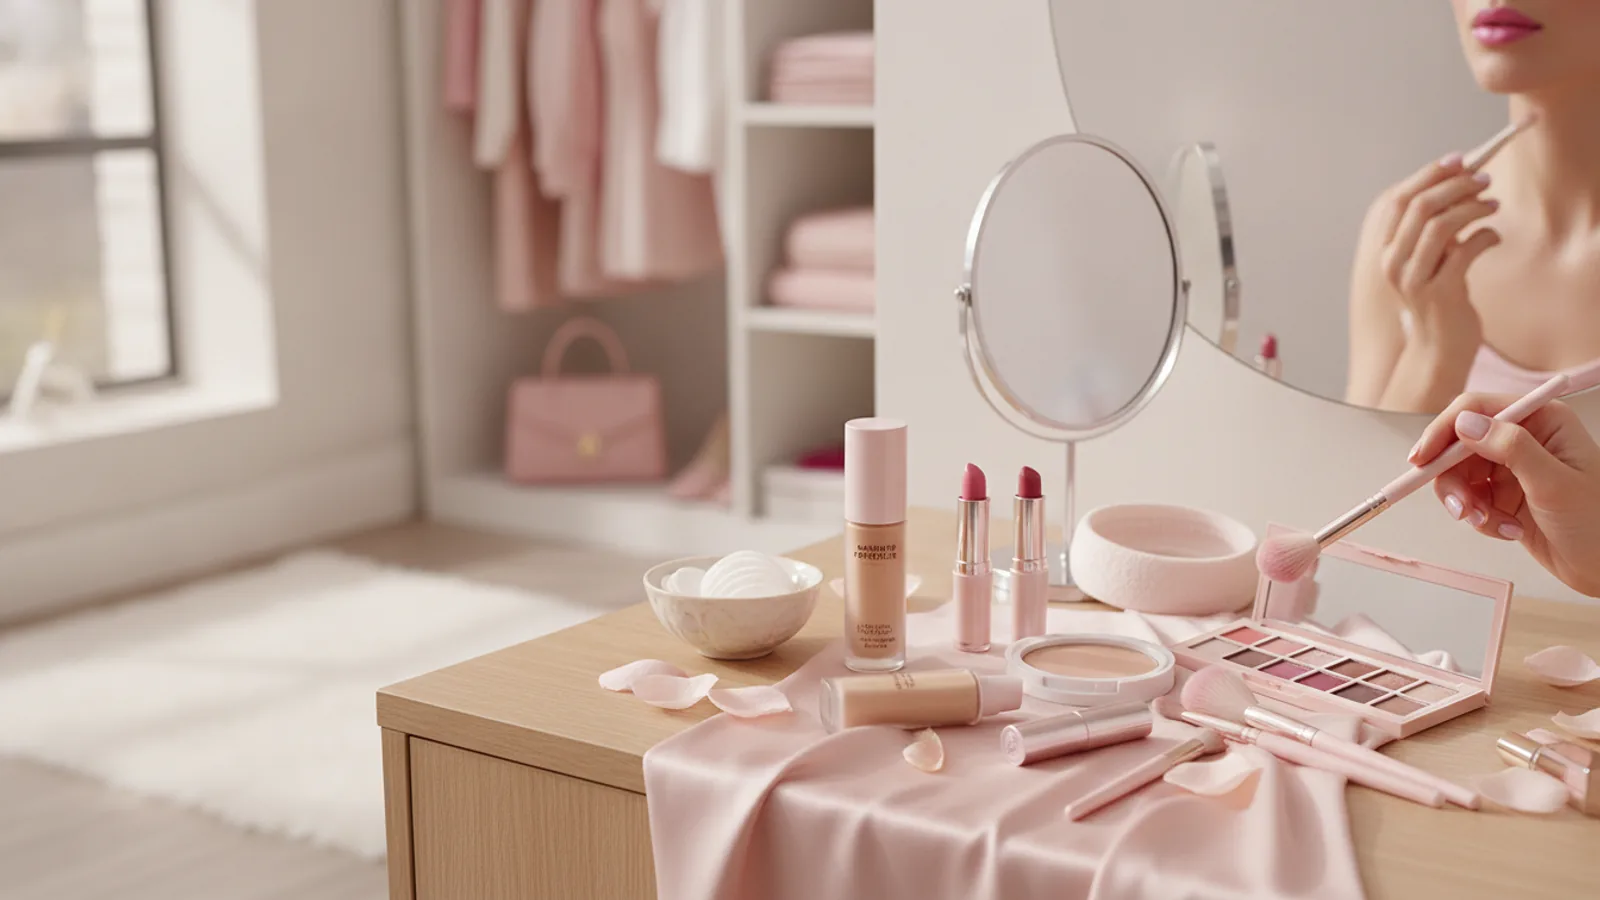
This guide walks you through creating a flawless, professional-quality makeup look using the techniques and product philosophy popularised by Makeup Forever (MUFE). Whether you're preparing for a special event, a photoshoot, or simply want your everyday makeup to look polished and last all day, these steps will help you achieve a stunning, second-skin finish. We'll cover everything from skin preparation to the final setting spray, ensuring your makeup looks impeccable both in person and on camera.
Fast Answer
- Key Principle: Prep your skin thoroughly before any makeup application.
- Core Technique: Apply products in thin, buildable layers for a natural finish.
- Primary Goal: Achieve a long-lasting, high-definition look that feels comfortable.
Before You Start
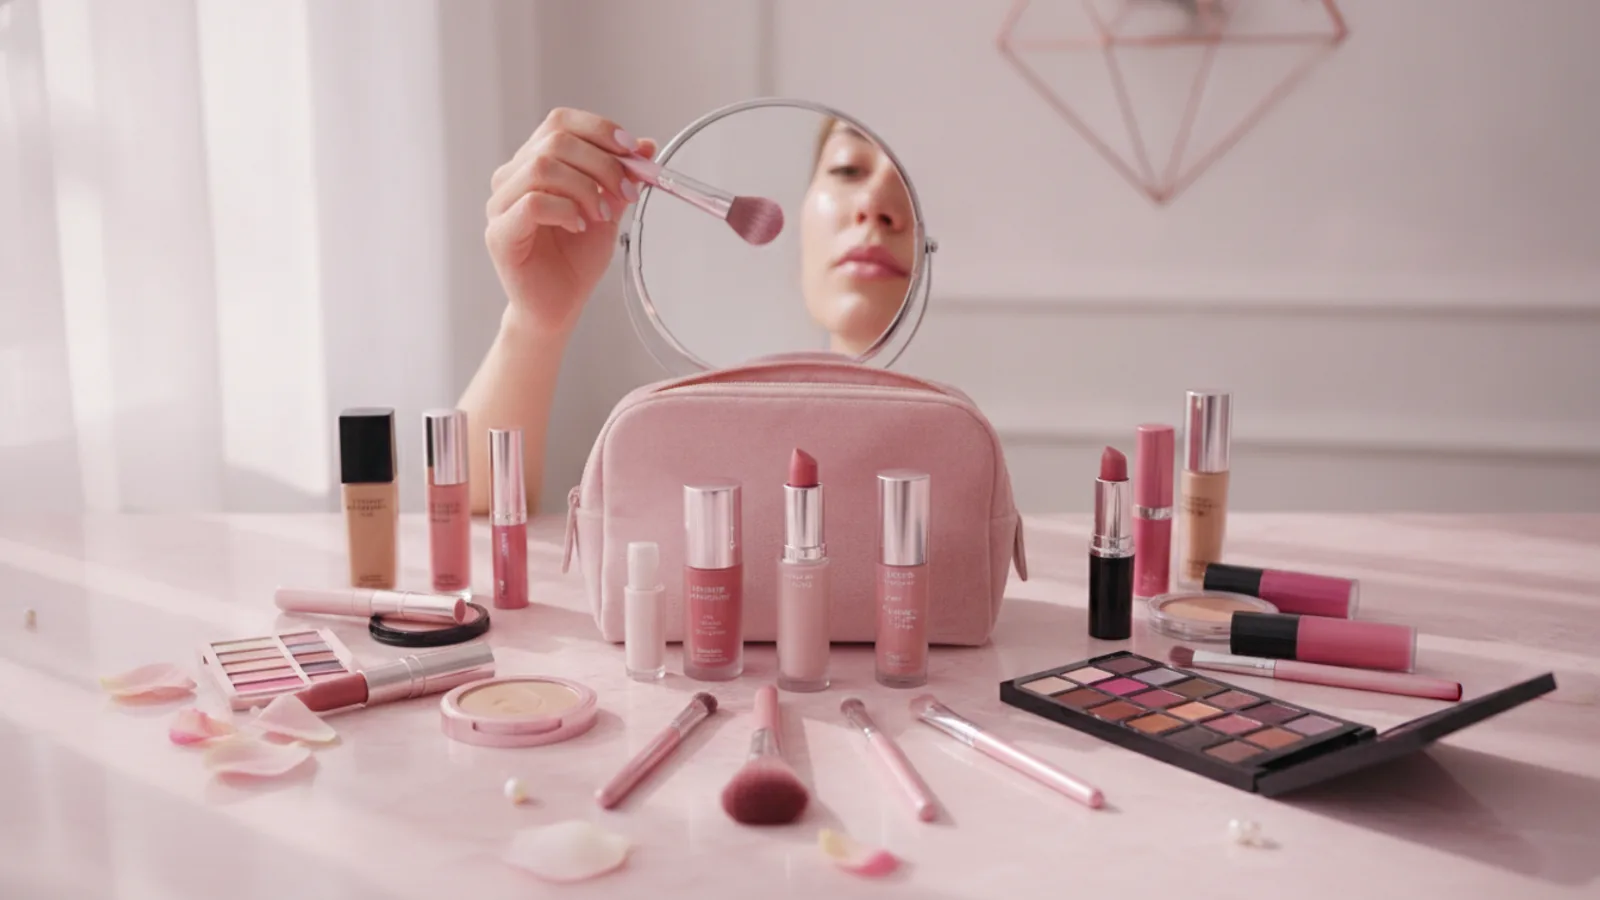
Success with any makeup routine starts with having the right tools and a clean, prepared canvas. Taking a few minutes to gather your supplies and check your lighting will make the entire process smoother and deliver a far more professional result. Think of this as your creative setup, ensuring you have everything you need within easy reach.
What You Need
- Gentle face cleanser and moisturiser suitable for your skin type.
- A makeup primer (hydrating, mattifying, or colour-correcting).
- High-definition liquid or cream foundation.
- A creamy concealer, one shade lighter than your foundation for brightening.
- Translucent setting powder (loose or pressed).
- A selection of makeup brushes (foundation, concealer, powder, blush, eyeshadow).
- A makeup sponge (e.g., a Beautyblender).
- Your chosen colour products: bronzer, blush, highlighter, eyeshadow palette, eyeliner, mascara.
- Lip liner and lipstick or gloss.
- A long-lasting makeup setting spray.
- Good, bright lighting, preferably natural daylight.
Step-by-Step Instructions
Follow these steps in order to build a beautiful, durable makeup look. Remember that MUFE's philosophy is about enhancing, not masking. Work in light layers and take your time blending; this is the key to a professional finish that looks like real skin, only better.
Prepare Your Canvas with Skincare
You cannot build a beautiful house on a weak foundation, and the same is true for makeup. Start by cleansing your face thoroughly to remove any dirt, oil, or old makeup. Pat your skin dry gently with a clean towel. Next, apply a moisturiser that works for your skin type. If you have oily skin, a lightweight, oil-free lotion is best. If your skin is dry, use a richer cream to plump and hydrate. Allow your moisturiser to fully absorb for at least 5 minutes before moving on. This prevents your makeup from sliding around or looking patchy.
Prime for Perfection
Primer is the essential bridge between your skincare and your makeup. It creates a smooth surface for foundation, helps to control oil or add hydration, and dramatically increases the longevity of your look. Choose a primer based on your skin's needs. For oily skin, a mattifying primer in the T-zone is ideal. For dry skin, a hydrating or illuminating primer will give you a healthy glow. Apply a pea-sized amount with your fingertips, gently smoothing it over your entire face or just in the areas where you need it most.
Create a Flawless Base with Foundation
This is the core of the Makeup Forever MUFE look. The goal is undetectable coverage. Start with one pump of foundation on the back of your hand. Using either a damp makeup sponge or a dense foundation brush, dot the product onto the centre of your face (cheeks, forehead, nose, and chin) and blend outwards. The key is to use stippling or bouncing motions, not wiping, to press the product into the skin. This technique ensures a seamless, airbrushed finish. Only add more product to areas that need more coverage, like areas with redness or blemishes. It is always better to build in thin layers than to apply one thick, heavy coat.
Conceal and Brighten Strategically
Concealer is not meant for your whole face. Use it strategically to brighten and cover. Apply a small amount of a creamy concealer under your eyes in an inverted triangle shape to lift and brighten the area. Use your ring finger or a small fluffy brush to gently tap and blend the product. Avoid dragging or wiping, which can irritate the delicate under-eye skin. You can also use a tiny dot of concealer to cover any blemishes, letting it sit for 30 seconds before blending the edges for maximum coverage.
Set Your Base with Powder
Setting your liquid and cream products is essential for long wear and preventing creasing. Using a large, fluffy brush, lightly sweep a translucent setting powder across your T-zone, under your eyes, and anywhere else you tend to get shiny. The aim is to set, not to bake or create a heavy, matte finish. Use a very light hand. If you have dry skin, you may only need to powder the very centre of your face. This step locks in your foundation and concealer and creates a smooth surface for your powder bronzer and blush.
Add Dimension and Colour
Now that your base is perfected, it's time to bring back dimension and a healthy flush of colour. Use a matte bronzer to gently warm up the perimeter of your face, under your cheekbones, and along your jawline. This adds shape and warmth. Next, smile and apply a blush to the apples of your cheeks, blending it upwards and back towards your temples. Finally, use a highlighter on the high points of your face: the tops of your cheekbones, the bridge of your nose, your brow bone, and your cupid's bow. This will catch the light and give your skin a beautiful, healthy-looking glow.
Define Your Eyes and Brows
A well-defined eye completes any look. Start by filling in your brows with a pencil or powder to frame your face. For a simple, everyday eye, apply a neutral eyeshadow all over the lid, a slightly darker shade in the crease for definition, and a light, shimmery shade on the inner corner to brighten. You can add a thin line of eyeliner along the top lash line to make your lashes appear fuller. Finish with two coats of your favourite mascara, wiggling the wand at the base of your lashes to build volume before pulling it through to the tips.
Perfect Your Pout
For a polished and long-lasting lip, begin by lining your lips with a lip liner that matches your chosen lipstick colour. This prevents the colour from bleeding and helps to define your lip shape. You can also fill in your entire lip with the liner to create a base that will help your lipstick last even longer. Apply your lipstick or gloss directly from the tube or with a lip brush for a more precise application. Blot with a tissue and apply a second layer for extra staying power.
Lock It All In with Setting Spray
The final, crucial step is setting spray. It's like hairspray for your face. Hold the bottle about 8-10 inches away from your face, close your eyes, and mist it in an 'X' and 'T' formation to ensure you cover every area. This magical mist does two things: it melts all the powder products into your skin for a less 'makeup-y' finish, and it creates a protective film that locks everything in place for hours. Let it air dry completely without touching your face.
Quick Reference
| Situation | Use this | Why |
|---|---|---|
| Foundation looks heavy or 'cakey'. | A damp sponge and setting spray. | The moisture helps to re-blend and thin out excess product for a skin-like finish. |
| Under-eye concealer is creasing. | Less product and a light dusting of powder. | Creasing is often caused by too much product settling into fine lines. Less is more. |
| Makeup disappears by the afternoon. | Primer and setting spray combination. | These two products work together to grip makeup to the skin and create a protective barrier. |
| Skin looks dull or flat after powder. | A hydrating setting spray and highlighter. | The spray brings back a skin-like dewiness, and highlighter restores dimension. |
Common Problems When You Use Makeup Forever Mufe Techniques
Even with the best products, you can run into a few common issues. Here’s how to troubleshoot them.
- Foundation Oxidising: This is when your foundation turns a shade darker or more orange after it has been on your skin for a while. This is a chemical reaction with your skin's natural oils. The fix is all in the prep. When testing shades, let the sample dry on your skin for at least 15-20 minutes to see its true final colour before you commit to buying.
- Makeup Separating or Looking Patchy: This often happens when your skincare and your makeup are not compatible. A common clash is a water-based primer with a silicone-based foundation, or vice-versa. They repel each other, causing separation. Check the ingredients list of your products. Try to keep them consistent (silicone with silicone, water with water) for the smoothest application.
- Bronzer or Blush Looks Muddy: This occurs when you apply powder colour products over a still-wet foundation. Ensure your base is properly set with a light layer of translucent powder first. This creates a smooth, dry canvas for your powders to glide over and blend easily, rather than sticking to one spot.
Advanced Tips for Makeup Forever Mufe Application
Ready to take your skills to the next level? Try these pro techniques.
- Colour Correcting: Before your foundation, use colour correctors to neutralise discoloration. A green corrector counteracts redness from blemishes or rosacea. A peach or orange corrector cancels out blue or purple tones in dark under-eye circles. Apply a very thin layer only on the area of concern and pat it in before applying your foundation on top.
- Underpainting: This is a technique where you apply your cream contour, blush, and highlight *before* your foundation. It might feel strange, but when you then apply a thin layer of foundation over the top, it creates an incredibly natural, lit-from-within look where the colour and dimension seem to be part of your actual skin.
- Using HD Finishing Powder: Different from a setting powder, an HD finishing powder contains light-reflecting particles (like silica) that create a soft-focus, airbrushed effect on the skin, blurring pores and fine lines. It’s perfect for photography. Use a very small amount on a fluffy brush as the absolute final step of your makeup.
Makeup Forever Mufe FAQ
What is Makeup Forever (MUFE) best known for?
Do I need to use only MUFE products for these techniques to work?
How can I make my makeup last in hot or humid weather?
Final Checklist for Makeup Forever Mufe
Before you head out, do a quick final review to ensure your look is perfect. A beautiful application is all about the details.
- Your skin was clean, moisturised, and primed before you started.
- Foundation is blended seamlessly down your neck with no harsh lines.
- There are no muddy patches of bronzer or blush; all colours are softly diffused.
- Under-eye concealer is bright and smooth, not creased or heavy.
- Your brows are filled in and frame your face nicely.
- Everything has been locked in place with a fine mist of setting spray.
- You've checked your final look in natural daylight to ensure all colours are true and blended.