Makeup Forever Makeup
A practical step-by-step guide to makeup forever makeup, including preparation, instructions, common issues, tips, and next steps.
Makeup Forever Makeup
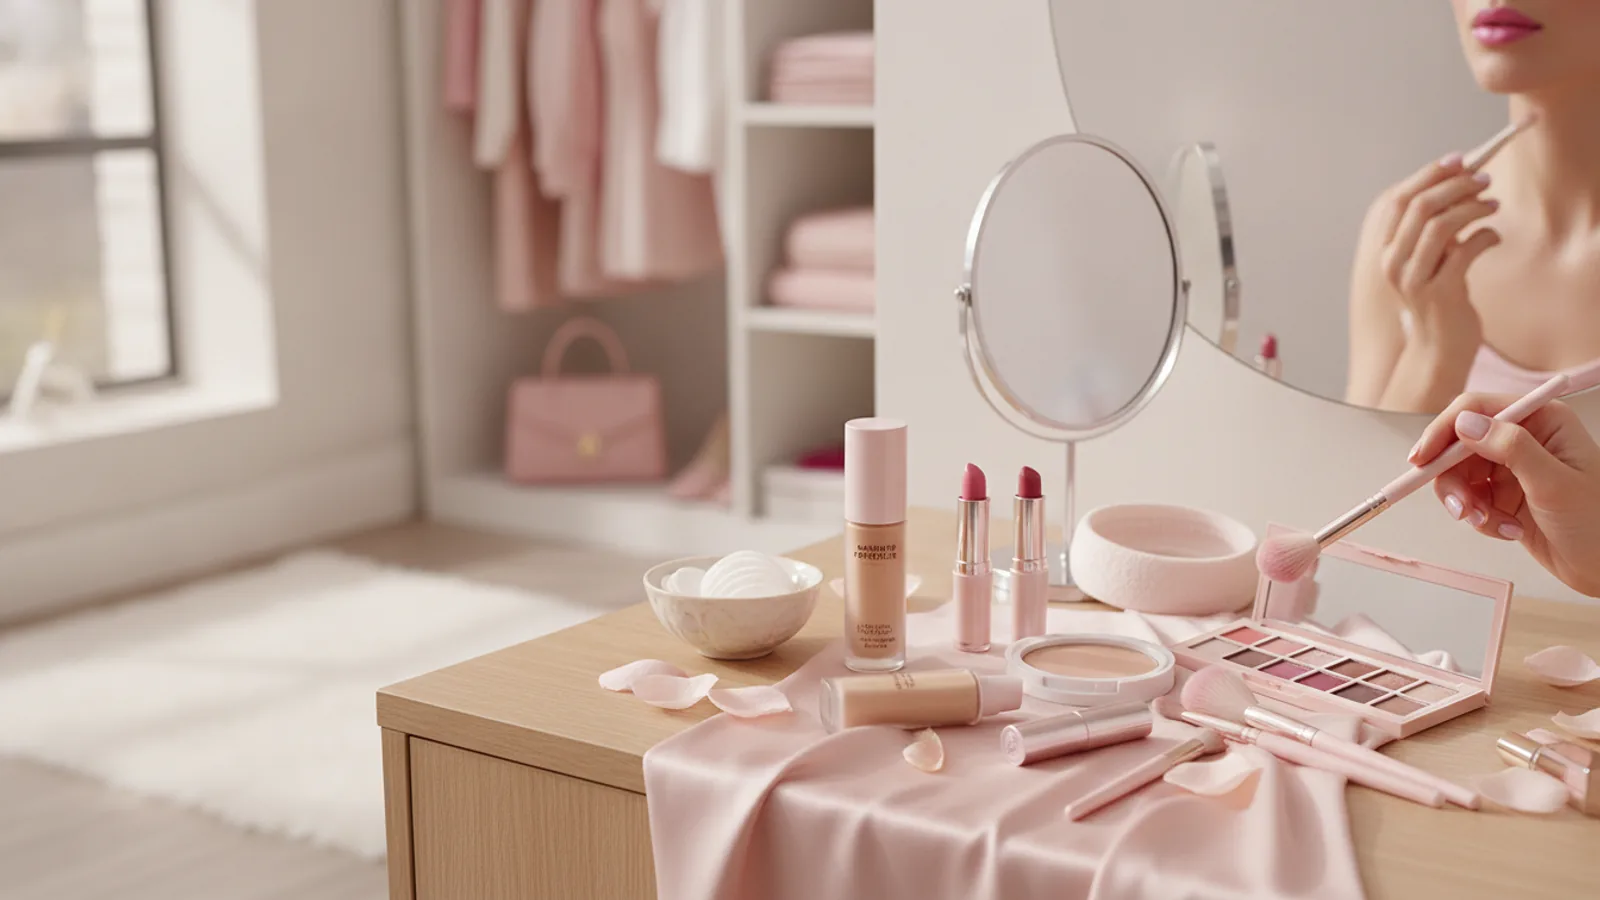
This is your complete guide to achieving makeup that genuinely lasts all day, from your morning coffee to your evening plans. We'll walk you through the professional techniques for skin preparation, product layering, and setting that keep your look fresh and flawless for hours. Whether you're facing a long workday, a special event, or simply want your makeup to stay put, this routine ensures you look as polished at the end of the day as you did at the beginning.
Fast Answer
- The Secret Weapon: Use a setting spray. Apply it both before and after your makeup to create a long-lasting, flexible film that locks everything in place.
Before You Start
Success starts before you even pick up a foundation brush. Gathering the right tools and prepping your skin properly are essential for creating a look with serious staying power. Think of this as building the perfect canvas.
What You Need
- Skincare: A gentle cleanser, toner (optional), a suitable moisturiser, and an SPF.
- Makeup Primer: Choose one formulated for your primary skin concern (e.g., mattifying for oily skin, hydrating for dry skin).
- Long-Wear Base Products: Foundation and concealer marketed as "long-lasting," "24-hour," or "transfer-proof."
- Translucent Setting Powder: A finely milled powder is best to avoid a heavy, cakey look.
- Powder Blush, Bronzer, and Highlighter: Powder formulas tend to last longer on top of a set base than creams.
- Eyeshadow Primer: A dedicated primer for your eyelids to prevent creasing and intensify colour.
- Waterproof Eye Makeup: Waterproof or water-resistant eyeliner and mascara are crucial.
- Long-Lasting Lip Products: A lip liner and a liquid lipstick or long-wear satin formula.
- Setting Spray: The final, most important step to lock in your look.
- Application Tools: Makeup sponges, various brushes, and blotting papers for touch-ups.
Safety, Timing, or Context Checks
Give your skincare time to absorb. Wait at least 5-10 minutes between applying your moisturiser/SPF and starting with your makeup primer. Applying makeup to damp skin can cause it to slide off or look patchy during the day.
Step-by-Step Instructions
Follow these steps in order to build a beautiful, resilient makeup look. The key is not to use more product, but to use products more intelligently through careful layering and setting at each stage.
Prepare Your Canvas with Skincare
Long-lasting makeup begins with a well-prepped base. Start by cleansing your face to remove any dirt, oil, or residual product from the night before. This creates a smooth, clean surface. Follow up with your regular toner if you use one. The most critical step here is hydration. Apply a moisturiser that suits your skin type. Even if you have oily skin, don't skip this; a lightweight, oil-free moisturiser will prevent your skin from overproducing oil later in the day.
Finally, apply a broad-spectrum SPF and, as mentioned, allow it to fully absorb for several minutes. A tacky or wet base will compromise the longevity of everything you put on top of it. This waiting period is non-negotiable for makeup that lasts.
Prime for Perfection
Primer is the essential bridge between your skincare and your makeup. It creates a barrier that smooths texture, controls oil, and gives your foundation something to grip onto. Choose a primer based on your skin's needs. If you have oily skin or visible pores, a silicone-based, pore-filling, or mattifying primer is ideal for your T-zone. If you have dry skin, look for a hydrating or illuminating primer to give your skin a dewy, plump appearance and prevent makeup from clinging to dry patches.
Apply a pea-sized amount with your fingertips, focusing on the areas where makeup tends to fade first—typically the T-zone, around the nose, and on the chin. Let the primer set for at least one full minute before moving on.
Build a Resilient Base
When it comes to foundation, the mantra is "less is more." Instead of applying one thick, heavy layer, build your coverage in several thin layers. Start with a small amount of a long-wear foundation and apply it from the centre of your face, blending outwards with a damp makeup sponge or a dense foundation brush. A sponge will give a more skin-like finish, while a brush provides more coverage.
Press or stipple the product into your skin rather than wiping or dragging it. This technique melts the product into the skin for a more durable finish. Apply a second thin layer only where you need more coverage. Do the same with your concealer, applying it sparingly and blending the edges seamlessly. This layered approach prevents your base from looking cakey and makes it far less likely to crack or separate over time.
Set Strategically with Powder
Setting your cream and liquid products with powder is what truly locks them in place. Use a finely milled translucent setting powder to avoid adding texture or weight. Instead of dusting it all over with a large fluffy brush, use a smaller, more targeted brush or a powder puff to press and roll the powder onto the areas that tend to get oily or where makeup creases—under the eyes, around the nose, in the centre of the forehead, and on the chin.
This pressing motion locks the foundation in place without disturbing it. After applying, you can use a large, clean brush to gently sweep away any excess powder. This technique, often called "targeted setting," ensures durability where you need it while allowing other areas of your face to retain a natural, skin-like finish.
Layer Powder Colour Products
Now that your base is set, it's time to add dimension with powder bronzer, blush, and highlighter. These powder products will adhere beautifully to your set base and will last much longer than cream products would on their own. Apply your bronzer to the contours of your face, your blush to the apples of your cheeks, and your highlighter to the high points like your cheekbones and brow bone.
For an almost bulletproof blush, try a layering technique: apply a cream blush before you set with powder, then apply a matching powder blush on top after setting. This creates a depth of colour that fades much more slowly throughout the day.
Define Eyes and Lips to Last
For eye makeup that doesn't budge, an eyeshadow primer is non-negotiable. It prevents creasing, stops colours from fading, and makes them appear more vibrant. Apply a thin layer over your entire eyelid, from lash line to brow bone, and let it set for a minute.
Choose waterproof or water-resistant formulas for your eyeliner and mascara. These are designed to resist moisture, humidity, and the natural oils on your skin. When it comes to lips, start by lining and filling them in completely with a lip liner. This acts as a primer for your lipstick and prevents it from bleeding. Apply a long-wear liquid lipstick or a matte lipstick on top for maximum longevity.
Lock It All In with Setting Spray
This is the final, crucial step. A good setting spray acts like a flexible, invisible shield over your makeup. It melts all the powder layers together, removes any powdery look, and locks everything in place. Hold the bottle about 8-10 inches away from your face and mist it evenly in an "X" and "T" formation to ensure you cover your entire face.
Avoid squinting or making strong facial expressions while it dries to prevent the makeup from settling into fine lines. Some people even use a small handheld fan to speed up the drying process. Once it's dry, your makeup is set for the day.
Quick Reference
| Situation | Use this | Why |
|---|---|---|
| Mid-day shine in the T-zone | Blotting Papers | They lift away excess oil without disturbing the makeup underneath or adding more product. |
| Foundation creasing under eyes | A damp makeup sponge tip | Gently press and re-blend the area. The moisture smooths the product without removing it. |
| Blush has faded by lunchtime | Cream blush + Powder blush | Layering a powder blush over a cream blush (applied before setting powder) creates lasting dimension. |
| Makeup looks dry or powdery | A hydrating setting spray | A quick mist will rehydrate the skin and melt the powder layers together for a skin-like finish. |
Common Problems When You Aim for Makeup Forever Makeup
- Problem: My makeup looks heavy or "cakey."
This is the most common issue and it's almost always caused by using too much product at once. The solution is to build coverage in very thin, sheer layers. Use a damp sponge to press foundation into the skin for a seamless finish. Also, be strategic with your powder. Only apply it where you truly need it (like the T-zone) instead of all over your face.
- Problem: My concealer is creasing under my eyes.
The under-eye area has many fine lines, making it prone to creasing. First, ensure the area is well-hydrated with a good eye cream (let it absorb!). Second, use a minimal amount of a lightweight, hydrating concealer. Third, set it immediately with a very small amount of finely milled powder pressed in with a damp sponge tip or a small, fluffy brush. Avoid "baking" with lots of powder here, as it can accentuate dryness and lines.
- Problem: My skin gets oily and my makeup breaks down by the afternoon.
This requires a three-pronged attack. Start with a mattifying primer in your T-zone. Use a long-wear, oil-free foundation. Most importantly, carry blotting papers with you. When you see shine, press a sheet onto the oily area to absorb the excess sebum. This is far better than adding more powder, which can mix with the oil and look heavy.
Advanced Tips for Makeup Forever Makeup
- The Setting Spray Sandwich: For maximum longevity for a major event, try the "sandwich" technique. Lightly mist your face with setting spray after your primer, again after your cream/liquid base products, and a final time after all your makeup is complete. This creates multiple layers of hold.
- Use Eyeshadow Primer Elsewhere: A dab of eyeshadow primer is excellent for other areas where makeup tends to slip, such as around the nostrils or on smile lines. It has incredible gripping power.
- "Baking" for Oily Skin: If you have very oily skin, the "baking" technique can be a game-changer. After applying and blending your concealer, apply a very generous layer of translucent powder over top. Let it sit for 5-10 minutes (this is the "baking" part), then gently sweep away the excess with a fluffy brush. This technique is intense and not recommended for dry skin types, but it provides an incredibly matte, long-lasting finish.
- Emulsify Your Foundation: Warm your liquid foundation on the back of your hand before applying it. Use your finger to swirl it around. This warms up the product, making it blend more seamlessly into the skin for a more natural, durable finish.
Makeup Forever Makeup FAQ
Here are some common questions about making your makeup last.
How do I touch up my makeup without messing it up?
The key is to be gentle and targeted. For shine, use blotting papers. If an area like your chin or around your nose has worn away, use a small concealer brush or your fingertip to lightly tap a tiny amount of concealer onto that specific spot and blend the edges. For lips, it's usually best to wipe off the old lipstick and reapply completely for a fresh look. A hydrating face mist can also refresh your look without the need for more product.
Can I achieve this with drugstore products?
Absolutely. The techniques—layering, prepping, and setting—are far more important than the price of the products. Many affordable drugstore brands now offer fantastic long-wear foundations, excellent primers, and effective setting sprays. Focus on finding formulas that are marketed as "long-lasting" or "transfer-proof" and that work well for your specific skin type.
How does this routine change for dry skin versus oily skin?
The core steps are the same, but the product choices will differ significantly. For dry skin, focus on hydration at every step. Use a hydrating primer, a luminous or satin-finish foundation, and use setting powder very sparingly, if at all. A hydrating or dewy-finish setting spray is essential. For oily skin, focus on oil control. Use a mattifying primer, an oil-free matte foundation, and don't skip setting with powder, especially in the T-zone. A mattifying setting spray will be your best friend.
Will this routine feel heavy on my skin?
It shouldn't if done correctly. The goal is to use multiple thin layers, not thick, heavy ones. Modern long-wear formulas are much more lightweight than they used to be. If it feels heavy, you are likely using too much foundation or powder. Try reducing the amount of product you use in the initial application.
Final Checklist for Makeup Forever Makeup
- Skincare First: Did you cleanse, moisturise, and allow products to fully absorb?
- Prime the Canvas: Did you apply a primer suited to your skin type and let it set?
- Thin Layers: Did you build your foundation and concealer in thin layers rather than one thick coat?
- Strategic Powder: Did you press powder into areas prone to creasing and oiliness?
- Waterproof Eyes: Are you using an eyeshadow primer and waterproof liner and mascara?
- Set and Seal: Did you finish with a generous mist of setting spray to lock everything in place?