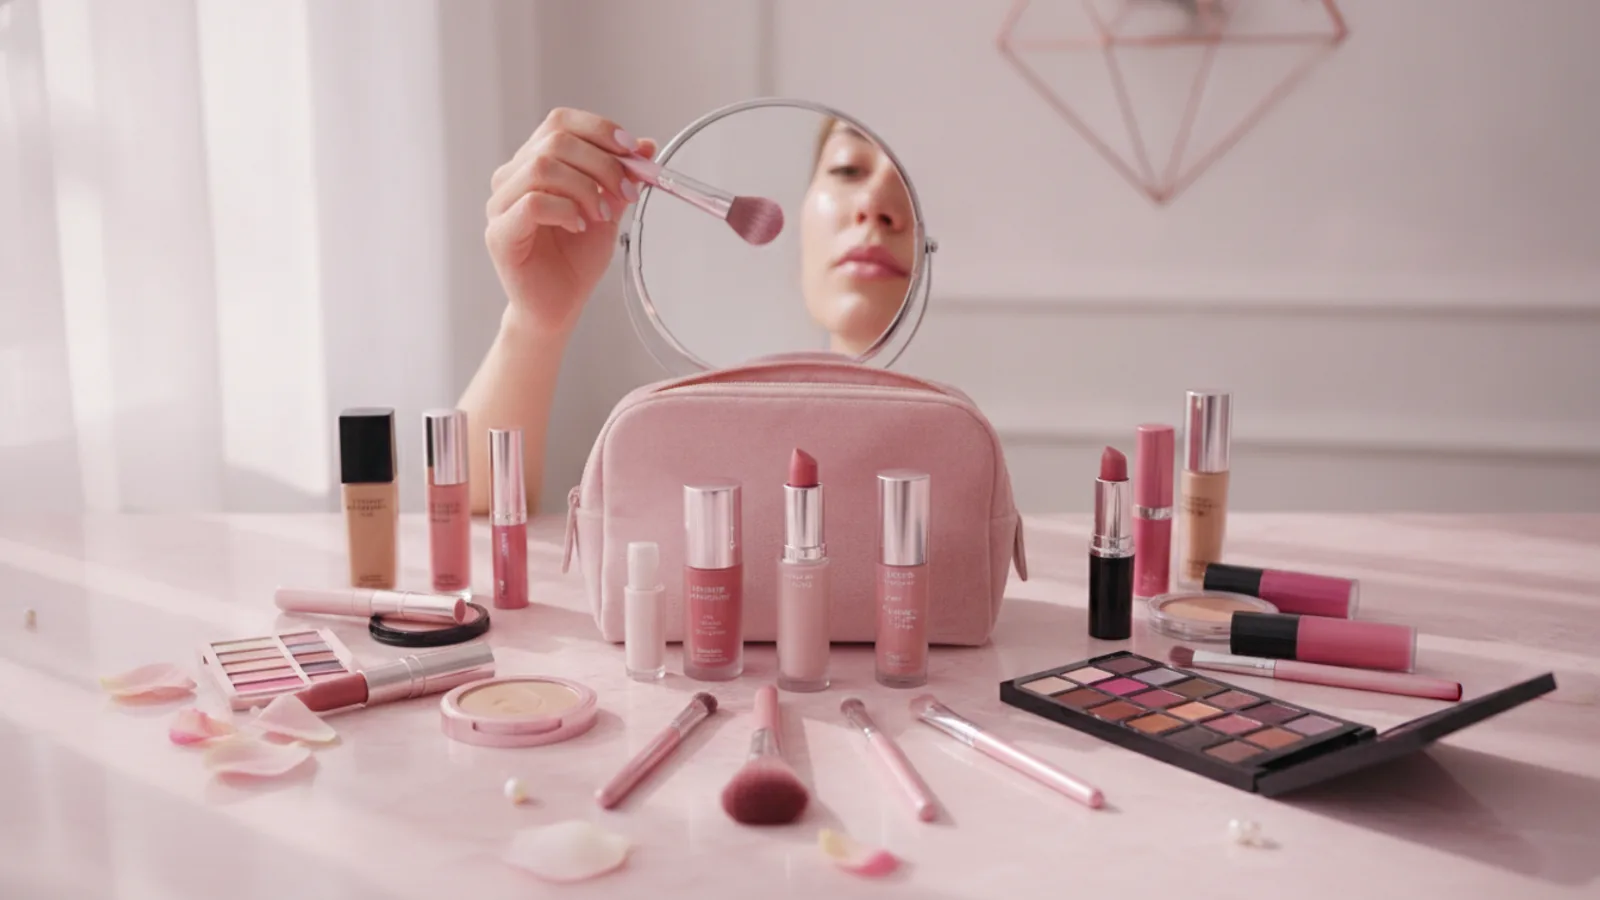
Makeup Mirrors Makeup
A practical step-by-step guide to makeup mirrors makeup, including preparation, instructions, common issues, tips, and next steps.

Makeup Mirrors Makeup
Using makeup mirrors effectively is a game-changer for your beauty routine. This guide shows you how to choose, position, and use different types of mirrors, including magnified and lighted options, to ensure flawless makeup application every time. You'll learn how to overcome common challenges like poor lighting and incorrect magnification, helping your makeup look perfect not just up close, but also when you step out into the world. It’s ideal for anyone looking to refine their technique and achieve a polished finish.
Fast Answer
- Optimal Lighting: Always aim for bright, even, and diffused light. Natural daylight is ideal, but quality artificial lighting on your mirror can also achieve a perfectly blended look.
Before You Start
- A good quality makeup mirror (consider options with magnification and/or lighting).
- Your everyday makeup products and application tools (brushes, sponges, etc.).
- Access to good ambient room lighting, ideally near a window.
- A clean, tidy space where you can comfortably apply makeup.
- Cleaning supplies for your mirror (a soft, lint-free cloth and glass cleaner).
Step-by-Step Instructions
1. Understand Different Makeup Mirror Types
Before you even pick up a brush, it’s helpful to understand the kinds of makeup mirrors available and what each is best for. This knowledge is key to making your makeup mirrors truly work for your makeup application.
There are generally three main categories: standard mirrors, which offer a true-to-life reflection without magnification; magnified mirrors, which zoom in on specific areas of your face; and lighted mirrors, which provide built-in illumination. Some mirrors combine magnification and lighting.
Standard mirrors are excellent for viewing your entire face, checking overall balance, and for the final "step-back" assessment. Magnified mirrors are ideal for detailed tasks like applying eyeliner, plucking brows, or perfecting lip liner. Lighted mirrors are crucial when natural light is insufficient or unavailable, ensuring consistent, colour-accurate lighting for your application.
2. Choose the Right Mirror for Each Makeup Task
Just as you wouldn’t use a foundation brush for eyeshadow, you shouldn’t rely on just one type of mirror for every step of your makeup routine. Tailoring your mirror choice to the specific task will significantly improve your results and make makeup mirrors makeup application much smoother.
For applying your base makeup (foundation, concealer, powder), a standard, non-magnified mirror is usually best. It allows you to see your entire face and ensures even coverage and seamless blending across your jawline and neck. Using high magnification for base makeup can lead to over-blending or applying too much product in tiny sections, resulting in an uneven look overall.
When it comes to detailed work like applying eyeliner, mascara, eyebrow pencil, or precise lip liner, switch to a magnified mirror. A 5x or 7x magnification is often enough for most people, allowing you to see fine details without extreme distortion. Higher magnifications (10x or 15x) should be used sparingly for extremely precise tasks or vision assistance.
3. Master Optimal Lighting Conditions
Lighting is arguably the most critical factor when using makeup mirrors for makeup. Even the best mirror won't help if your lighting is poor, casting shadows or distorting colours. The goal is to have bright, even, and shadow-free illumination that mimics natural daylight.
Natural light is king: Position your mirror near a window, facing the light source, if possible. Avoid having the window behind you, as this will cast shadows on your face. Natural light offers the most accurate colour rendition, helping you choose and apply shades that look true to life in various settings.
If natural light isn't available, or you apply makeup in the evening, a lighted makeup mirror is essential. Look for mirrors that offer adjustable brightness and, ideally, different colour temperature settings (warm, cool, neutral). A "daylight" or "natural white" setting (around 5000K-6000K) is usually best for makeup application. Ensure the light source is even around the mirror, like a ring light or side strips, to prevent harsh shadows.
Avoid overhead lights or single-point lights (like a desk lamp) that can create unflattering shadows under your eyes, nose, and chin. These shadows can lead you to over-apply concealer or foundation in an attempt to "correct" what appears to be darkness, but is merely a trick of the light.
4. Position Your Mirror Correctly
The angle and distance of your makeup mirror can significantly impact the ease and accuracy of your application. Incorrect positioning can lead to awkward postures, shadows, and difficulty seeing fine details. Proper setup ensures you get the most out of your makeup mirrors makeup routine.
For most applications, your makeup mirror should be at eye level when you are seated or standing. This prevents you from having to constantly crane your neck up or down, which can create shadows under your chin or across your forehead. If your mirror has an adjustable stand, take advantage of it.
The ideal distance varies. For a standard mirror, you should be able to see your entire face comfortably without leaning too close or too far away – usually about 20-30 cm (8-12 inches). For magnified mirrors, you'll naturally need to be closer, typically within 10-15 cm (4-6 inches), to benefit from the magnification. However, remember to periodically pull back to see the magnified area in context with your whole face.
Ensure that the mirror is stable and won't wobble during use. If using a tabletop mirror, place it on a clear, flat surface. If it's wall-mounted, make sure it extends far enough to be comfortable without leaning forward.
5. Utilise Magnification Wisely for Detail Work
Magnified makeup mirrors are invaluable for precision, but they come with a caveat: overuse or incorrect use can be counterproductive. Learning to apply makeup using the magnification to your advantage is a learned skill that refines your overall makeup mirrors makeup application.
Use magnification for specific, detail-oriented tasks. This includes: eyeliner application (especially winged or intricate styles), mascara coating (ensuring no clumps and full coverage), eyebrow shaping and filling (seeing individual hairs and gaps), concealer application for small blemishes, and lip liner precision. These are the areas where zooming in makes a tangible difference.
To avoid a distorted look, after completing a detailed step with magnification, always switch to a standard mirror or simply lean back to view your face from a normal distance. This helps you assess if what looked perfect up close still looks good and balanced in a real-world context. Sometimes, what seems like a tiny imperfection under 10x magnification is completely invisible from a normal speaking distance, and trying to "fix" it can lead to over-application.
6. Apply Base Makeup with Overall Blending in Mind
When applying foundation, concealer, and powder, the goal is a seamless, natural-looking finish. Your makeup mirrors makeup routine for base products should prioritise seeing your entire face and ensuring evenness.
Start by using your standard, non-magnified mirror. Apply foundation evenly across your face, blending well into your jawline and down slightly onto your neck. This ensures no harsh lines or colour discrepancies between your face and neck. Pay attention to areas like around the nose, hairline, and ears, where product can easily gather or be missed.
For concealer, apply it where needed (under eyes, blemishes) and blend gently. Again, the standard mirror helps you judge if you've used too much or if it's sitting correctly without caking. Use a light hand with powder, only applying to areas that tend to get oily, to set your makeup.
Periodically, step back from the mirror or turn your head slightly to check different angles. This helps you catch any unblended spots or areas where product might be settling into fine lines under different lighting conditions.
7. Focus on Detail Work for Eyes, Brows, and Lips
Now is the time to bring out your magnified mirror for precision tasks. This step is where makeup mirrors truly shine in enhancing your makeup's accuracy and polish.
For eyeliner, get close to your magnified mirror. This allows you to draw a steady, precise line right along your lash line, or create a perfectly sharp wing. Use small, connected strokes rather than trying to draw one long line. For mascara, the magnification helps you coat every lash from root to tip without clumping.
When working on your eyebrows, the magnified view lets you see individual hairs, making it easier to fill in sparse areas naturally and shape your brows with precision. You can also spot any stray hairs that need plucking.
For lips, use magnification to apply lip liner neatly and precisely, creating a clean edge before filling in with lipstick or gloss. This helps prevent feathering and ensures a sharp, defined look.
Remember to return to your standard mirror after each detailed section to ensure the precision work integrates smoothly with the rest of your face. What looks perfect at 7x magnification might look too harsh or out of proportion from a normal distance.
8. Check for Overall Symmetry and Balance
Once you've applied all your makeup, the next crucial step in your makeup mirrors makeup routine is to assess your entire look for symmetry and balance. This is where your standard mirror is indispensable.
Step back about an arm's length from your standard mirror. Look at your entire face. Are your blush and bronzer applied evenly on both sides? Do your eyebrows look symmetrical? Is your eyeliner matched on both eyes? Does your lipstick look balanced on your upper and lower lips?
Often, when we focus too much on one area with magnification, we can lose sight of the overall picture. This step helps you catch any discrepancies or areas that need a little blending or adjustment to ensure a harmonious look. Sometimes, you might notice that a cheekbone highlight appears much stronger on one side, or that a contour line is more defined on the left than the right. Small corrections at this stage can make a big difference.
9. Perform the "Step Back" and "Real-World" Tests
The final, vital step in using makeup mirrors for makeup is to perform a series of reality checks. Your makeup needs to look good not just in your ideal mirror setup, but also in everyday life. This means assessing it under various lighting conditions and distances.
First, the "step back" test: Move away from your mirror entirely, take a few steps back, and then approach it again. This gives your eyes a fresh perspective. Then, move to different rooms in your home, especially those with different lighting. Check your makeup near a window in natural light, in a hallway with overhead lighting, and even in a bathroom with artificial light.
Pay attention to how your foundation looks, if your blush is too strong, or if any powder is visible. This helps you understand how your makeup translates into various environments you'll encounter throughout your day. If you notice any issues, like foundation appearing cakey in bright sunlight or blush looking too subtle in dim light, make a mental note for your next application or carry a compact for touch-ups.
Quick Reference
| Situation | Use this | Why |
|---|---|---|
| Applying foundation/concealer | Standard, non-magnified mirror with even light | Ensures full-face visibility for seamless blending and even coverage. |
| Precision eyeliner or brow shaping | 5x-7x magnified mirror with focused light | Allows for clear vision of fine details, reducing errors and enhancing accuracy. |
| Checking overall makeup balance | Standard mirror, step back an arm's length | Helps assess symmetry, blending, and colour harmony across the whole face. |
| Makeup application in low light | Lighted makeup mirror with 'daylight' setting | Provides consistent, colour-accurate illumination to prevent misapplication and shadows. |
| Travel or on-the-go touch-ups | Compact folding mirror (often with 1x/2x or 1x/5x options) | Portable and versatile for quick checks and minor adjustments throughout the day. |
Common Problems When You Makeup Mirrors Makeup
Even with the best tools, you might encounter a few hurdles when trying to perfect your makeup mirrors makeup routine. Here are some common issues and practical solutions to help you achieve a flawless finish:
1. Uneven Foundation or Concealer: This often happens when you apply base makeup using too much magnification or in poor lighting. High magnification can make you focus too much on tiny sections, leading to patches, while dim or yellow light can make it hard to see true skin tone and blending.
Fix: Always apply your base makeup using a standard, non-magnified mirror in bright, natural light. Step back frequently to check for full coverage and seamless blending, especially at the jawline and hairline. If you only have artificial light, ensure your mirror's lighting is even and set to a neutral 'daylight' colour temperature.
2. Harsh Lines or Over-Application of Detail Products: Magnified mirrors are great for precision, but they can trick you into thinking you need more product or sharper lines than you actually do. This can result in overly dramatic eyeliner, too-dark brows, or noticeable lip liner.
Fix: Use magnification only for the initial application of detailed products. As soon as you've laid down your precise line or filled in a brow, immediately switch back to your standard mirror. Step back and assess the overall impact. If it looks too harsh, soften with a clean brush or cotton bud. Remember, a little goes a long way with high magnification.
3. Makeup Looks Different in Daylight vs. Mirror Light: This is a classic problem stemming from inconsistent lighting. What looks great under your bathroom mirror's warm glow might look completely different under bright sunlight or office fluorescents.
Fix: Prioritise applying makeup in natural daylight whenever possible. If you rely on a lighted mirror, choose one with adjustable colour temperature settings and select a 'daylight' or 'neutral white' option (around 5000K-6000K). Before leaving, always do a final check in varying light sources if you can, to understand how your makeup behaves.
4. Eye Strain or Headaches from Magnification: Constantly staring into a highly magnified mirror can be taxing on your eyes, especially if you have vision differences between your eyes or astigmatism.
Fix: Reserve high magnification (10x or higher) for very quick, precise tasks. Use a lower magnification (3x-5x) for general detailed work if possible. Always take frequent breaks, look away from the mirror, and blink to rest your eyes. If eye strain persists, consult an optometrist to ensure your vision is corrected properly.
5. Missing Spots or Smudges: Sometimes you finish your makeup, only to discover a missed spot or an unexpected smudge later in the day. This can be due to a dirty mirror, poor angles, or not checking your whole face.
Fix: Start your routine with a clean mirror surface. Regularly wipe it down with a soft, lint-free cloth. After applying all makeup, do a full 360-degree check of your face in a standard mirror, turning your head slowly. Use a hand mirror to check the back of your neck or behind your ears if you're styling your hair. The final "step-back" test helps you catch anything you might have missed up close.
Advanced Tips for Makeup Mirrors Makeup
Once you’ve mastered the basics of using makeup mirrors for makeup, you can elevate your routine with a few advanced techniques and considerations. These tips can help you achieve an even more refined and professional finish.
1. Invest in an Adjustable Mirror: While a simple tabletop mirror is a great start, an adjustable mirror on an arm or with a flexible stand offers superior versatility. This allows you to position the mirror at the perfect height and angle for different tasks, reducing strain and improving visibility. Wall-mounted mirrors with extendable arms are particularly useful for those with limited counter space.
2. Utilise Different Colour Temperatures (If Your Mirror Has Them): High-end lighted mirrors often come with settings to mimic various lighting environments: warm white (indoor/evening light), cool white (office/fluorescent light), and neutral white (daylight). Experiment with these settings to see how your makeup will truly look in different scenarios. For example, if you're going to an evening event, check your makeup under a 'warm white' setting to ensure it doesn't look too stark.
3. The Two-Mirror Technique: For a truly comprehensive view, try using your main makeup mirror in conjunction with a small handheld mirror. Hold the handheld mirror behind your head while looking into your main mirror. This allows you to see the back of your head and neck, which is invaluable for ensuring your foundation is blended down and for checking your hairstyle from all angles. It's also great for spotting any overlooked stray hairs.
4. Regular Mirror Cleaning is Paramount: It might seem basic, but a clean mirror makes a world of difference. Dust, fingerprints, and makeup residue can obscure your reflection, making it harder to see true colours and blend accurately. Use a soft, lint-free microfibre cloth and a glass cleaner (or a damp cloth followed by a dry one) to wipe down your mirror surfaces regularly. For lighted mirrors, ensure the light ring or strips are also clean.
5. Consider a Fog-Free Mirror for Humid Environments: If you often do your makeup in a steamy bathroom, a fog-free mirror can be a game-changer. These mirrors are treated with special coatings or have heating elements that prevent condensation, ensuring a clear reflection even after a hot shower. This saves time and frustration, especially when you're in a rush.
6. Understand Your Skin's Texture Under Magnification: While high magnification is great for detail, it can also highlight skin texture, pores, and fine lines in a way that isn't visible in real life. Use this insight not to over-correct, but to understand areas where lighter product application or specific blending techniques might be beneficial. For instance, if you see product settling into fine lines under magnification, switch to a lighter hand or a different application method for that area, then check in a standard mirror.
Makeup Mirrors Makeup FAQ
Here are some frequently asked questions about using makeup mirrors to apply makeup, providing quick answers to common concerns.
What magnification do I really need for a makeup mirror?
For most people, a 5x to 7x magnification is sufficient for detailed tasks like eyeliner, mascara, and brow work. Higher magnifications (10x, 15x) are typically best for those with vision challenges or for extremely precise tasks like plucking very fine hairs. Always ensure your mirror also has a standard (1x) side for overall assessment.
Is natural light always the best for makeup application?
Generally, yes, natural daylight is considered the best. It offers the most accurate colour rendition, helping you see true shades and how your makeup will look in real-world settings. If natural light isn't available, a lighted mirror with a "daylight" or "neutral white" setting (around 5000K-6000K) is the next best option, providing similar, consistent illumination.
How often should I clean my makeup mirror?
It's best to clean your makeup mirror regularly, ideally once a week or whenever you notice smudges or dust. A quick wipe-down with a soft, lint-free cloth after each use can also help maintain clarity. For a deeper clean, use a glass cleaner sparingly to avoid getting liquid into the mirror's electrical components if it's lighted.
Can using too much magnification harm my eyes?
Prolonged use of very high magnification (e.g., 10x or 15x) can potentially cause eye strain, fatigue, or even temporary distortion of vision, especially if you have existing eye conditions. It's recommended to use high magnification only for brief periods for specific detailed tasks and to alternate with a standard mirror for overall viewing. If you experience persistent discomfort, consult an eye care professional.
What makes a good travel makeup mirror?
A good travel makeup mirror is compact, lightweight, durable, and often features a folding design to protect the mirror surface. Look for options that have both a standard and a moderately magnified side (e.g., 1x/2x or 1x/5x). Battery-operated LED lighting can also be a valuable feature for applying makeup in varied hotel room lighting conditions.
Should I stand or sit when applying makeup with a mirror?
This often comes down to personal preference and comfort. Many find sitting more comfortable for longer routines, as it provides stability. However, standing can give you a better sense of how your makeup looks from different angles as you move around. The most important thing is that your mirror is positioned at eye level, whether you are seated or standing, to avoid awkward postures and ensure consistent visibility.
Final Checklist for Makeup Mirrors Makeup
Before you step out and conquer your day, run through this quick checklist to ensure your makeup mirrors makeup routine has delivered a polished and confident look.
- Mirror Cleanliness: Is your mirror surface free from dust, smudges, and makeup residue? A clean mirror is essential for accurate application.
- Optimal Lighting: Have you applied your makeup under bright, even, and natural-mimicking light? No harsh shadows or colour distortions?
- Magnification Used Wisely: Have you used magnification only for precise tasks and not for your overall base application?
- Full-Face Check: Have you taken a step back (about an arm's length) from your standard mirror to assess your entire face for symmetry and blending?
- Different Lighting Check: Have you checked your makeup in at least two different lighting conditions (e.g., natural daylight and indoor artificial light) to see how it translates?
- No Missed Spots or Harsh Lines: Are your foundation and concealer seamlessly blended into your jawline and hairline? Are there any visible harsh lines from contour, blush, or eyeliner?
- Comfort and Eye Strain: Did you avoid prolonged periods of high magnification to prevent eye strain?
- Tools Cleaned (Optional but Recommended): Are your brushes and tools clean and ready for your next application?
By regularly performing these checks, you'll ensure your makeup looks its best in any situation, giving you the confidence that comes with a perfectly executed beauty routine.