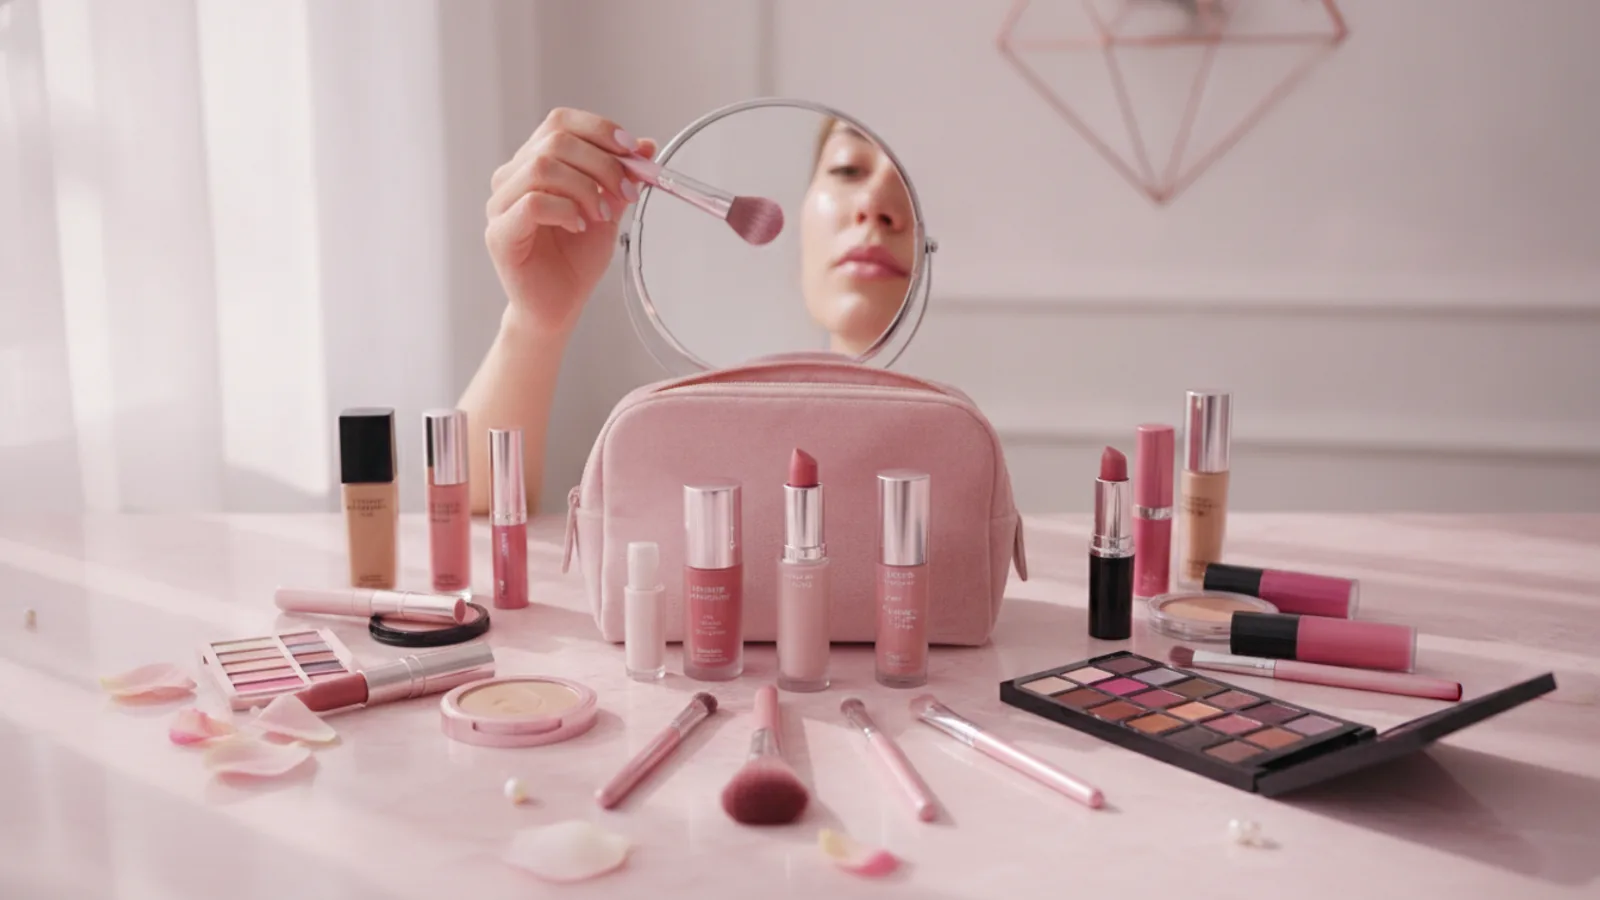
Natural Makeup Looks
A practical step-by-step guide to natural makeup looks, including preparation, instructions, common issues, tips, and next steps.

Natural Makeup Looks
A natural makeup look enhances your features without making it obvious you're wearing much makeup. This guide helps you achieve a fresh, polished appearance that's perfect for everyday wear, professional settings, or when you simply want to feel put-together without a full face. We'll walk through each step to bring out your best, most authentic self, making your beauty routine effortless and effective.
Fast Answer
- Goal: Enhance natural beauty subtly
- Time: 10-20 minutes
- Key to success: Light application & thorough blending
Before You Start
Achieving a beautiful natural makeup look begins with good preparation and having the right tools. Think of your skin as your canvas – a well-prepped canvas makes all the difference.
What You Need
- Gentle Cleanser: To start with a clean face.
- Moisturiser & SPF: Essential for healthy, protected skin.
- Primer (Optional but recommended): Helps makeup last longer and creates a smooth base.
- Light Coverage Base: Tinted moisturiser, BB cream, or a lightweight foundation that matches your skin tone.
- Concealer: A shade that matches your skin, or slightly lighter for under-eye brightening.
- Eyebrow Gel or Pencil: To gently define and tidy brows.
- Neutral Eyeshadows: A palette with matte shades in browns, beiges, or peaches.
- Eyelash Curler: To open up the eyes.
- Mascara: Brown or black, for defining lashes.
- Blush: Cream or powder blush in a natural flush tone (rosy pink, peach).
- Lip Balm or Tint: A hydrating balm or a subtle lip tint that enhances your natural lip colour.
- Makeup Brushes/Sponges: For blending base, concealer, and blush.
Safety, Timing, or Context Checks
- Skin Prep is Key: Ensure your skin is freshly cleansed, moisturised, and has SPF applied. This creates a smooth base and helps makeup sit better.
- Match Your Shades: Always check your foundation, tinted moisturiser, and concealer shades in natural daylight to ensure they perfectly match your skin. Swatch on your jawline, not your hand.
- Clean Your Tools: Using clean brushes and sponges prevents breakouts and ensures smooth application. Aim to clean them weekly.
- Consider Your Lighting: Apply makeup in good, natural light to avoid over-applying. What looks good in dim light might be too much in bright daylight.
- Allergy Check: If trying new products, always do a patch test first, especially if you have sensitive skin.
Step-by-Step Instructions
Follow these steps for a truly natural makeup look that enhances your beauty without feeling heavy or artificial. Remember, less is often more.
Prepare Your Canvas
Start with a fresh, clean face. Gently cleanse your skin to remove any impurities, then apply your favourite moisturiser. Give it a few minutes to sink in. Follow with a broad-spectrum SPF to protect your skin. If you use a primer, apply a small, pea-sized amount evenly over your face, focusing on areas where makeup tends to wear off or where pores are visible. This step creates a smooth, hydrated base for everything else.
Apply a Lightweight Base
For a natural look, we want to even out your skin tone without masking it completely. Dispense a small amount of tinted moisturiser, BB cream, or a very lightweight foundation onto the back of your hand. Using your fingers, a damp beauty sponge, or a foundation brush, apply it to the centre of your face and blend outwards towards your hairline and jawline. Focus on areas that need the most coverage, like around the nose or chin, and use less product elsewhere. The goal is to let your natural skin show through.
Conceal with Precision
Now, address any specific areas that need extra help. Apply a small dot of concealer directly onto blemishes, redness, or under-eye circles. For under-eyes, apply it only to the darkest areas, usually near the inner corner, and blend gently outwards with your ring finger or a small, fluffy brush. Pat, don't rub, to blend the edges into your skin base. Ensure the concealer is fully blended and there are no harsh lines.
Define Brows Softly
Well-groomed brows frame your face beautifully. Start by brushing your brow hairs upwards and outwards with a spoolie brush. If you have sparse areas, use a brow pencil or powder to fill them in with short, hair-like strokes. Focus on the arch and tail, keeping the inner part of your brow lighter. Finish by brushing through again with the spoolie to soften any harsh lines and distribute the product evenly. A clear brow gel can help set them in place for the day.
Add Subtle Eye Definition
For a natural eye look, stick to neutral shades. Apply a matte, light beige or peach eyeshadow all over your eyelid up to your brow bone. Then, take a slightly deeper matte brown or taupe shade and apply it sparingly into your crease to add a touch of definition and depth. Blend well so there are no visible lines. Curl your eyelashes with an eyelash curler for 10-15 seconds per eye. Finish with one or two thin coats of brown or black mascara, wiggling the wand from the base to the tips of your lashes to avoid clumps.
Bring Colour to Cheeks
A touch of blush makes you look fresh and healthy. Choose a cream or powder blush in a rosy pink or soft peach shade that mimics your natural flush. Smile gently to find the apples of your cheeks. Apply a small amount to the apples and blend upwards towards your temples. Blend thoroughly to ensure there are no harsh lines, just a soft wash of colour. For cream blush, dab with your fingers and blend; for powder, use a fluffy blush brush.
Kiss of Colour on Lips
Complete your natural makeup look with a hydrating lip product. Apply a nourishing lip balm to keep your lips soft and smooth. For a hint of colour, choose a tinted lip balm or a nude lipstick that closely matches or slightly enhances your natural lip shade. Avoid harsh lip liners or very pigmented lipsticks. The goal is to make your lips look healthy and naturally vibrant.
Set for Longevity (Optional)
If you want your natural makeup look to last longer, especially if you have oily skin or live in a humid climate, a light dusting of translucent setting powder or a setting spray can help. Apply powder only to your T-zone (forehead, nose, chin) where oil tends to build up. Use a large, fluffy brush and a very light hand. Alternatively, a few spritzes of setting spray can lock everything in place and give a dewy finish.
Quick Reference
| Situation | Use this | Why |
|---|---|---|
| Too much product | Blend more, or blot with a clean sponge | Removes excess and softens lines |
| Makeup looks dull | Add a touch more blush or tinted lip balm | Instantly brightens and adds freshness |
| Brows look too harsh | Brush through with a clean spoolie | Softens colour and blends product evenly |
| Concealer creasing | Pat gently with ring finger, then set with a tiny amount of powder | Smooths creases and helps prevent future creasing |
| Uneven skin tone needs more coverage | Layer thin amounts of tinted moisturiser; use concealer where needed | Builds coverage without looking heavy or cakey |
Common Problems When You Do Natural Makeup Looks
Even with the best intentions, a few common issues can arise when trying to achieve a natural makeup look. Knowing how to troubleshoot these can save your look.
- "Cakey" Foundation or Base: This often happens when too much product is applied, or it's not blended well. The key to natural makeup is thin layers.
Fix: Use less product next time. If it's already on, gently press a damp beauty sponge over the affected areas to lift excess product, then blend. - Visible Concealer Lines: If your concealer looks like a stripe under your eyes or around a blemish, it's either the wrong shade or not blended enough.
Fix: Blend the edges thoroughly with your ring finger or a small brush until it seamlessly melts into your skin. Ensure the shade matches your skin tone. - Harsh Eyebrows: Over-filling or using too dark a shade can make brows look unnatural and drawn on.
Fix: Use a lighter hand and choose a shade that matches your brow hairs or is one shade lighter. Always brush through with a spoolie after applying product to soften and distribute. - Clumpy Mascara: Too many coats or old mascara can lead to clumpy lashes that look anything but natural.
Fix: Use fresh mascara. Apply one to two thin coats, wiggling the wand from root to tip. If clumps appear, use a clean spoolie or a lash comb to gently brush through before it dries. - Blush Applied Incorrectly: Placing blush too low, too high, or using too much can make it look unnatural.
Fix: Smile to find the apples of your cheeks, apply product there, and blend upwards towards your temples. Use a light hand and build colour slowly. - Makeup Disappears by Midday: Lack of proper skin prep or setting can cause your natural look to fade quickly.
Fix: Always moisturise and consider a primer. A light dusting of translucent powder on oily areas or a setting spray can significantly improve longevity. - Looks Flat and Lifeless: Sometimes, "natural" can translate to "dull" if there's not enough dimension.
Fix: Ensure you've added a touch of blush to bring life to your face. A tiny bit of highlighter on the high points of your face can also add a subtle glow.
Advanced Tips for Natural Makeup Looks
Once you've mastered the basics, you can refine your natural makeup looks further with these advanced techniques to add more polish and dimension without losing the natural feel.
- Strategic Highlighting: Instead of a full highlight, apply a very subtle, creamy highlighter to just the highest points of your face: the tops of your cheekbones, a tiny dab on the inner corner of your eyes, and Cupid's bow. Use your finger to tap and blend for a skin-like glow.
- Soft Contour/Bronzing: For added definition, choose a matte bronzer or a cool-toned contour shade that's only one or two shades darker than your skin. Apply it very lightly in the hollows of your cheeks, along your jawline, and a touch on your temples. Blend thoroughly to ensure there are no harsh lines. This adds warmth and shape without looking heavy.
- Spot Concealing First: For minimal makeup days, try spot concealing first on bare, moisturised skin. Apply concealer only where needed, then blend the edges. You might find you don't even need a full base layer.
- Lip Liner for Definition: If you want a bit more lip definition, choose a lip liner that exactly matches your natural lip colour. Lightly outline your lips, then fill them in with the liner before applying a tinted balm or nude lipstick. This provides a base that makes your lip colour last longer and look fuller.
- Mixing Products: Customise your base by mixing a drop of liquid highlighter into your tinted moisturiser for an all-over radiant glow, or mixing a tiny bit of liquid bronzer for an extra healthy tint.
- "Tightlining" for Eye Definition: For subtle eye definition without visible eyeliner, use a dark brown or black eyeliner pencil to draw a very thin line along your upper waterline (the inner rim of your upper eyelid). This makes your lashes appear fuller and eyes more defined without looking like you're wearing eyeliner.
- Setting with a Damp Sponge: After applying your base and concealer, lightly dampen a clean beauty sponge with setting spray and gently press it over your entire face. This helps fuse all the layers of makeup together, creating a more skin-like, natural finish and improving longevity.
Natural Makeup Looks FAQ
Here are some common questions about achieving natural makeup looks, along with practical answers to help you perfect your routine.
- What exactly defines a "natural makeup look"?
A natural makeup look aims to enhance your existing features rather than dramatically change or cover them. It involves using lightweight products, subtle colours, and precise application to create a fresh, polished appearance that often looks like "you, but better." It's about letting your skin show through and adding just enough definition.
- How long does it typically take to do a natural makeup look?
Once you get the hang of it, a full natural makeup routine can take anywhere from 10 to 20 minutes. The emphasis is on efficiency and using fewer products, making it a quicker option compared to more elaborate makeup styles.
- Is natural makeup suitable for all skin types?
Absolutely! Natural makeup is suitable for all skin types. The key is to choose products formulated for your specific skin needs. For oily skin, opt for oil-free, mattifying primers and bases. For dry skin, choose hydrating, dewy finishes. Always ensure your skin is properly prepped with appropriate skincare before makeup application.
- Can I wear natural makeup for an evening event?
Yes, you can! A natural look can be incredibly elegant for an evening event. You might just slightly intensify certain elements: perhaps a second coat of mascara, a slightly deeper lip tint, or a touch more highlighter. The principle remains the same – enhancement, not heavy coverage – but with a touch more impact.
- How do I choose the right shades for a natural look?
The best shades are those that closely mimic your natural skin, lip, and brow colours. For foundation/concealer, match your jawline. For blush, choose colours that look like your natural flush (pink, peach). For eyeshadow, stick to neutrals like browns, taupes, and soft creams. For lips, go for shades that are just a touch deeper or rosier than your natural lip colour.
- What if I have acne or dark spots I want to cover?
Natural makeup doesn't mean skipping coverage where you need it. Use your concealer precisely on those spots, blending the edges meticulously. Opt for a spot-concealing technique with a full-coverage concealer just on the affected areas, rather than applying a heavy foundation all over your face. This keeps the rest of your skin looking natural.
- Do I really need to use an eyelash curler?
An eyelash curler makes a significant difference for a natural look. It instantly opens up your eyes and makes them appear brighter and more awake, even with minimal mascara. It's a small step that yields big results in enhancing your natural eye shape.
Final Checklist for Natural Makeup Looks
Before you step out, quickly run through this checklist to ensure your natural makeup look is perfectly polished and ready to go.
- Skin Prepped: Is your face cleansed, moisturised, and protected with SPF?
- Base Blended: Is your tinted moisturiser or light foundation seamlessly blended into your skin, with no harsh lines at the jawline or hairline?
- Concealer Gone Invisible: Are blemishes and under-eye circles covered and blended without looking heavy or cakey?
- Brows Softly Defined: Are your eyebrows brushed, filled naturally, and free of harsh lines?
- Eyes Awake: Are your lashes curled, and is mascara applied without clumps? Is any eyeshadow subtly blended?
- Cheeks Flushed Naturally: Is blush applied to the apples of your cheeks and blended upwards for a healthy glow?
- Lips Hydrated & Tinted: Are your lips moisturised and wearing a subtle tint or natural balm?
- No Visible Edges: Have you checked your face in natural light for any unblended edges or over-applied product?
- Tools Cleaned: Are your brushes and sponges ready for your next application?
What should I check before acting on advice about natural makeup looks?
Use this guide as a starting point, compare current specifications and costs, and check the details that apply to your own situation before making a purchase or booking.
Where can I find related beauty-routines guidance?
Browse the related guides in this section for practical comparisons, planning notes, and next steps that support the same decision.