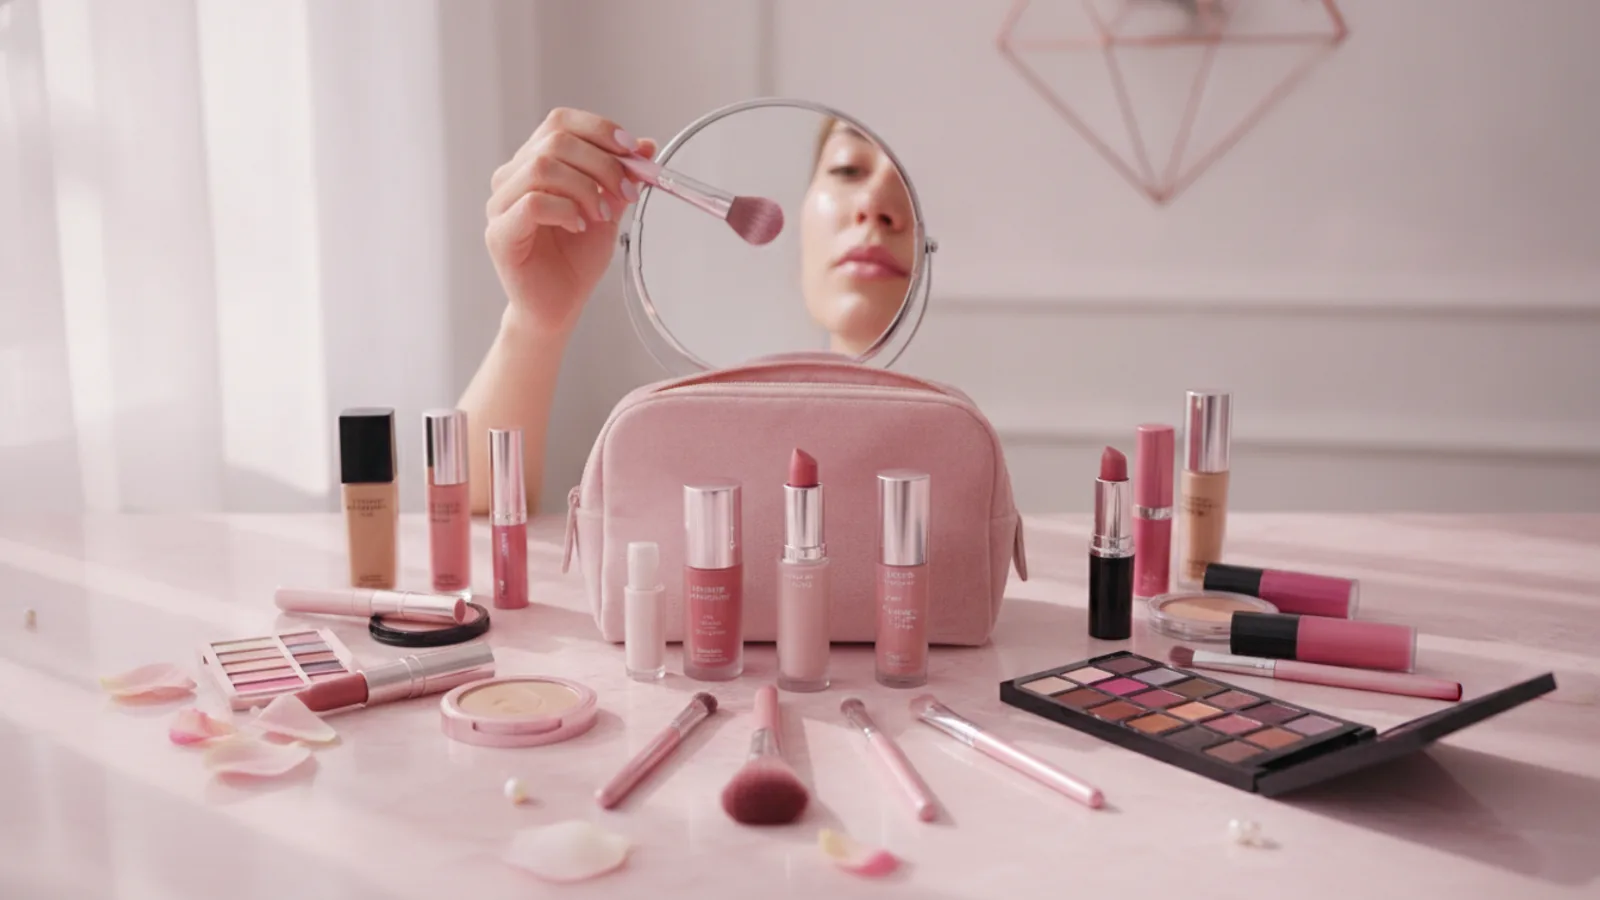
No Makeup Makeup
A practical step-by-step guide to no makeup makeup, including preparation, instructions, common issues, tips, and next steps.

No Makeup Makeup
The "no makeup makeup" look is all about enhancing your natural beauty with a light touch. It helps you achieve a fresh, radiant complexion that looks effortless, as if you woke up looking perfectly polished. This guide is for anyone wanting to feel confident and put-together without heavy foundations or complex routines, making it perfect for everyday wear, quick errands, or when you simply want to embrace your own features with a subtle glow.
Fast Answer
- Achieve: Effortless natural glow
- Key Products: Light base, concealer, mascara
- Skin Prep: Hydration is essential
- Time: 10-15 minutes
Before You Start
Before diving into the steps, gathering your tools and understanding the philosophy behind "no makeup makeup" will set you up for success. This look isn't about hiding; it's about subtle enhancements that highlight your best features while letting your natural skin shine through. Think of it as your skin, but a little bit brighter and more even.
- Cleanse and Moisturise: A freshly cleansed and well-hydrated face is your best starting point.
- Light Coverage Base: A tinted moisturiser, BB cream, or a very sheer foundation.
- Concealer: Choose a shade that matches your skin or is slightly lighter for under-eyes.
- Brow Product: A clear brow gel, a tinted brow gel, or a very fine brow pencil/powder.
- Mascara: A natural-looking black or brown mascara.
- Blush: Cream or liquid blush in a natural flush tone (pinks, peaches).
- Lip Product: A clear lip balm or a sheer lip tint in a natural colour.
- Tools: Makeup sponges or brushes suitable for blending liquid/cream products.
Step-by-Step Instructions
Achieving the "no makeup makeup" look is a gentle art of layering and blending. Each step is designed to build a subtle enhancement, never a heavy mask. The key is to work with light hands and minimal product, focusing on areas that need a little help rather than covering your entire face.
1. Prep Your Canvas with Skincare
The secret to great makeup, especially a "no makeup" look, begins with excellent skincare. Start by cleansing your face thoroughly to remove any impurities. Follow this with your regular toner, serum, and most importantly, a good moisturiser. Allow your moisturiser to fully absorb for a few minutes before applying any makeup. If it's daytime, finish with an SPF – a non-negotiable step for skin health.
A well-hydrated and plumped canvas ensures your makeup glides on smoothly and looks fresh, not dry or patchy. This step makes all the difference in achieving that radiant, healthy glow from within.
2. Even Out Your Tone with a Light Base
For the "no makeup makeup" look, you want to use a base that offers sheer coverage, allowing your natural skin texture to show through. Opt for a tinted moisturiser, BB cream, or a very lightweight foundation. Dispense a small amount onto the back of your hand. Using your fingers, a damp makeup sponge, or a fluffy foundation brush, dot the product onto the centre of your face (forehead, nose, chin, cheeks).
Gently blend outwards towards your hairline and jawline, ensuring there are no harsh lines. Focus on evening out your skin tone rather than completely covering it. The goal is to reduce redness or minor discolouration while maintaining a natural finish.
3. Conceal with Precision, Not Coverage
Now that your base is applied, identify areas that still need a little extra help. This is where concealer comes in, used sparingly and precisely. Apply a small amount of concealer to any blemishes, redness around the nose, or under-eye circles. Choose a concealer that matches your skin tone for blemishes, and one that is just a touch lighter for under-eyes to brighten.
Using your ring finger (for warmth), a small brush, or the corner of a damp sponge, gently pat and blend the concealer into your skin. Focus on blending the edges seamlessly into your base, so it disappears without a trace. Avoid swiping, which can remove product; instead, use light tapping motions.
4. Add a Touch of Colour with Blush
A natural flush of colour instantly brings life to your face. For a "no makeup makeup" look, cream or liquid blushes are ideal as they melt into the skin for a seamless finish. Choose a shade that mimics your natural blush – usually soft pinks, peaches, or rosy tones. Smile gently to find the apples of your cheeks.
Dab a tiny amount of product onto the apples of your cheeks and blend upwards and outwards towards your temples using your fingers or a damp sponge. Start with very little product; you can always add more if needed. The aim is to create a healthy, natural glow, not a stark stripe of colour.
5. Define Brows Softly
Well-groomed brows frame your face beautifully without needing much else. For a natural look, avoid harsh lines or overly filled brows. Start by brushing your brow hairs upwards and outwards with a spoolie brush to shape them.
If you have sparse areas, use a very fine brow pencil or powder to mimic individual hairs with light, feathery strokes. Choose a shade that matches your natural brow colour. Finish by running a clear or tinted brow gel through your brows to set them in place. This step adds definition and polish, making your eyes look more open and awake.
6. Enhance Your Eyes with Mascara
Mascara is a game-changer for making your eyes pop subtly. For a "no makeup" look, focus on defining and lifting your lashes rather than adding dramatic volume or length. Start by curling your lashes with an eyelash curler for about 10-15 seconds; this instantly opens up your eyes.
Then, apply one to two thin coats of a natural-looking mascara (black or brown) to your top lashes. Wiggle the wand from the base of your lashes to the tips to coat every hair. For an even more natural look, you can skip the bottom lashes or apply just a very light touch. The goal is to make your lashes look longer and fuller, but still natural.
7. Hydrate and Tint Your Lips
Complete your "no makeup makeup" look with hydrated, naturally tinted lips. Skip heavy lipsticks or bold glosses. Instead, reach for a clear lip balm, a hydrating tinted lip balm, or a sheer lip tint in a shade close to your natural lip colour.
Apply the product generously to keep your lips feeling comfortable and looking healthy. A hint of natural colour ties the whole look together and adds to the fresh, polished feel. This step is about enhancing your natural lip colour and texture, not masking it.
8. Set for Longevity (Optional)
If you want your "no makeup makeup" to last longer, especially if you have oilier skin or live in a humid climate, a light setting step can be beneficial. Gently dust a very sheer, translucent setting powder over your T-zone or any areas where you tend to get shiny. Use a large, fluffy brush and a very light hand to avoid a cakey appearance.
Alternatively, a fine mist of a setting spray can lock everything in place and add a subtle glow without any visible powder. This helps to extend the wear of your makeup while maintaining that fresh, natural finish throughout the day.
Quick Reference
Here’s a quick guide for common situations when perfecting your "no makeup makeup" look:
| Situation | Use this | Why |
|---|---|---|
| Skin looks dull/tired | Hydrating skincare & a dewy tinted base | Adds luminosity and plumps skin for a fresh appearance. |
| Makeup looks too obvious | Smaller amounts, better blending, lighter formulas | Prevents a 'caked-on' look and allows natural skin to show. |
| Need to hide a spot quickly | Pinpoint concealing with a small brush | Targets the blemish without covering surrounding skin, keeping it natural. |
| Complexion fades fast | Light dusting of translucent powder in T-zone / setting spray | Extends wear and controls shine without adding heavy coverage. |
| Brows appear sparse | Feathery strokes with a fine brow pencil/powder & clear gel | Fills gaps naturally, defines without looking drawn on. |
Common Problems When You no makeup makeup
Even with the best intentions, achieving a truly "no makeup" look can sometimes present challenges. Here are some common pitfalls and practical solutions to keep your complexion looking perfectly natural and effortless.
Problem: Your Base Looks Cakey or Heavy
This is the most common issue when trying for a light, natural look. If your tinted moisturiser or BB cream feels too thick or settles into lines, you might be using too much product, or the formula might be too heavy for what you're trying to achieve.
Fix: Always start with a very small amount of product, typically a pea-sized drop for your entire face. Apply it in thin layers, blending thoroughly with a damp sponge or your fingers. If it still looks heavy, try a different product with an even lighter, more fluid consistency. Remember, "no makeup makeup" prioritises transparency over full coverage.
Problem: Concealer Appears Obvious or Creases
Concealer that looks like a distinct patch of colour, or settles into fine lines, defeats the purpose of an invisible finish. This often happens due to incorrect shade matching, poor blending, or using too much product.
Fix: Ensure your concealer shade matches your skin tone exactly for blemishes, and is only a tiny bit brighter for under-eyes. Apply minimal product directly to the area of concern, then use a gentle tapping motion with your ring finger or a small, fluffy brush to blend the edges seamlessly into your skin. For under-eyes, set lightly with a translucent powder if creasing is a persistent problem, but only after blending fully.
Problem: Blush Looks Like a Stripe of Colour
If your blush stands out starkly on your cheeks, it means it hasn't been blended properly, or you've applied too much in one spot.
Fix: For cream or liquid blushes, dab a tiny amount onto the apples of your cheeks and immediately blend it out with your fingers or a damp sponge. Work quickly, using circular or patting motions to diffuse the colour into your skin. Always start with less and build up if needed. The goal is a subtle flush, not a bold statement.
Problem: Makeup Fades Quickly
Even a light makeup look should last for a reasonable amount of time. If your "no makeup makeup" disappears within a few hours, it could be due to inadequate skin preparation or skipping a setting step.
Fix: Ensure your skin is well-hydrated but not greasy before applying makeup. Use a primer if you feel your makeup slides off easily. For prolonged wear, a light dusting of translucent powder in oily areas or a gentle mist of setting spray at the end of your routine can significantly improve longevity without adding visible coverage.
Advanced Tips for no makeup makeup
Once you're comfortable with the basics of "no makeup makeup," you can explore advanced techniques to further enhance your natural features. These tips add an extra layer of polish and dimension while still keeping the overall aesthetic light and effortless.
Strategically Placed Liquid or Cream Highlighter
To take your glow to the next level without looking sparkly, incorporate a liquid or cream highlighter. Choose a shade that mimics a natural sheen on your skin (e.g., champagne or rose gold, not glittery silver).
Application: Dab a tiny amount onto the high points of your face where light naturally hits: the tops of your cheekbones, down the bridge of your nose, and a touch on your cupid's bow. Use your finger to gently pat and blend it into your skin, creating a subtle, dewy radiance that looks like it's coming from within.
Subtle Contouring for Definition
If you want to add a touch of dimension without heavy contouring, use a cream bronzer or a cool-toned contour stick that is only one or two shades deeper than your skin tone.
Application: Apply a small amount in the hollows of your cheeks (just under the cheekbones), lightly along your jawline, and a whisper on your temples. Blend extremely well with a damp sponge or dense brush until it looks like a natural shadow. The key is subtlety; you're aiming for definition, not a sculpted look.
"Spot Treatment" Foundation Application
Instead of applying a sheer base all over, some prefer to use a slightly higher coverage foundation or concealer only on areas that genuinely need it (like around the nose, chin, or any redness). This leaves the majority of your skin completely bare.
Application: Apply a small amount of product with a fine brush to problem areas, then blend out the edges very carefully into your bare skin. This method offers a truly "your skin but better" effect, showcasing your natural skin texture everywhere else.
Multipurpose Products
Simplify your routine and enhance cohesion by using products that serve multiple purposes. For instance, a cream blush can also be used as a sheer lip tint or even a subtle eyeshadow.
Application: If using a cream blush as an eyeshadow, lightly dab a tiny amount onto your eyelids with your finger and blend quickly for a soft, monochromatic wash of colour. This creates a harmonious look across your face that feels utterly effortless.
Colour Correction for Specific Concerns
For more pronounced discolouration, such as very dark under-eye circles or significant redness, a targeted colour corrector can be a game-changer before concealer. Peach or orange correctors can neutralise blue/purple tones under eyes, while green correctors can combat redness.
Application: Apply a tiny dot of colour corrector to the problematic area *before* your concealer. Blend it out very thinly, and then layer your skin-toned concealer over the top. This technique helps to neutralise the discolouration more effectively, allowing you to use less concealer overall for a more natural finish.
No Makeup Makeup FAQ
Here are some frequently asked questions about mastering the "no makeup makeup" look, providing clear answers to help you navigate your beauty routine with confidence.
What exactly is "no makeup makeup"?
"No makeup makeup" is a beauty technique designed to enhance your natural features using minimal products applied strategically. The goal is to create the illusion of flawless, radiant skin and defined features without appearing to wear much makeup at all. It's about looking refreshed and polished, rather than made up.
How long does it typically take to achieve this look?
With practice, the "no makeup makeup" routine can be completed quite quickly. Most people can achieve the full look in about 10 to 15 minutes. The emphasis on fewer products and lighter application means less blending time compared to a full-glam routine, making it ideal for busy mornings or when you're short on time.
Can I wear "no makeup makeup" every day?
Absolutely! "No makeup makeup" is perfectly suited for everyday wear. Its lightweight nature is comfortable on the skin and allows your complexion to breathe. It’s a fantastic option for work, casual outings, or any occasion where you want to look put-together without feeling overly done up.
What if I have significant skin concerns, like acne or hyperpigmentation?
While "no makeup makeup" focuses on natural enhancement, it doesn't mean you can't adapt it. For significant concerns, focus on good skincare first. Then, use targeted colour correction before applying a very thin layer of concealer only on the problematic areas. The aim is to minimise the appearance of concerns without creating a heavy layer of product. You can still achieve a beautiful, natural-looking finish with careful application.
What's the main difference between "no makeup makeup" and regular makeup?
The primary difference lies in the *intention* and *application*. Regular makeup often aims for transformation, using more products to create specific looks (e.g., full coverage, dramatic eyes). "No makeup makeup," however, focuses on *enhancement* – perfecting your natural features, evening out skin tone, and adding a healthy glow, all while making it look like you're wearing very little to no makeup at all. It's about celebrating your natural beauty with a subtle boost.
Final Checklist for no makeup makeup
Before you step out, give your look a quick once-over using this checklist. Ensuring each point is covered will guarantee your "no makeup makeup" is perfectly polished and truly effortless.
- Skin is prepped and hydrated? Cleanse, moisturise, and SPF applied.
- Light base is sheer and blended? No harsh lines, skin texture visible.
- Concealer is applied precisely and seamlessly? Only where needed, no visible edges.
- Blush provides a natural flush? Blended into the skin, no stark patches.
- Brows are softly defined and groomed? Natural shape, not overly filled.
- Lashes are curled and lightly coated with mascara? Defined, no clumps.
- Lips are hydrated and naturally tinted? Comfortable and subtly coloured.
- Overall look is fresh, radiant, and natural? Does it feel like 'you, but better'?
- Check for any blending mishaps in natural light. Ensure seamless transitions.
With this guide, you’re ready to master the art of "no makeup makeup." Embrace the beauty of your natural features and enjoy a routine that feels effortless, yet always leaves you looking polished and confident.