Welcome to your complete guide on applying Laura Geller makeup for a timeless, radiant look. Known for its innovative baked formulas, this makeup line is designed to create a flawless, skin-like finish that’s especially flattering for mature skin, but beautiful on everyone. This guide walks you through each step, from prepping your skin to the final touch, ensuring you master the techniques needed to get the most out of these unique products for a glowing, confident appearance every time.
Fast Answer
- Core Technique: Swirl your brush in the baked powder, tap off the excess, and buff onto the skin in gentle, circular motions.
- Key Principle: Apply in thin, buildable layers to avoid a heavy or cakey finish.
- Best Tools: Soft, fluffy brushes like a kabuki or powder brush work best to diffuse the product seamlessly.
- Main Benefit: Achieve a radiant, luminous complexion that looks like your skin, but better.
Before You Start
A beautiful makeup application starts with good preparation. Taking a few moments to gather your tools and prepare your skin will make a significant difference in the final result, ensuring a smooth, long-lasting finish. Ensure you're working in a well-lit space, preferably with natural daylight, to see the true colours and blend everything perfectly.
What You Need
- Clean, toned, and moisturised skin
- A makeup primer (such as Laura Geller's Spackle Primer)
- Baked foundation powder (like Baked Balance-n-Brighten)
- Liquid or cream concealer (optional, for targeted coverage)
- Baked blush (like Baked Blush-n-Brighten)
- Your preferred eyeshadow, mascara, and brow products
- Lipstick, gloss, or balm
- A set of quality makeup brushes (including a kabuki or dense powder brush, a blush brush, and eyeshadow brushes)
- A setting spray (optional, for extra longevity or a dewy finish)
Safety, Timing, or Context Checks
Before you begin, a few checks will ensure your application is safe, comfortable, and tailored to you.
- Understand Your Skin Type: Knowing if your skin is dry, oily, or combination will help you choose the best primer formula. A hydrating primer works wonders for dry skin, while a mattifying one can help control shine in the T-zone.
- Work with Clean Tools: Always start with clean brushes and sponges. This not only provides a smoother application but also prevents the transfer of bacteria to your skin, reducing the risk of breakouts.
- Good Lighting is Key: Applying makeup in poor lighting can lead to unblended foundation or overly strong blush. Natural daylight is ideal for getting a true-to-life sense of your makeup.
Step-by-Step Instructions
Follow these steps to achieve the signature Laura Geller radiant glow. The magic is in the technique-light layers and gentle buffing are your keys to success.
Prepare Your Canvas: Prime the Skin
Priming is a non-negotiable step for creating a smooth base that grips your makeup for all-day wear. Start with your regular skincare routine: cleanse, tone, and moisturise. Allow your moisturiser to fully absorb for a few minutes. Then, take a pea-sized amount of primer and smooth it evenly over your entire face using your fingertips. Focus on areas where makeup tends to wear off, like the T-zone, or where you have larger pores. Let the primer set for at least 60 seconds before moving on to foundation. This creates a slightly tacky surface that your makeup can adhere to beautifully.
Create a Flawless Base: Apply Baked Foundation
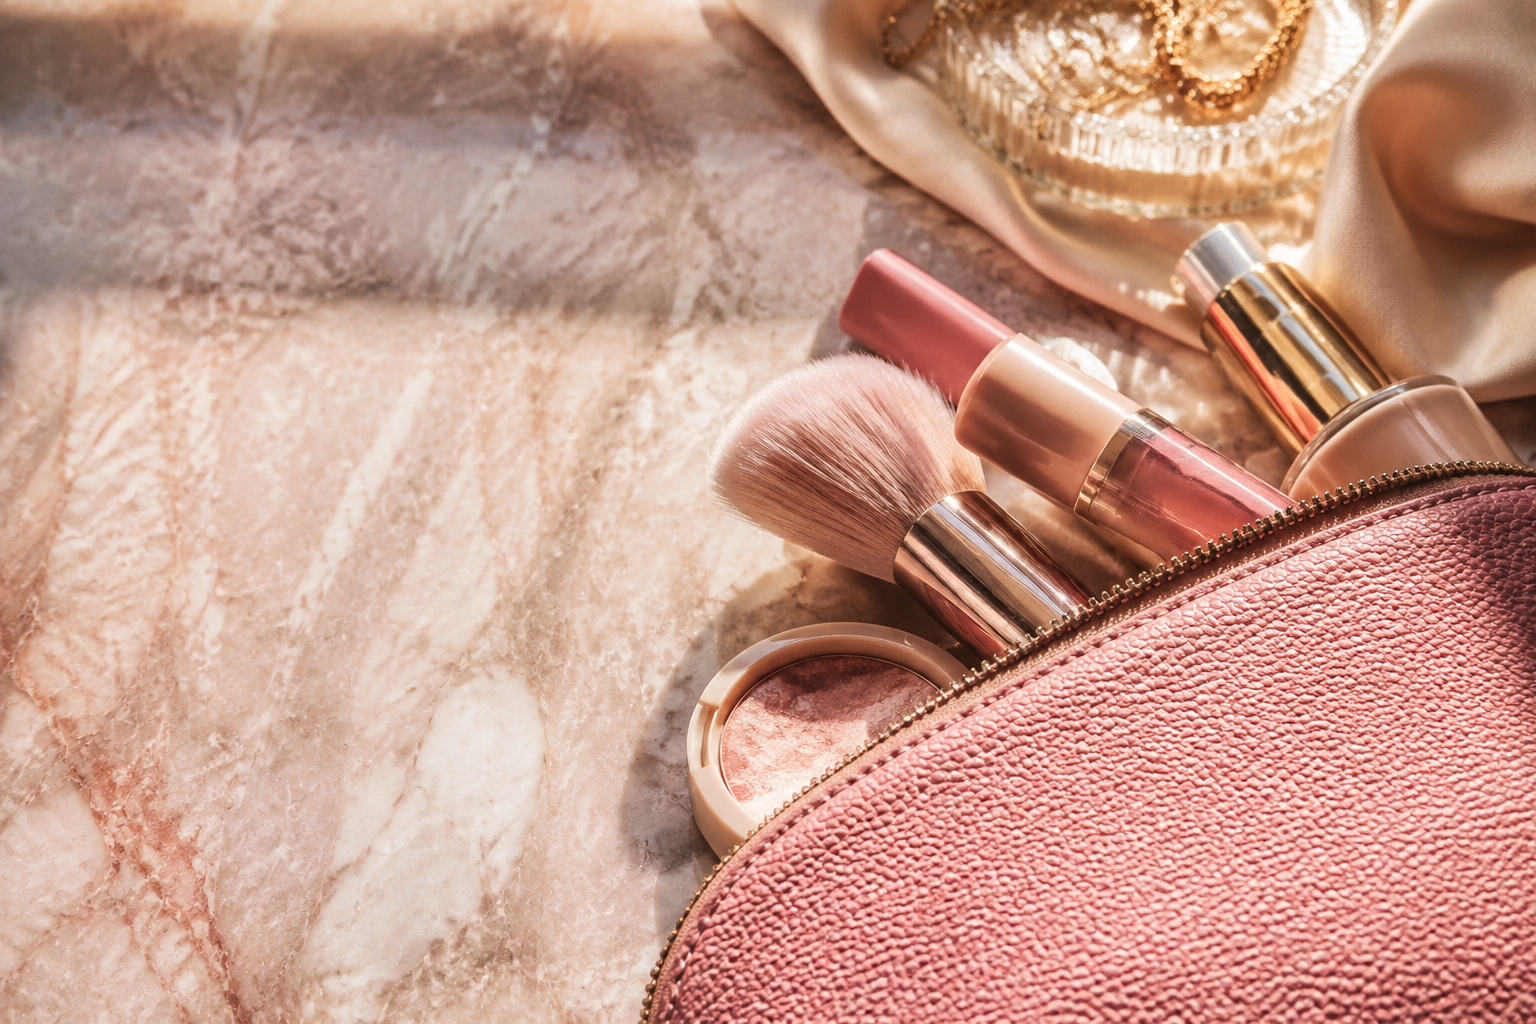
Laura Geller's baked foundations are famous for their creamy, powder texture that provides coverage without feeling heavy. The best way to apply them is with the swirl, tap, buff method. Take a dense, fluffy brush, like a kabuki brush, and gently swirl it into the baked foundation pan to pick up the marbled pigments. Next, tap the handle of the brush on the side of the pan or your wrist to remove any excess product. This is crucial for preventing over-application.
Finally, buff the foundation onto your skin using light, circular motions. Start from the centre of your face (around your nose and on your cheeks) and blend outwards. The key is to apply a very sheer first layer and then build coverage only where you need it, such as on areas with redness or uneven tone. The fine powder will meld with your skin for a natural, satin finish.
Brighten and Conceal Where Needed
The beauty of the baked foundation is that it often provides enough coverage to even out the skin tone on its own. However, if you need a little extra help under the eyes or on blemishes, now is the time to conceal. Choose a lightweight liquid or cream concealer that is one or two shades lighter than your foundation for the under-eye area to create a brightening effect.
Apply a few small dots of concealer under the eyes, focusing on the inner and outer corners. Use your ring finger or a damp sponge to gently tap and blend the product in-avoid rubbing, which can irritate the delicate skin. For blemishes, use a concealer that matches your foundation shade exactly and apply it with a small, precise brush, blending out the edges seamlessly.
Add a Healthy Flush: Apply Baked Blush
A touch of colour on the cheeks brings life and dimension to the face. Laura Geller's baked blushes contain multiple tones swirled together to create a natural-looking flush that’s never flat or chalky. Using a soft, angled blush brush, swirl it across the entire pan to pick up a balanced mix of the pigments. Just like with the foundation, tap off the excess.
To find the perfect placement, smile gently to locate the apples of your cheeks. Lightly sweep the blush onto the apples and blend it upwards and outwards along your cheekbones towards your temples. This technique creates a lifted effect. Remember that baked products are highly pigmented, so start with a sheer wash of colour and build it up to your desired intensity.
Define Your Eyes for a Polished Look
A simple, defined eye complements the radiant skin finish perfectly. You can use Laura Geller's baked eyeshadows with the same light-handed approach. For an easy, everyday look, apply a light, shimmery shade all over your eyelid as a base. Then, sweep a medium matte shade into the crease of your eye with a fluffy blending brush to add depth. Use a small, angled brush to press a darker shade along your top lash line for a soft, smoky liner effect that defines your eyes without harsh lines.
Finish the eyes by curling your lashes and applying one or two coats of your favourite mascara to both the top and bottom lashes. Well-defined eyebrows frame the face, so take a moment to fill in any sparse areas with a brow pencil or powder.
Perfect Your Pout with a Touch of Colour
Complete your makeup look with a lip colour that harmonises with your cheek colour. Whether you prefer a creamy lipstick, a high-shine gloss, or a simple tinted balm, the application is straightforward. For precise application, you can use a lip liner that matches your chosen lip colour or your natural lip tone. Outline your lips and then fill them in with your lipstick or gloss, starting from the centre of your lips and blending outwards towards the corners.
For longer-lasting lipstick, blot your lips on a tissue after the first application, then apply a second, light layer of colour.
Set and Forget for All-Day Wear (Optional)
While baked makeup has excellent staying power on its own, a setting spray can provide extra insurance, especially if you have a long day ahead or are in a humid climate. A setting spray can also help to meld all the powder layers together, taking away any powdery look and leaving a truly skin-like finish. Hold the bottle about 8-10 inches away from your face, close your eyes, and mist it lightly in an 'X' and 'T' formation to cover your entire face. Let it air dry without touching it. For oily skin, a mattifying spray can help control shine, while for dry skin, a hydrating mist can add a final touch of dewiness.
Quick Reference
| Situation | Use this | Why |
|---|---|---|
| My skin looks too powdery or "made-up". | A hydrating setting spray. | The fine mist melts the powder products, helping them fuse with your skin for a seamless, natural finish. |
| I need more coverage on a red spot. | A dense, small brush or a damp sponge. | These tools concentrate the baked foundation, allowing you to press and stipple it on for buildable, targeted coverage. |
| My blush is a little too bright. | Your foundation brush with its leftover product. | Lightly buffing over the blush with your foundation brush will tone down the intensity without removing it completely. |
| My under-eye area looks dry or crepey. | A hydrating eye cream before primer. | Properly moisturising the delicate under-eye area plumps the skin and prevents concealer from settling into fine lines. |
Common Problems When You Use Laura Geller Makeup
Even with beginner-friendly products, you might encounter a few small hurdles. Here’s how to troubleshoot the most common issues.
- Makeup Looks Cakey or Heavy: This is almost always caused by using too much product. The solution is to adhere to the 'less is more' philosophy. Use a fluffy brush, tap off the excess rigorously, and apply in sheer, buildable layers rather than one heavy coat.
- Foundation Settles into Fine Lines: If you notice this, it’s likely due to either skipping primer or applying too much foundation. Ensure you've used a good quality primer to smooth your skin's texture first. When applying foundation, focus on buffing it well into the skin so it doesn't just sit on top.
- Colours Appear Too Intense: Baked products are rich in pigment. What looks subtle in the pan can be vibrant on the skin. Always start with the smallest amount of product on your brush and build up the intensity slowly until you are happy with the result.
- Makeup Fades by Midday: For those with combination or oily skin, fading can be a concern. Ensure your skin is properly prepped and primed. Finishing your application with a light dusting of translucent powder in the T-zone and a long-lasting setting spray will dramatically increase its longevity.
Advanced Tips for Laura Geller Makeup
Once you're comfortable with the basics, try these pro tips to customise your look and get even more out of your products.
- Create a Custom Tinted Moisturiser: On days when you want very sheer coverage, scrape a tiny amount of your baked foundation powder onto a clean surface. Mix it with a drop of your favourite moisturiser or serum to create a custom-made, lightweight tinted base.
- Multi-Tasking with Products: Don't limit your products to their intended use. A swirl of baked bronzer works beautifully as a warm crease colour for your eyes. A shimmery pink blush can double as a pretty eyeshadow, and a light-reflecting highlighter can be dabbed on the centre of the eyelid for a bright, wide-awake look.
- Achieve a "Lit-From-Within" Glow: For a truly radiant base, apply a liquid or cream illuminator to the high points of your face before you apply your baked foundation. When you buff the foundation over it, the glow will peek through in a very soft and natural way.
- Foiled Eyeshadows: To transform any shimmery baked eyeshadow into an intense, metallic liquid liner or shadow, simply spray your brush with a setting spray before dipping it into the powder. The moisture activates the pigments for a high-impact, long-wearing finish.
Laura Geller Makeup FAQ
Is Laura Geller makeup good for mature skin?
What does "baked" makeup actually mean?
Can I apply baked foundation with a sponge instead of a brush?
Do I need to use a setting powder on top of the foundation?
How can I choose the correct foundation shade online?
Final Checklist for Laura Geller Makeup
Before you head out, run through this quick final checklist to ensure your look is flawless and ready for the day.
- Your skin was clean, moisturised, and primed before application.
- Foundation was applied in thin layers and is blended seamlessly at the jawline and hairline.
- Blush adds a healthy, natural flush without any harsh lines.
- Eyes and lips are defined to create a balanced and complete look.
- You have checked your final makeup in natural light to spot any blending issues.
- Your brushes are set aside to be cleaned for your next application.