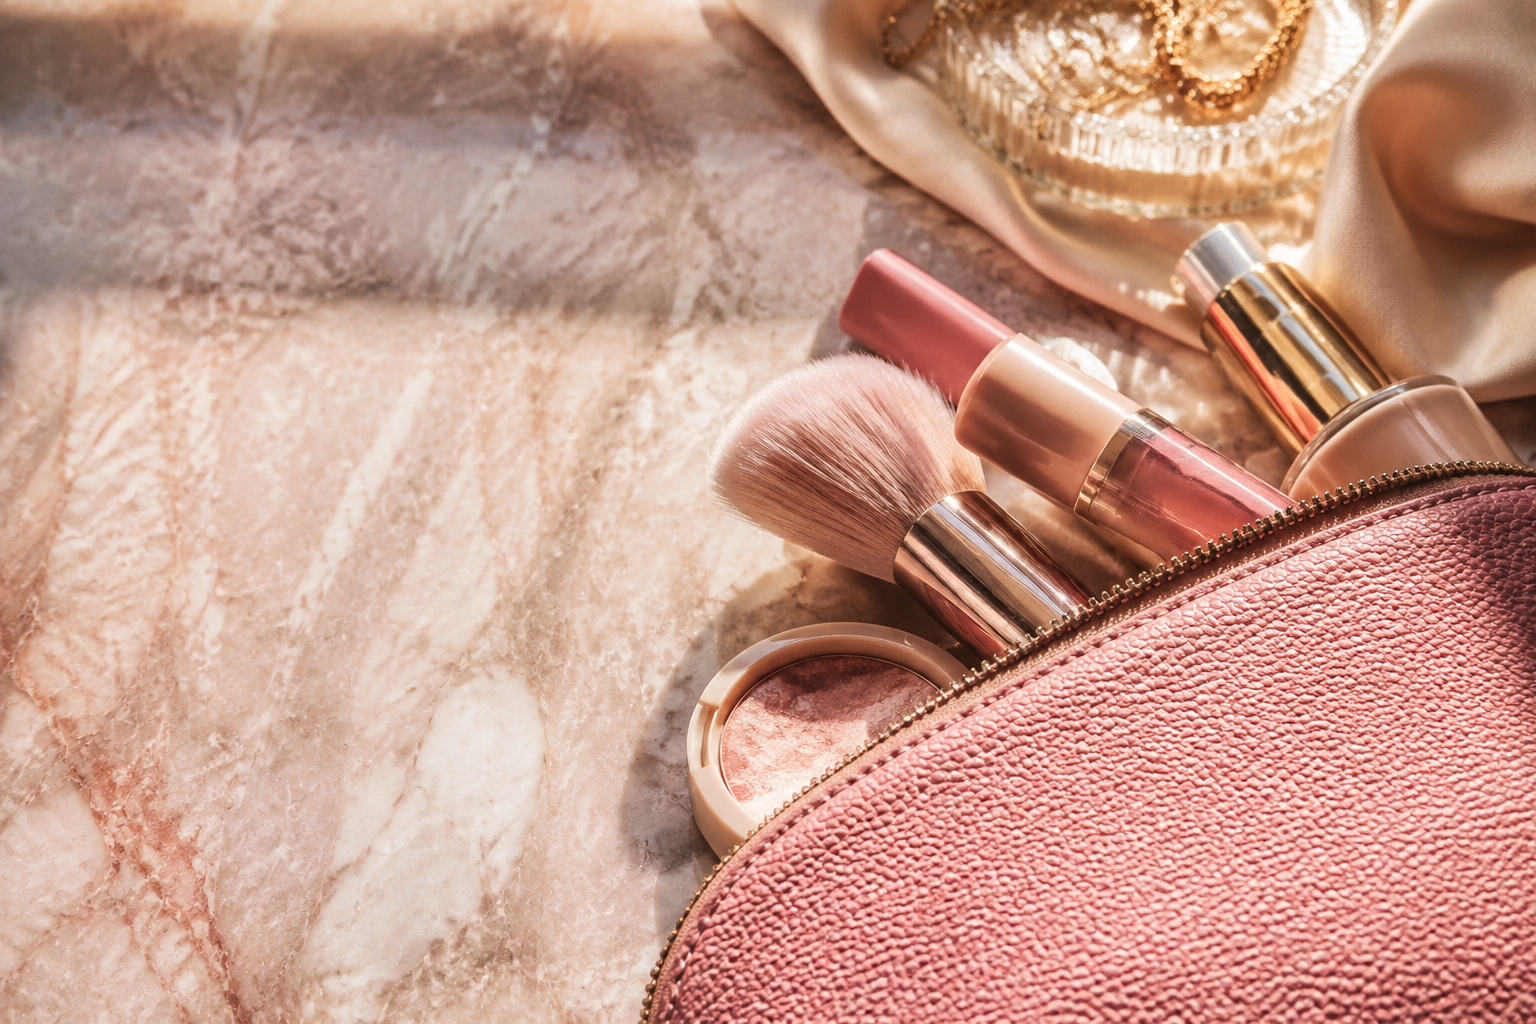
Discover the secrets behind the signature Makeup by Mario look, a celebrated technique focused on enhancing natural beauty with masterful sculpting and a flawless, skin-like finish. This guide breaks down the philosophy and step-by-step application process popularised by celebrity makeup artist Mario Dedivanovic. Perfect for anyone wanting to move beyond basic makeup and learn professional techniques for a polished, soft-glam result that looks impeccable both on camera and in person. Learn to layer products and place them with intention to define your unique features.
Fast Answer
- Key Technique: Layering cream and powder products to create seamless, long-lasting dimension.
- Core Philosophy: Enhance, don't cover, your natural bone structure and skin texture.
- Signature Feature: Softly sculpted features and a luminous, "lit-from-within" complexion.
Before You Start
Success with the Makeup by Mario technique begins long before you pick up a brush. It’s a method rooted in preparation, understanding your own features, and having the right types of products ready. This isn't about owning a specific brand, but about having the correct formulas to achieve the signature layered effect.
What You Need
- Skincare Prep: A gentle cleanser, a hydrating serum or essence, and a moisturiser suited to your skin type. An eye cream is also highly recommended.
- Primer: A smoothing or hydrating primer to create an even canvas.
- Base Products: A sheer-to-medium coverage foundation, a creamy concealer (one shade lighter than your foundation), and a translucent setting powder.
- Sculpting Products: A cream contour or bronzer stick and a corresponding powder bronzer.
- Colour Products: A cream blush and a complementary powder blush. A subtle, non-glittery cream or powder highlighter.
- Eye Products: A neutral eyeshadow palette with a mix of matte and satin finishes, a soft eyeliner pencil (brown or black), and your favourite mascara.
- Lip Products: A neutral lip liner, a satin or cream lipstick, and an optional clear or nude gloss.
- Tools: A damp makeup sponge, a foundation brush, a concealer brush, a fluffy powder brush, an angled contour brush, and a selection of eyeshadow blending brushes.
- Finishing Touches: A hydrating or long-lasting setting spray.
Safety, Timing, or Context Checks
Before beginning, take a moment to assess your canvas and your tools. The quality of your final look depends heavily on these checks.
- Understand Your Face Shape: The Makeup by Mario technique is all about placement. Take a moment in front of a mirror to identify your cheekbones, the hollows of your cheeks, your jawline, and the high points of your face. This is where you will be strategically applying products.
- Clean Brushes are Non-Negotiable: Dirty brushes can lead to a muddy, streaky application and can cause skin irritation. Ensure all your tools are clean and dry before you start.
- Product Compatibility: As this technique involves layering, ensure your primer and foundation have compatible bases (e.g., both water-based or both silicone-based) to avoid pilling.
Step-by-Step Instructions
Follow these steps to build the signature Makeup by Mario look. Remember that precision and blending are more important than the amount of product you use. Work in thin layers for the most professional and skin-like result.
Prepare the Canvas for a Flawless Finish
A beautiful makeup application starts with well-prepped skin. After cleansing, apply a hydrating serum and moisturiser to plump the skin. Gently tap a small amount of eye cream around the orbital bone. Once your skincare has fully absorbed, apply a thin layer of primer, focusing on the centre of your face or any areas with texture or large pores. Let the primer set for a minute before moving on. This crucial step ensures your makeup will glide on smoothly and last longer.
Create a Second-Skin Base
The goal is to even out your skin tone, not to mask it. Apply a small amount of your sheer-to-medium coverage foundation to the back of your hand. Using a damp sponge or a foundation brush, apply it in thin, even layers, starting from the centre of your face and blending outwards. Only build up coverage where you need it, such as areas with redness. Next, apply concealer. Use a small, precise brush to place it only where needed: the inner corners of the eyes, around the nostrils, and on any blemishes. Blend the edges seamlessly into the foundation.
Sculpt and Define with Cream Contour
This is a cornerstone of the technique. Using a cream contour stick, draw a soft line directly beneath your cheekbone, starting from your ear and stopping in line with the outer corner of your eye. Do not bring the contour too close to your mouth. Apply smaller amounts along your jawline and on your temples, near the hairline. Using an angled brush or a damp sponge, blend the product upwards. This upward blending motion creates a lifted effect. The key is to diffuse the colour so there are no harsh lines, only soft shadows.
Add a Lit-From-Within Glow with Cream Blush
Applying cream blush before any powder creates a natural-looking flush that seems to come from the skin itself. Smile gently and apply a small amount of cream blush to the apples of your cheeks, blending it upwards and back towards your temples. This placement also contributes to a lifted appearance. You can use your fingers, a sponge, or a dense brush. Ensure the blush blends seamlessly into your contour and foundation.
Strategically Set with Powder
It's time to lock in your cream products. Using a fluffy brush, lightly dust translucent powder over the areas you applied concealer and anywhere you tend to get oily, like the T-zone. For under the eyes, press the powder in gently with a damp sponge to set the concealer and prevent creasing. Next, take your powder bronzer on a large, fluffy brush and sweep it over the same areas where you applied the cream contour. This layering technique sets the cream product and adds another layer of soft dimension, ensuring your sculpt lasts all day.
Define the Eyes for a Soft, Elongated Shape
The Makeup by Mario eye look is typically soft, defined, and elongating. Start by applying a neutral matte shadow all over your lid as a base. Then, take a slightly deeper matte shade and work it into your crease, blending outwards towards the tail of your brow to create a lifted effect. Use a soft brown or black eyeliner pencil to tightline your upper waterline to make your lashes appear fuller. Create a very thin, soft wing along the lash line, smudging it slightly with a small brush for a smokier, less graphic look. Finish with two coats of mascara on your upper lashes.
Perfect and Shape the Lips
A defined, full lip completes the look. Start by using a lip liner that is a shade or two deeper than your natural lip colour. Gently overline the cupid's bow and the centre of your bottom lip to create the illusion of fullness, then connect the lines to the natural corners of your mouth. Fill in the entire lip with the liner as a base. Apply your chosen satin or cream lipstick over the top, then use a clean finger to gently blur the lipstick into the liner for a seamless gradient effect. A touch of gloss in the centre of the bottom lip can add extra dimension.
Finish with Setting Spray to Meld the Layers
The final, crucial step is to mist your face with a setting spray. This does more than just prolong wear; it helps to meld all the powder and cream layers together, taking away any "powdery" look and leaving behind a flawless, skin-like finish. Hold the bottle about 20-30 cm away from your face and spray in an "X" and "T" motion to ensure even coverage. Let it dry naturally without touching your face.
Quick Reference
| Situation | Use this | Why |
|---|---|---|
| Makeup looks heavy or "cakey" | Use less foundation and more blending | The technique relies on thin, well-blended layers, not heavy coverage. |
| Contour appears muddy or streaky | Blend upwards with a clean brush or sponge | Upward blending lifts the face, and a clean tool prevents muddying the colours. |
| Oily skin shortens wear time | Use a mattifying primer and bake the T-zone | This controls oil production and locks the base in place for longer. |
| Dry skin shows texture | Prioritise hydrating prep and use a dewy setting spray | This plumps the skin and prevents makeup from clinging to dry patches. |
Common Problems When You makeup by mario
Even with careful steps, you might encounter a few common issues. Here’s how to troubleshoot them for a flawless result.
- Foundation Pilling: This happens when your skincare, primer, and foundation are not compatible. As a rule of thumb, use water-based products together or silicone-based products together. The fix is to ensure your skin is clean and to allow each layer (moisturiser, primer) to dry completely before applying the next.
- Creasing Under the Eyes: This is often caused by over-application of product. Use a minimal amount of concealer and set it immediately with a very light dusting of powder pressed in with a damp sponge. Avoid baking for long periods if you have dry under-eyes.
- Contour Looks Like a Stripe: This is a blending issue. The key is to diffuse the edges until you can't see where the contour starts and your foundation ends. Use small, circular or upward flicking motions with your brush. If you've applied too much, take your foundation sponge (with a tiny bit of leftover product on it) and gently tap over the edges to soften them.
- Makeup Looks Flat After Powdering: You may be using too much powder all over the face. The Mario technique uses powder strategically. Only apply it to the T-zone and under the eyes. Leave the high points of the face, like the cheekbones, largely free of powder to retain their natural or cream-highlighted glow.
Advanced Tips for makeup by mario
Once you've mastered the basics, incorporate these professional techniques to elevate your look even further.
- True Underpainting: For the most seamless sculpt, try applying your cream contour and cream blush *before* your foundation. Apply them as you normally would, blend them out, and then apply a very sheer layer of foundation over the top by gently stippling with a sponge. This makes the sculpt look like it's truly part of your skin's natural dimension.
- Multi-Concealer Method: Use two shades of concealer for a brighter, more dimensional under-eye. Apply the shade that matches your skin tone first to conceal, then add a tiny dot of a lighter, brightening shade just on the inner corner of the eye to create a wide-awake look.
- Eyeshadow as Liner: For an even softer, more diffused eye look, skip the pencil liner entirely. Instead, use a small, angled brush to press a dark brown or black eyeshadow along your upper lash line. This defines the eyes without any harsh lines.
- Customise Your Glow: Mix a single drop of liquid illuminator into your foundation before applying. This will give your entire complexion a subtle, all-over radiance that looks incredibly natural and healthy.
Makeup By Mario FAQ
What is the main goal of the Makeup by Mario technique?
Is this look suitable for mature skin?
Do I need to buy products from the Makeup by Mario brand to do this?
How do I choose the right contour shade?
Final Checklist for makeup by mario
Before you head out, run through this final mental checklist to ensure your application is polished and true to the technique.
- Your skin feels hydrated and comfortable, not tight or greasy.
- Your foundation is sheer and your natural skin can peek through.
- Your contour creates a soft shadow, not a harsh line, and is blended upwards.
- Your blush gives a natural flush and is seamlessly blended into your other base products.
- Powder has only been applied where necessary, leaving a natural radiance on the high points of your face.
- All product edges (eyeshadow, contour, blush) are soft and diffused.
- The final look feels balanced, lifted, and cohesive.